What are some beginner tips for playing Manor Lords? Perhaps more importantly, how can I avoid getting stuck in Manor Lords? Well, good news: Manor Lords moves at a gentle pace by default, and there’s plenty of time before your first winter sets in to make sure your little medieval village is running smoothly. However, while you won’t face too much in the way of violence or natural disasters during your first year, there are some mistakes you can make early on that can doom your settlement – or at least, severely hamper its growth.
In Manor Lords, you control a parcel of unimproved land somewhere in the European countryside. Starting with a group of five families, you’ll need to scavenge for food and building materials, build workshops and housing, and keep your villagers happy enough to increase your Manor Lords population – to have enough of them around to levy taxes on eventually.
Don’t worry about that for now, though. The opening hours of each game are devoted to building a hamlet up from nothing. There are a few ways to approach this task in this city builder, but you’ll want to keep the following priorities in mind.
Timber is your most vital early resource.
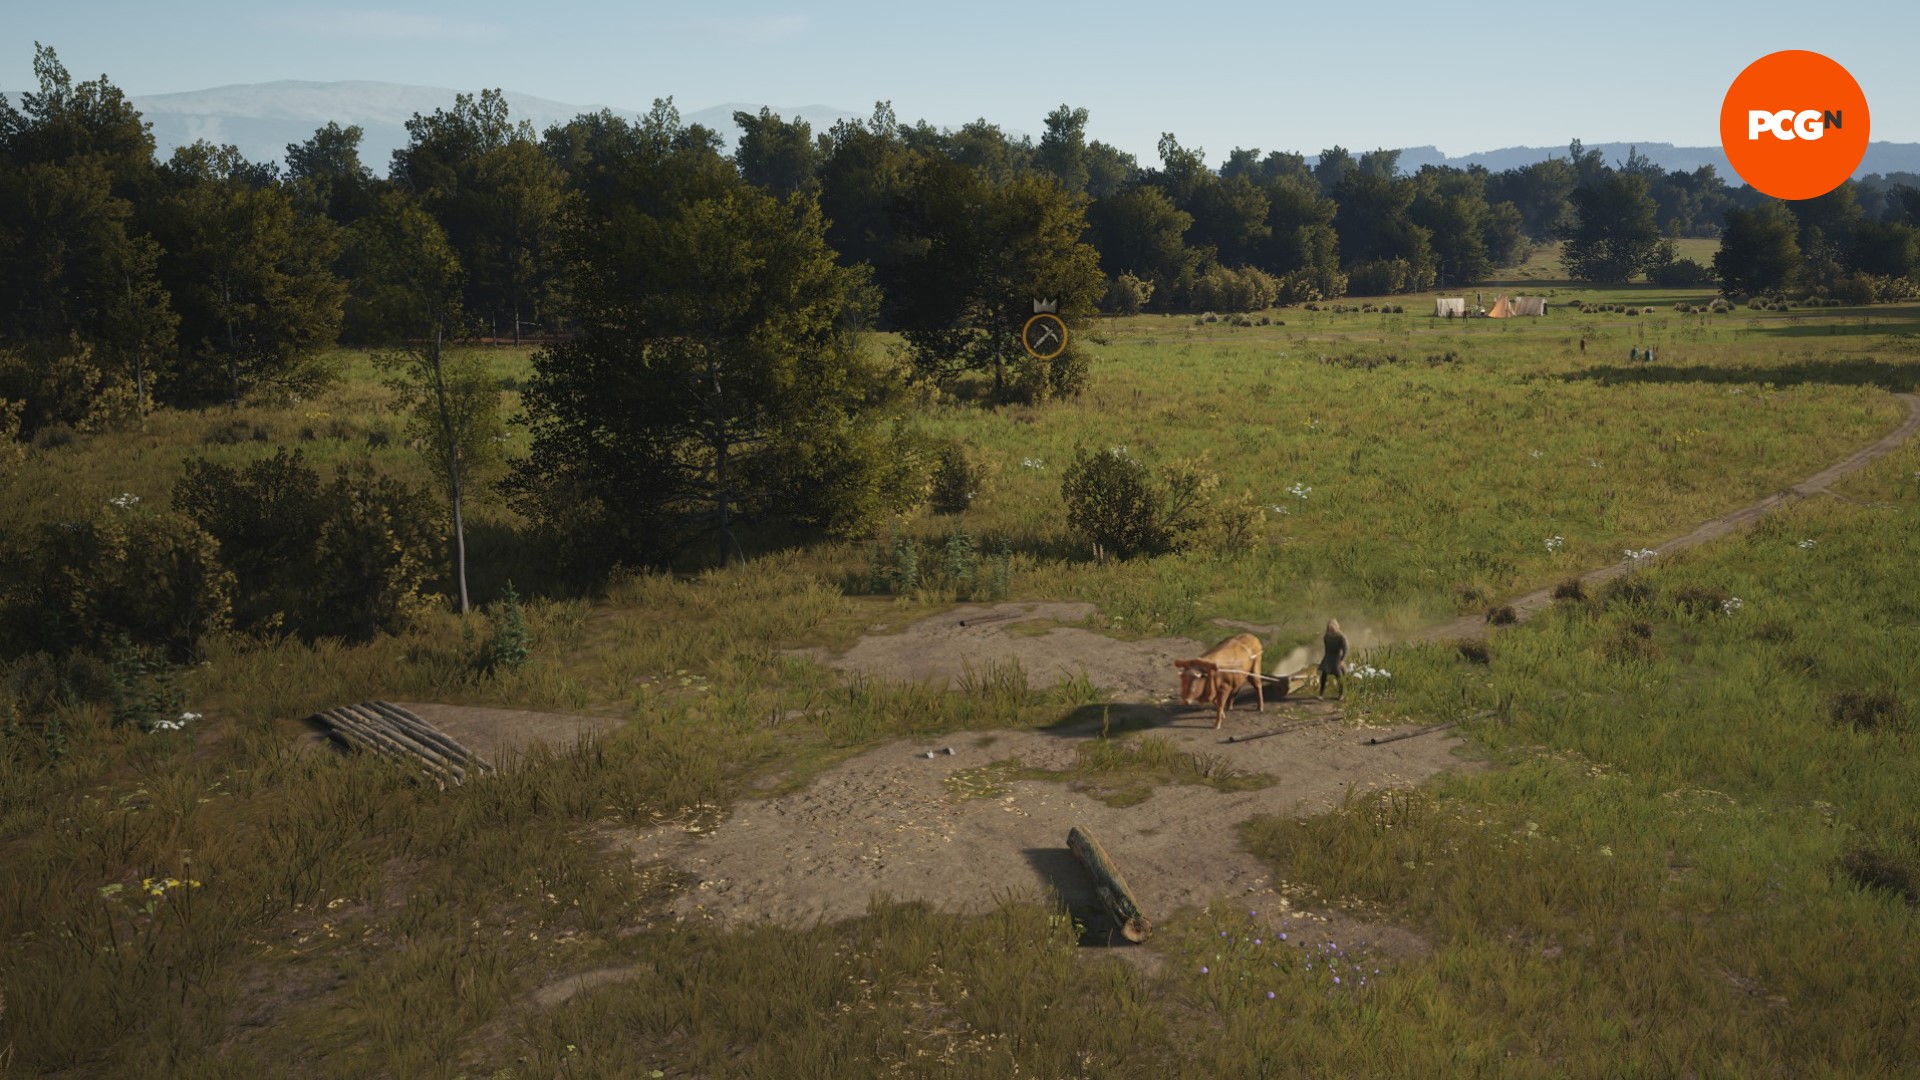
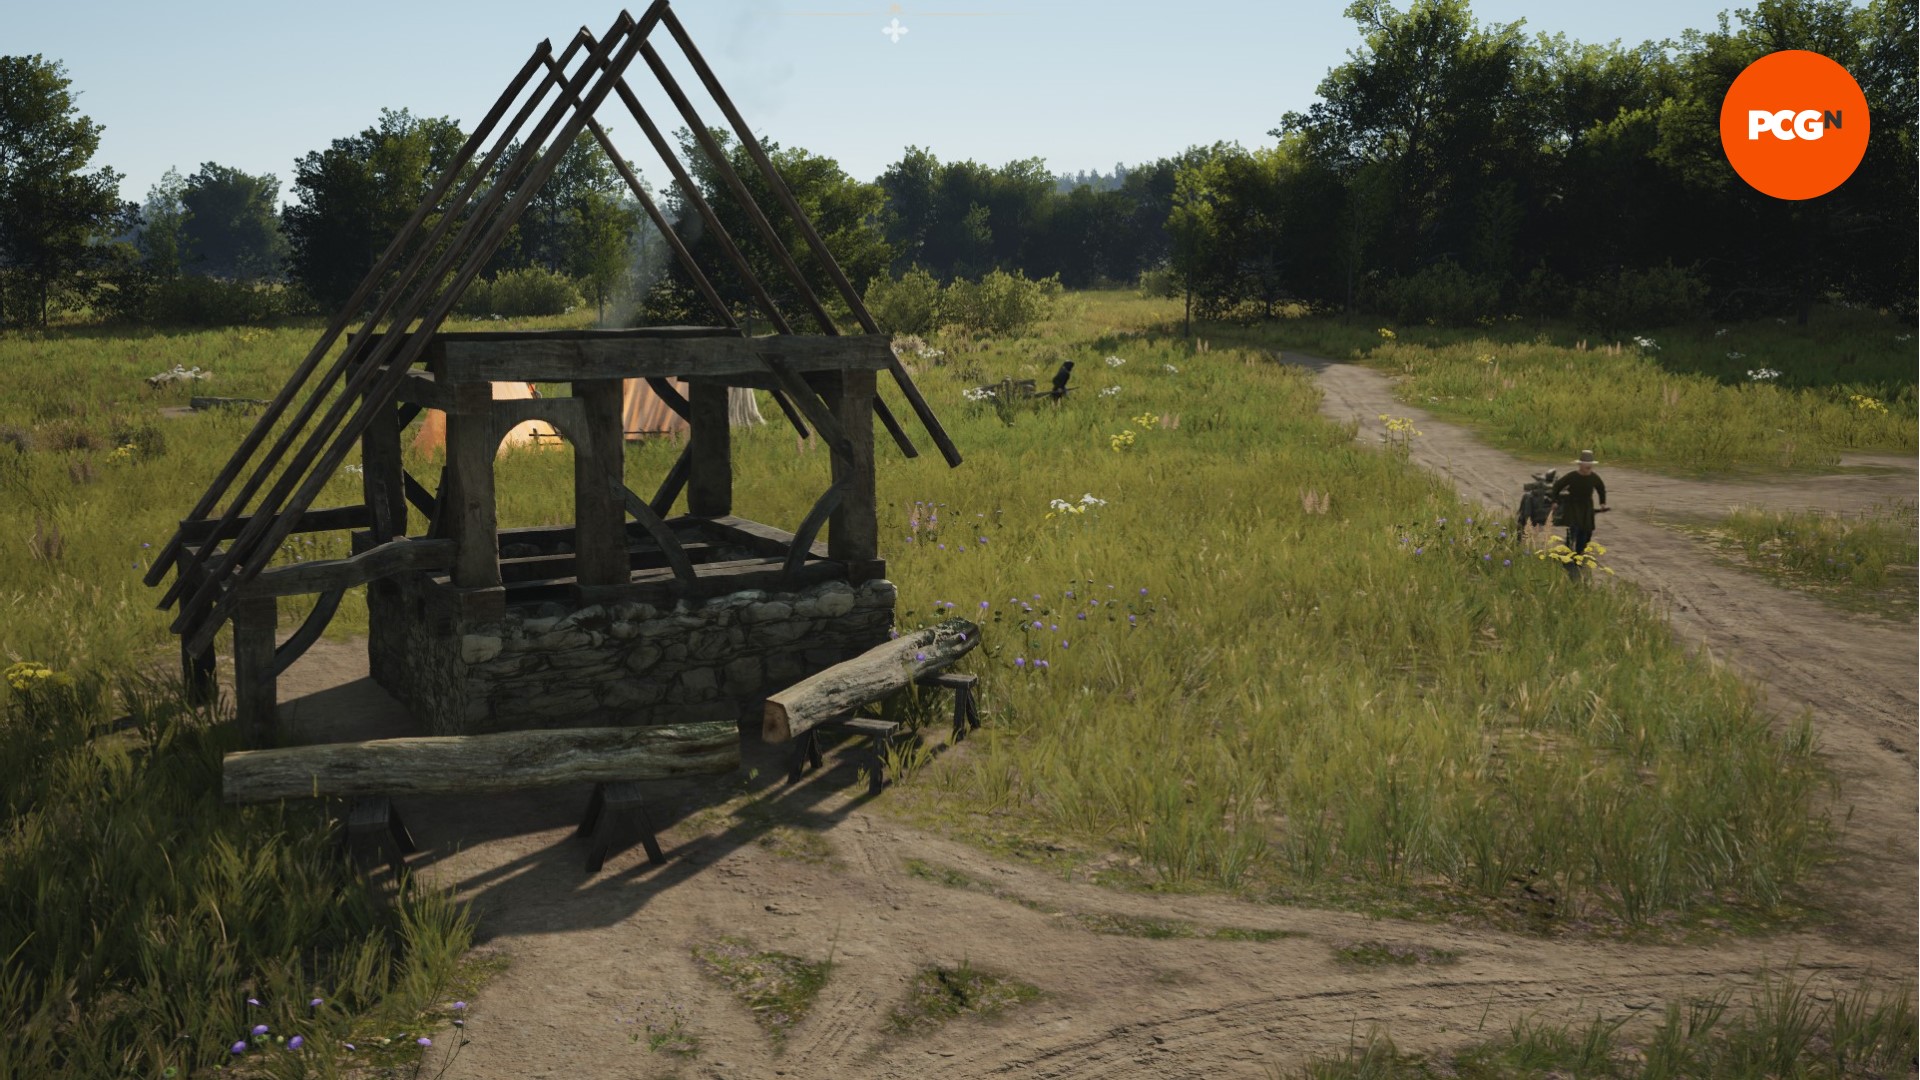
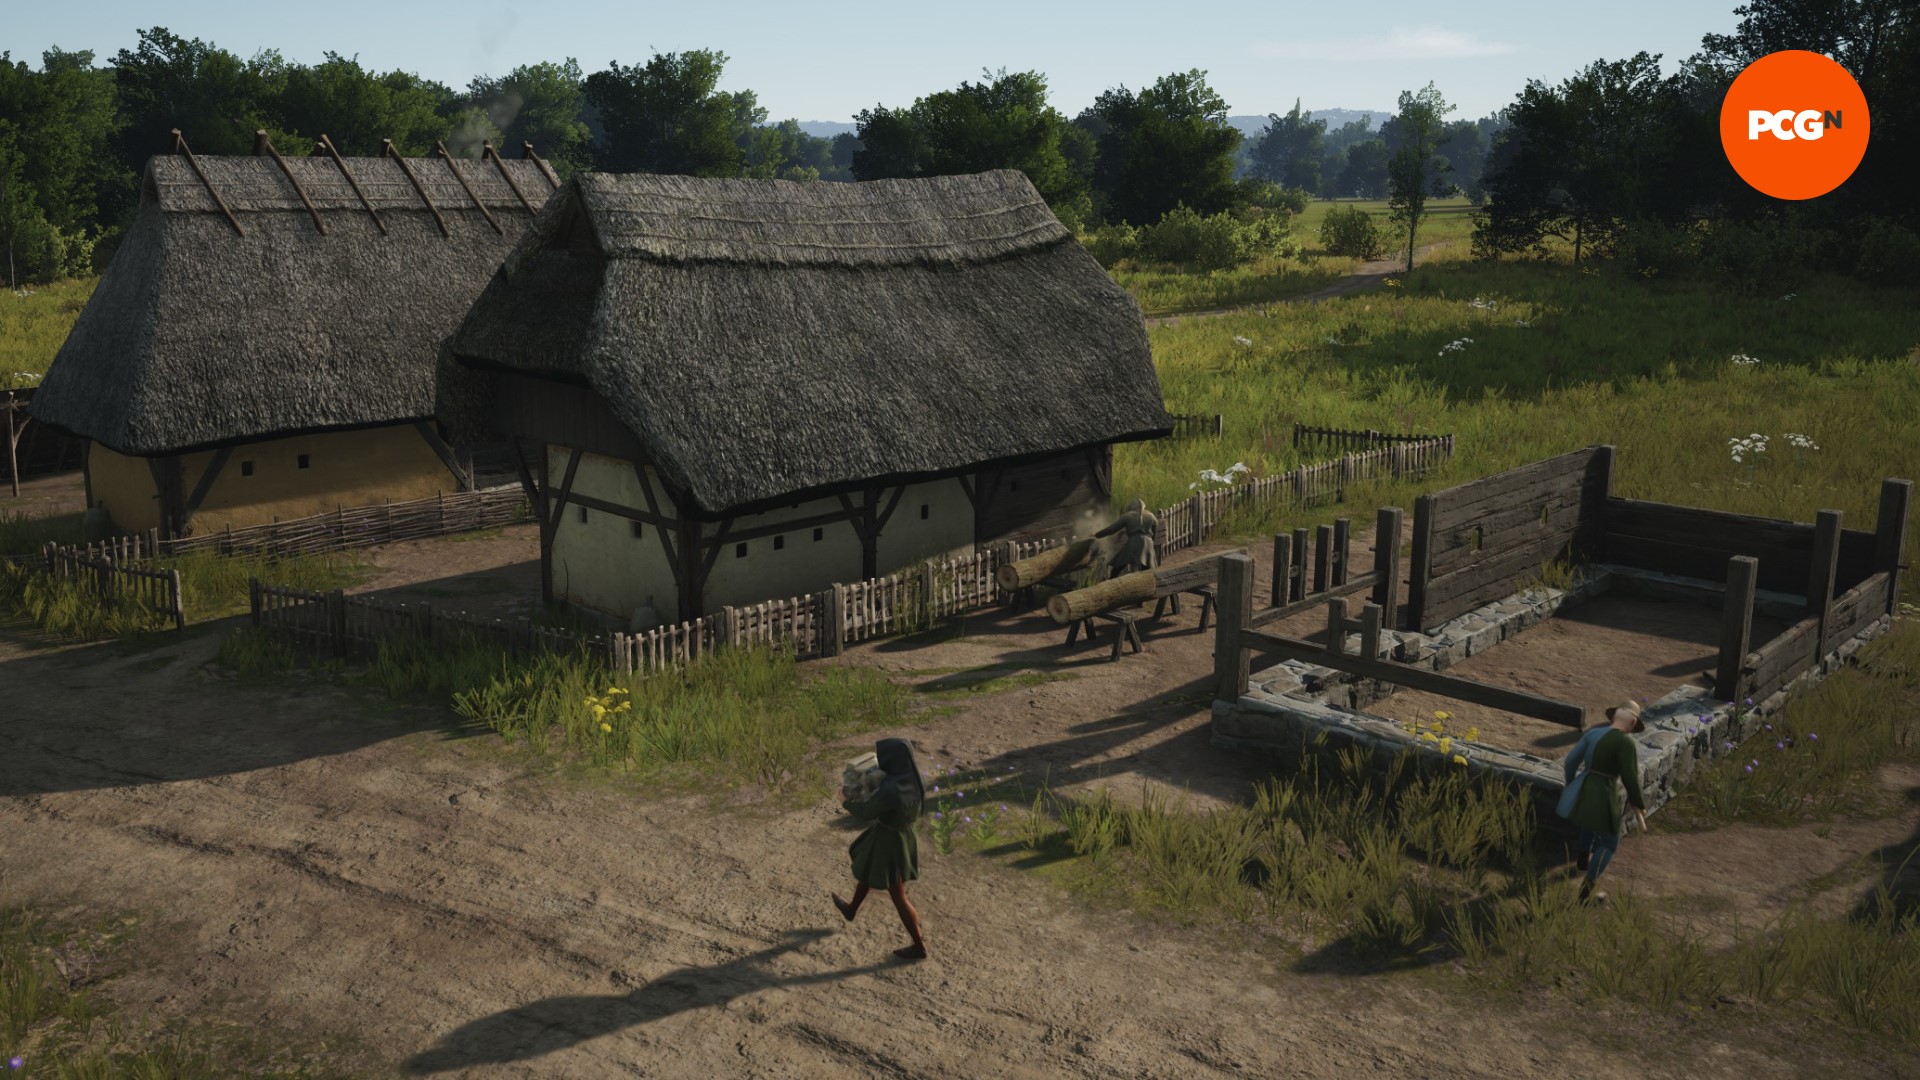
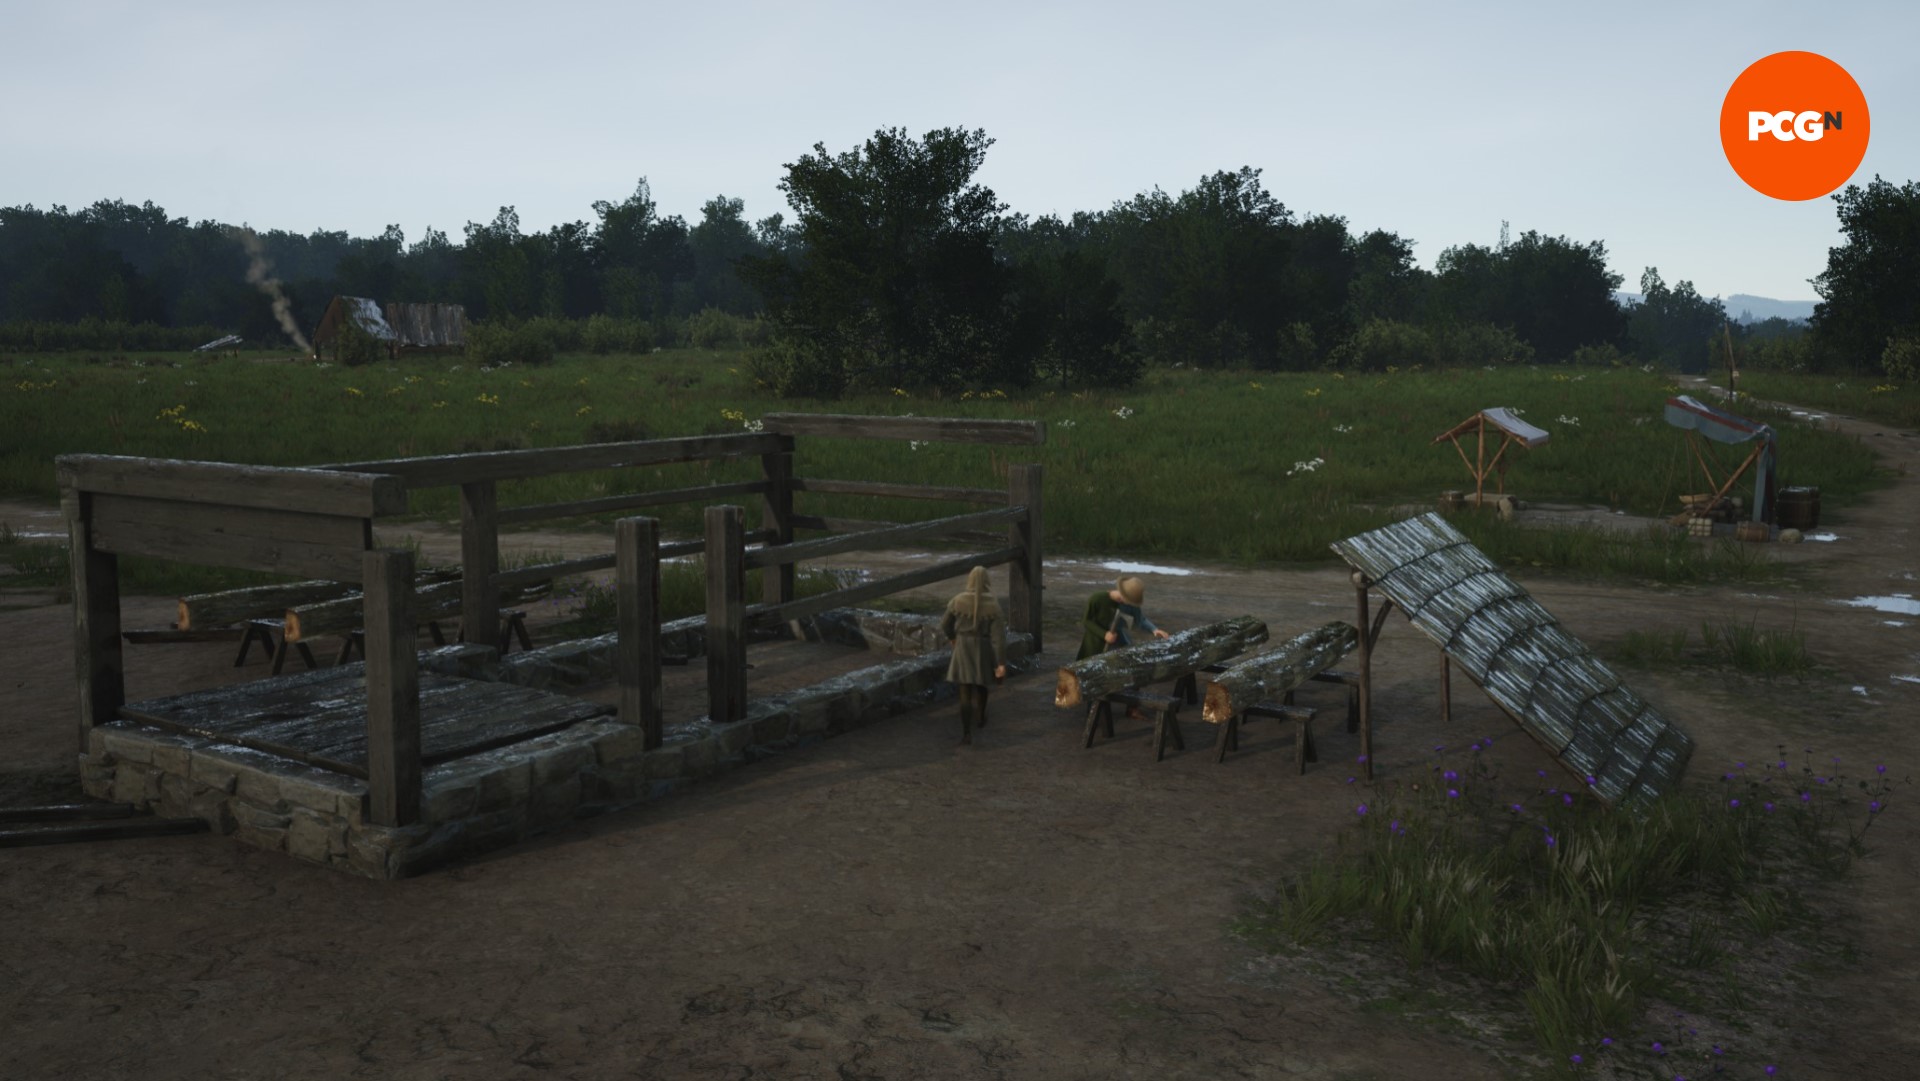
You need logs to build just about everything in the first phase of Manor Lords. Burgage plots (which are your houses) need two timber each, you’ll need them for hunting and gathering camps, for mining pits… if you can name it, you need timber to build it. This includes the logging camp itself, which is what you’ll need to produce more timber.
This means you want to be very sure to place a logging camp before you use up all your logs on things like housing and workshops. It’s not a game-ruining mistake if you run out, because Manor Lords will refund your building costs if you end up having to tear something down. Still, the time your tiny number of townspeople spent building doomed structures is precious and could have been used doing something more helpful, such as hunting game or picking berries.
Goods must be stored.
You start off in Manor Lords with a decent supply of building materials and food, but they’re just lying on the ground out in the open. As soon as it rains, those goods will start taking damage – decaying from lack of proper storage. This means you’ll want to prioritize putting up two more structures: a granary, and a storage shed.
The storehouse should be your first priority after constructing the logging camp and assigning one family to timber-cutting duty. It’s a simple structure, one you should place about midway between your logging camp and the area where you plan to place most of your town’s communal structures. It’s a place to hold raw materials, commodities like leather, and weapons that haven’t been claimed by anyone in your militia. You just need one for now, but it’s worth building more if you wind up with widely-spaced resource nodes.
The granary is more resource-intensive: it requires both timber and stone. Don’t worry though, you’ll have enough stone available in your starting resource pile to put one together – as long as you haven’t used it on anything else.
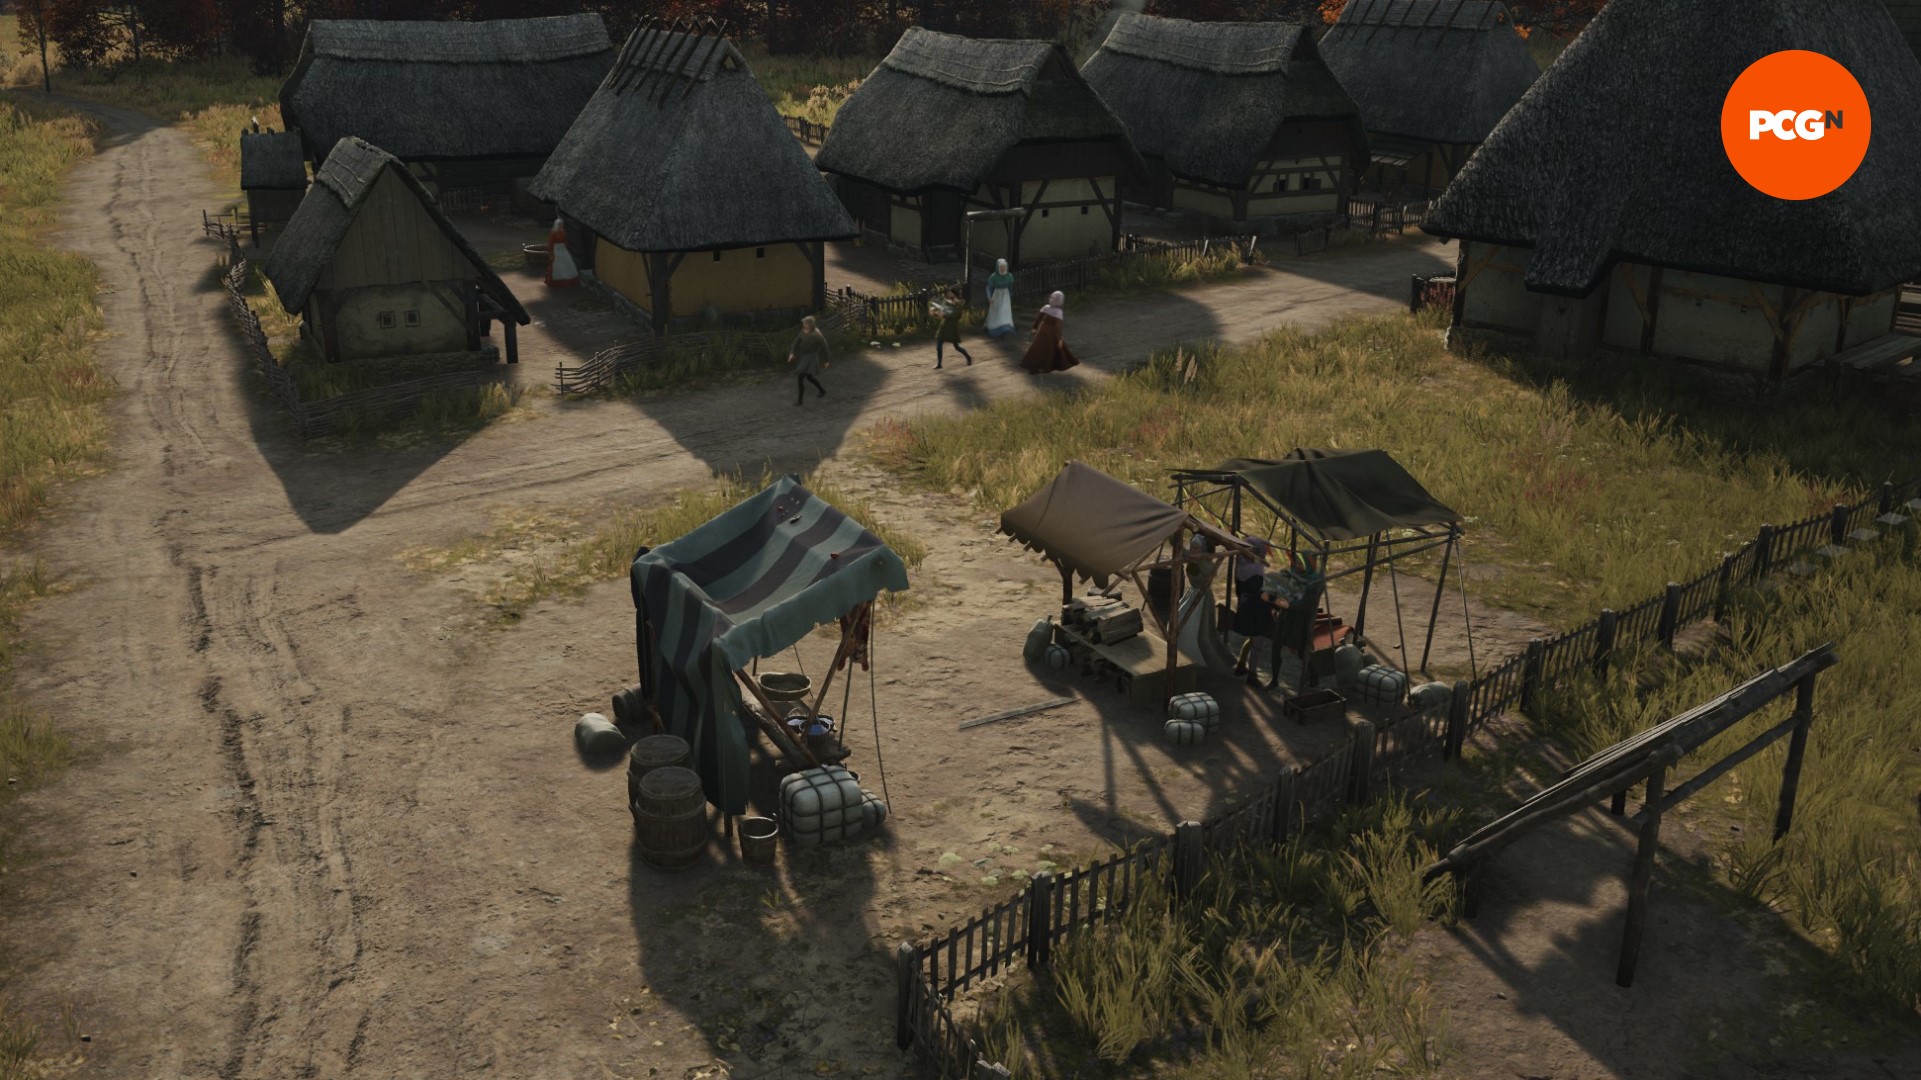
You’ll also want to set up a market. Assign families to manage the storage facilities you’ve built, and they’ll set up stalls in the marketplace, which is where villagers will come to get things like food, firewood, and clothing.
How to get food in Manor Lords
During your first year, your town will be small enough to subsist on berries and wild game. Find the nearest sources for these (they’ll be marked by icons on your map) and build a forager’s hut near the berries and a hunter’s camp close to the herd. As long as the berries, meat, and hides are stored (either at the camps or in your storage buildings), they won’t go bad, and you’ll be able to quickly sock away enough food for more than a full year.
Once you do have a decent stockpile of food built up, it’s worth pulling families off hunting and gathering duties. Feel free to reassign someone if things get a little low, but you’ve only got the five families to work with at first, so it’s important to move them on to jobs where they’re most needed pretty frequently. Remember to keep at least one family unassigned, you’ll need them to do all your construction.
When to build houses
Once you’ve set up sources of timber and food, and gotten everyone else stowing your initial supplies in storage facilities, it’s time to start laying out burgage plots, which are where your town’s houses will be built. This is an important step: your approval rating depends heavily on everyone being housed, and your town cannot attract new residents until your approval is above 50%. More families means more people to assign to tasks, and it also means more recruits for your town’s militia.
You can set up burgage plots along any road, and you’ll have to set the four points that define each property. This is worth consideration because houses, like many Manor Lords structures, can be upgraded and customized – but only if there’s enough room for expansion in their plot. Packing houses close together might seem like the way to maximize your population, but a house on a large enough plot can be expanded to accommodate two families. If there’s enough room in the yard, you’ll be able to pick a home industry workshop to add, like a goat pen or armorer’s workshop. In other words, larger plots are often a more efficient use of space. Good picks early on are the vegetable garden and hen house, which both provide passive sources of food. Having eggs and veggies available alongside the meat and berries you’ve foraged in the forest will make villagers happier, and your town will grow faster.
It takes a little trial and error to set up each plot with the right amount of space – just watch for the icons that pop up that indicate spaces for workshops and extensions. If you’ve made a mistake, right-click to delete your last point and try again.
Start trading
By now you’ll have had a look around and probably noticed there’s a nearby resource or two you aren’t using very much of yet. Maybe it’s stone, iron, or clay. It might be that you have a huge surplus of pelts or berries. Whatever the case, it’s important to set up a trading post and start trading as early as you can, because, for a while, it’ll be the only means you have for earning actual money.
Here again, it’s easy to get into trouble early on by spending all your starting gold on other projects – those backyard artisan workshops, for example, can easily blow through all your cash. The thing is, it costs gold to set up each trade route, and you need one for every individual commodity you want to trade in. Some of these are pretty minor fees, but when you get into more valuable commodities like iron slabs and finished weapons, the costs jump up dramatically.
Make sure you have enough to start at least one trade route (ideally for your most abundant resource). First, though, you’ll need to set up a trading post, which needs to be connected to a road that leads to a trading node (which you’ll notice along the edge of the map screen). Once your trading post is in place, click on it, select the “trade” menu, and sort through the goods categories until you find the items you’d like to trade. Review the fees, confirm that you want to establish a trade route, and change the “no trade” option to “export” to begin selling.
Traders will come through pretty frequently, but they’ll only pick up merchandise that’s waiting for them in the trading post. You’ll want at least one family assigned to manage the trading post’s inventory, which they’ll pull from nearby storehouses.
Go to market
Once you have some burgage plots set up and occupied, you’ll want to get some space designated for your town’s market. Setting this up works similarly to laying out burgage plots, and the size of your market will determine how many stalls your townspeople will be able to cram into it. For now, you really just need three: food, clothing, and firewood.
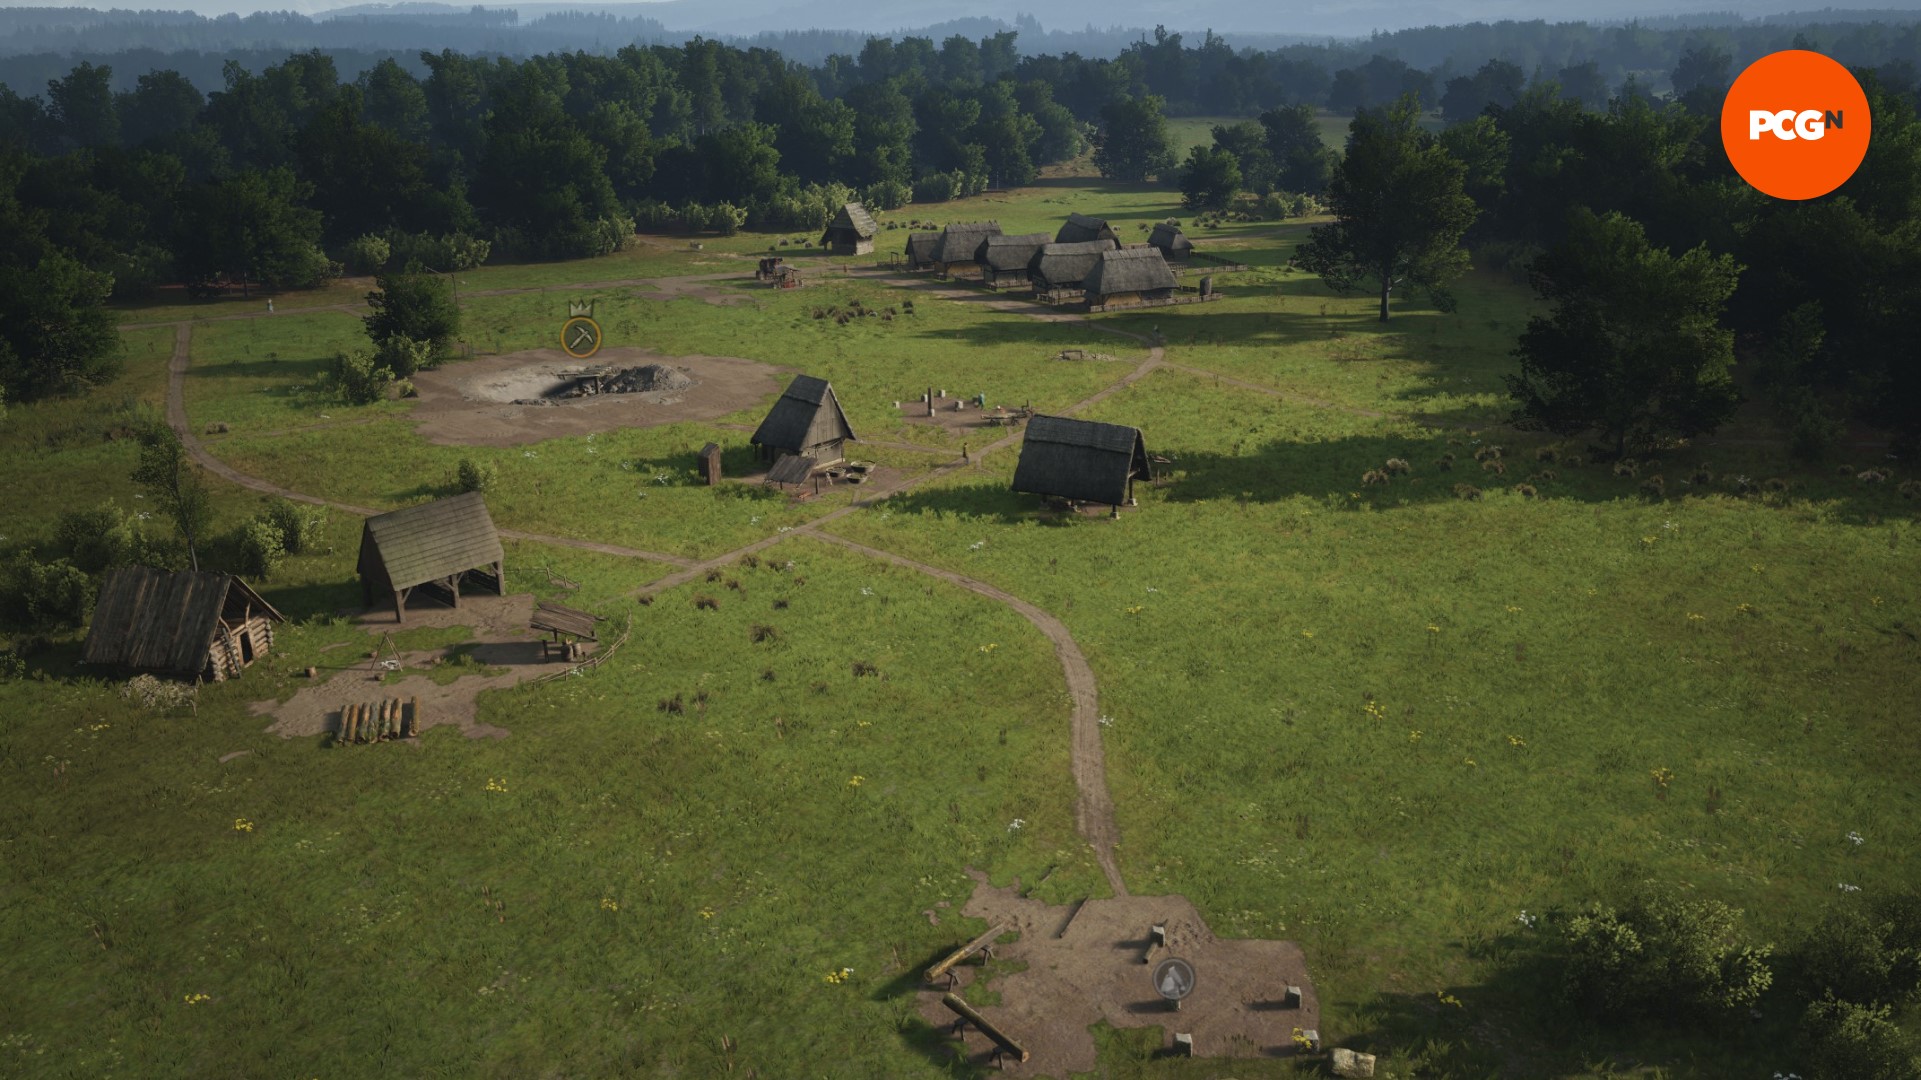
Bear in mind that optimally, your stalls will pull goods from storehouses and the granary, so when laying out your town, try to imagine a set of three concentric circles. Your market should be in the central circle, your storage facilities in the next circle out, and your production nodes (like logging camps and forager’s huts) in the largest circle. Don’t worry too much about everything fitting in neatly, the main idea is that your goods should all naturally flow toward your town center without requiring a long zig-zagging trip to get there.
Now, keep growing!
With the basics of your village established, it’s time to set your sights on future growth. Your first major goal should be the construction of a church – you’ll notice that it’s listed in the amenities needed by your burgage plots in order to upgrade them. For more on this, check out our guide on how to increase your settlement level in Manor Lords.
You’ll also want to check out our guide on how to gain influence in Manor Lords, because you’ll need to use this to expand into new regions on the map.
