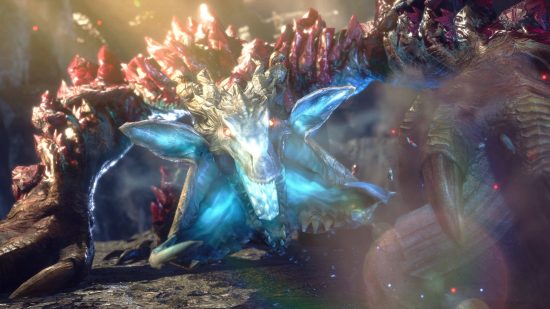
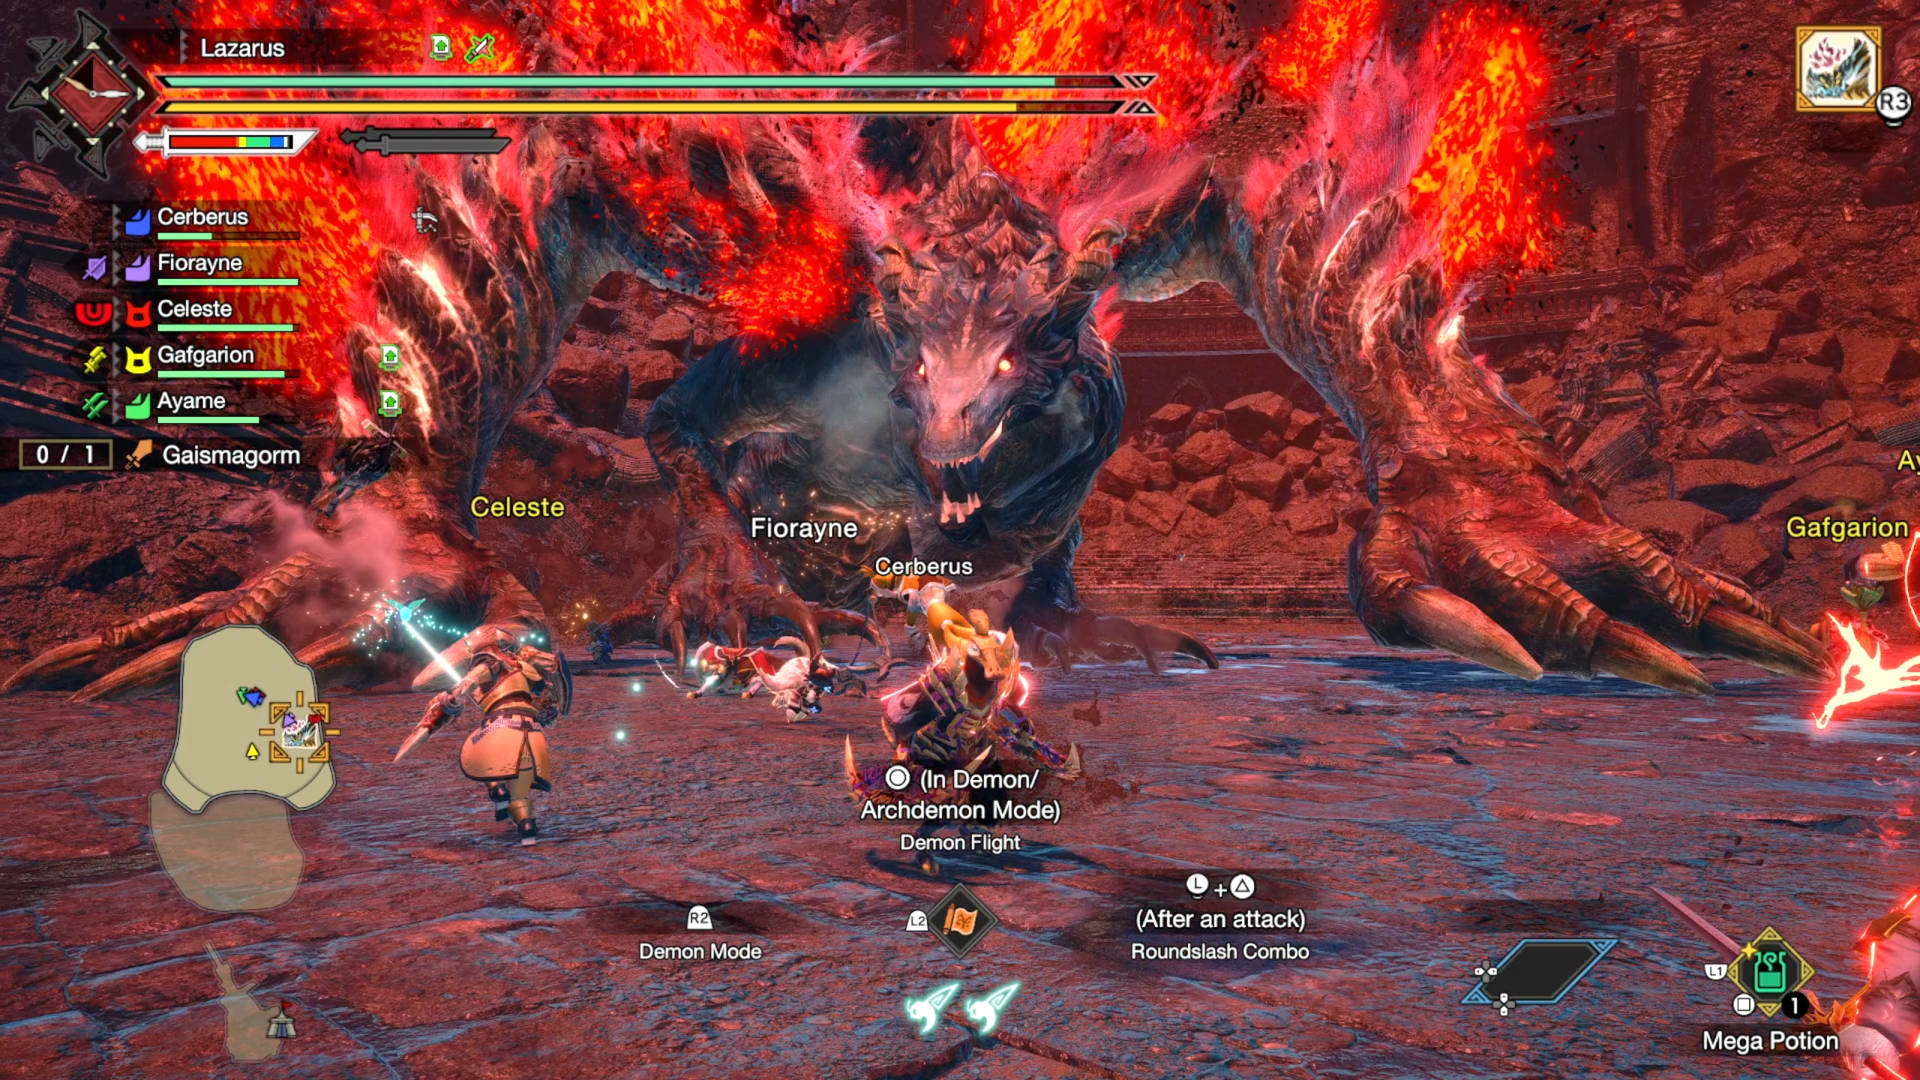
Struggling to beat the Monster Hunter Rise Sunbreak Gaismagorm phases? At the climax of the RPG game’s expansion, with Malzeno finally vanquished, a true evil rears its ugly head: Gaismagorm. It’s up to you to slay the beast and end the Quiro plague once and for all.
You will find this final boss at the end of the Master Rank 5 quests after slaying the infected Lunagarion. Like many final bosses in the series before it, the Monster Hunter Sunbreak Gaismagorm fight has multiple phases, each with new attacks you’ll need to learn how to avoid. You could take this gigantic beast on alone, but the best approach is to assemble a complete hunting party to draw Gaismagorm’s ire. We’ll go over its weaknesses, strategies on how to beat it, and what materials you can gather upon its defeat.
The first step to finishing your quest to slay Gaismagorm once and for all is to have the best equipment for the job. We highly recommend that you get familiar with the Monster Hunter Rise Sunbreak weapon tier list to see which weapons would work wonders on this boss.
In general, melee weapons do far more damage in this fight than ranged, but you may find it a bit safer to be far away from its red-hot maw and sharp claws. If you’re going for particular monster parts, such as the elusive Abyssal Dragonsphire, we recommend at least one of your party has bladed weapons.
Gaismagorm weaknesses
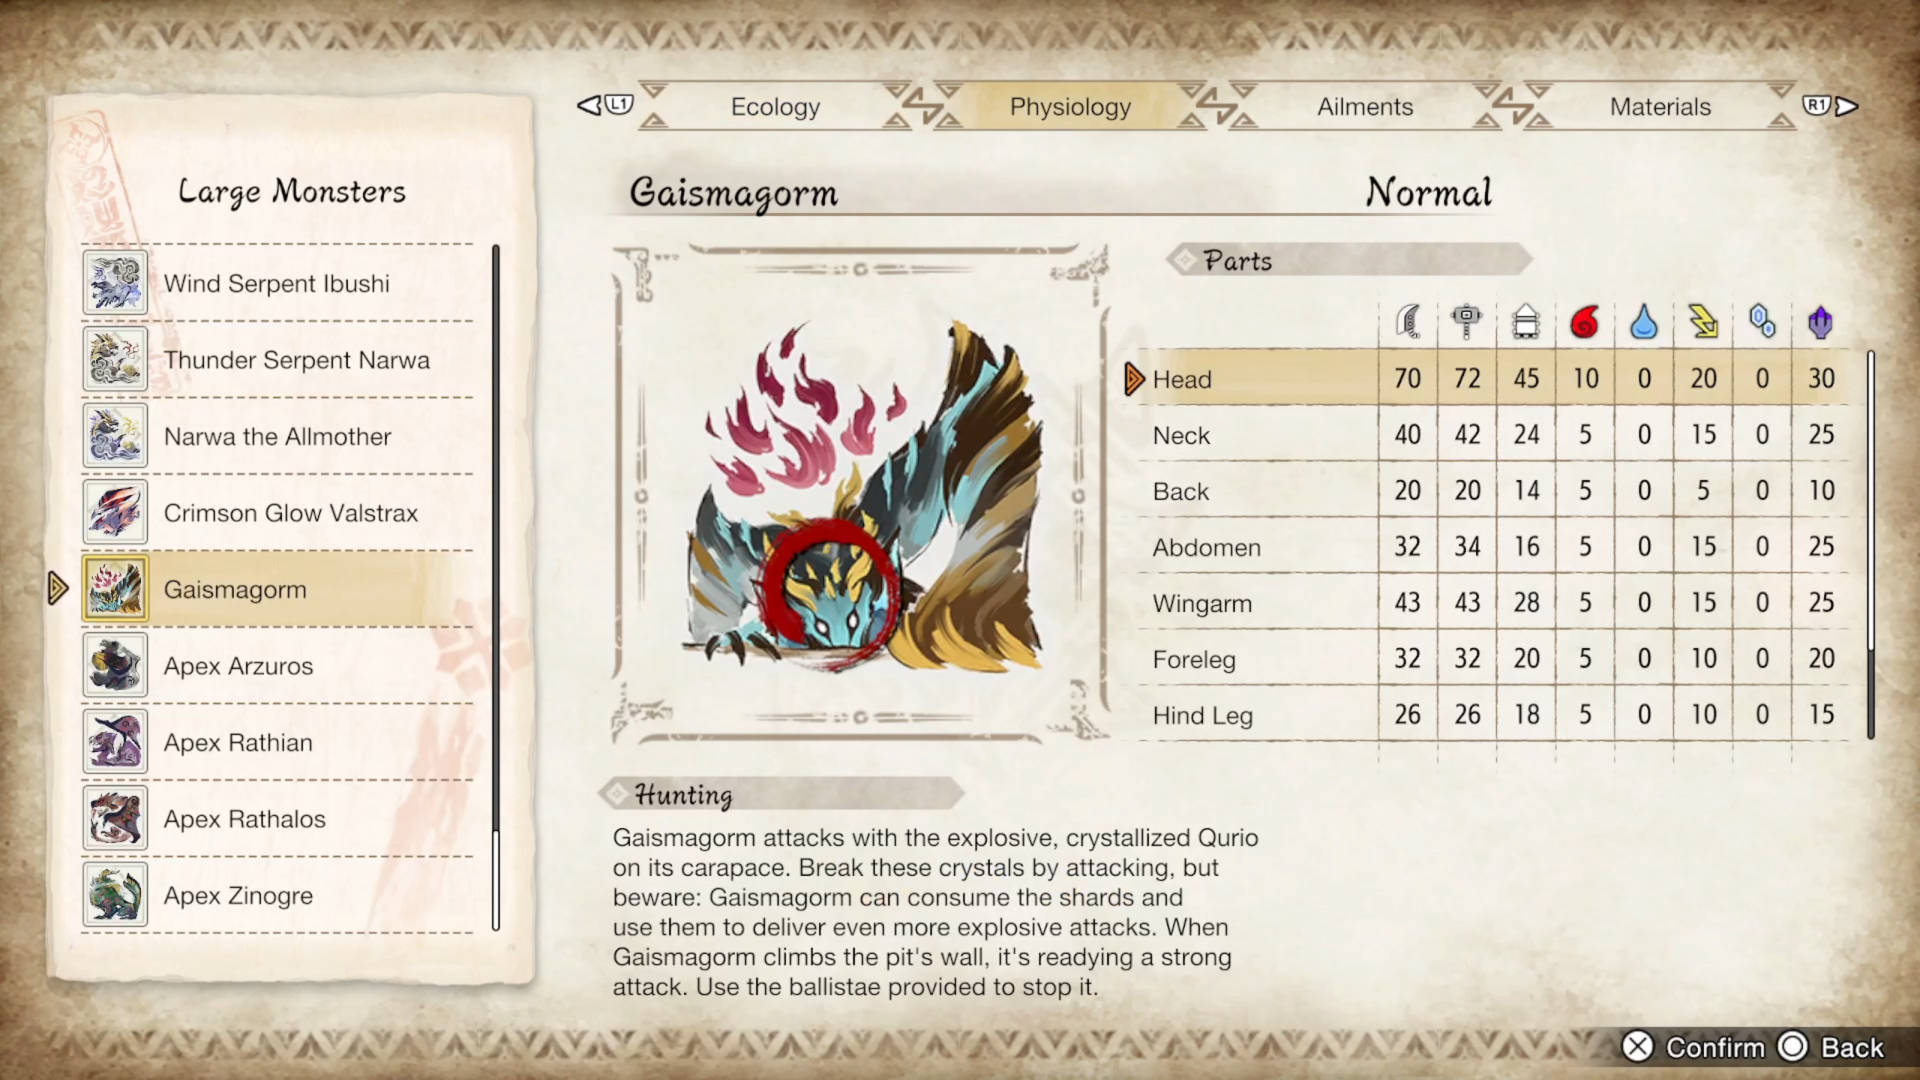
If you have a bladed weapon, your priority is to slash at Gaismagorm’s tail as often as possible. Chopping off the tip will shorten its overall range with its tail attacks while also allowing you to scavenge some of the best materials this monster offers. If you’re using a blunt weapon, you should concentrate on knocking it down with well-placed strikes to the head and front claws, while players using Bows and Bowguns should keep their distance.
Do not take water or ice weapons into this fight as they will not deal any elemental damage. It may surprise you to learn that, for a monster with dragon-like features, Dragon weapons offer the best elemental damage. Thunder and Fire elements also work relatively well if you don’t have decent Dragon weapons. With their buffs in elemental damage, the best Monster Hunter Rise Sunbreak Dual Blades build may help you out.
As for blight effectiveness, your best bet is to use Blastblight. It’s the only one to have two-star effectiveness, and none of the other status ailments will work against it. As for Fireblight, Waterblight, Thunderblight, and Iceblight, all of these effects will work against Gaismagorm but much less effectively than Blastblight.
Gaismagorm phases
First phase
Gaismagorm’s first phase isn’t too tricky to beat, but it has many attacks in its arsenal. Thankfully, all of them have long wind-up times, and you can easily scout them out by watching for the following patterns.
- Whenever Gaismagorm begins to turn around, watch for its claws and its tail as they are both hitboxes while it spins.
- When it wiggles its hips, it’s about to slam its tail down. This attack has a large AoE, so ensure you’re far away from the impact zone.
If it rears its head before slamming it into the ground, it can use it to dig a trench a short distance by walking forwards, forcefully shovelling dirt in its path – steer clear. - If you see flames as it rears its head, it will breathe out some explosive fireballs. Either run as far away from it or as close to the tail as possible to avoid their explosions.
- Whenever it stands on its hind legs, move as far away as possible because it’s about to perform an explosive slam with a large radius.
- Gaismagorm can swipe at nearby attackers with its claws and pick up rocks to throw at ranged fighters.
- After it roars while standing on its hind legs, some rocks will fall from the ceiling. It will then jump and begin sucking everything in the arena towards it. Stand behind one of the fallen rocks to avoid damage from the incoming explosion.
- If it begins to charge, make sure that if you use a Wirebug, you zip off to the side rather than backwards. This charging manoeuvre can hit you mid-retreat.
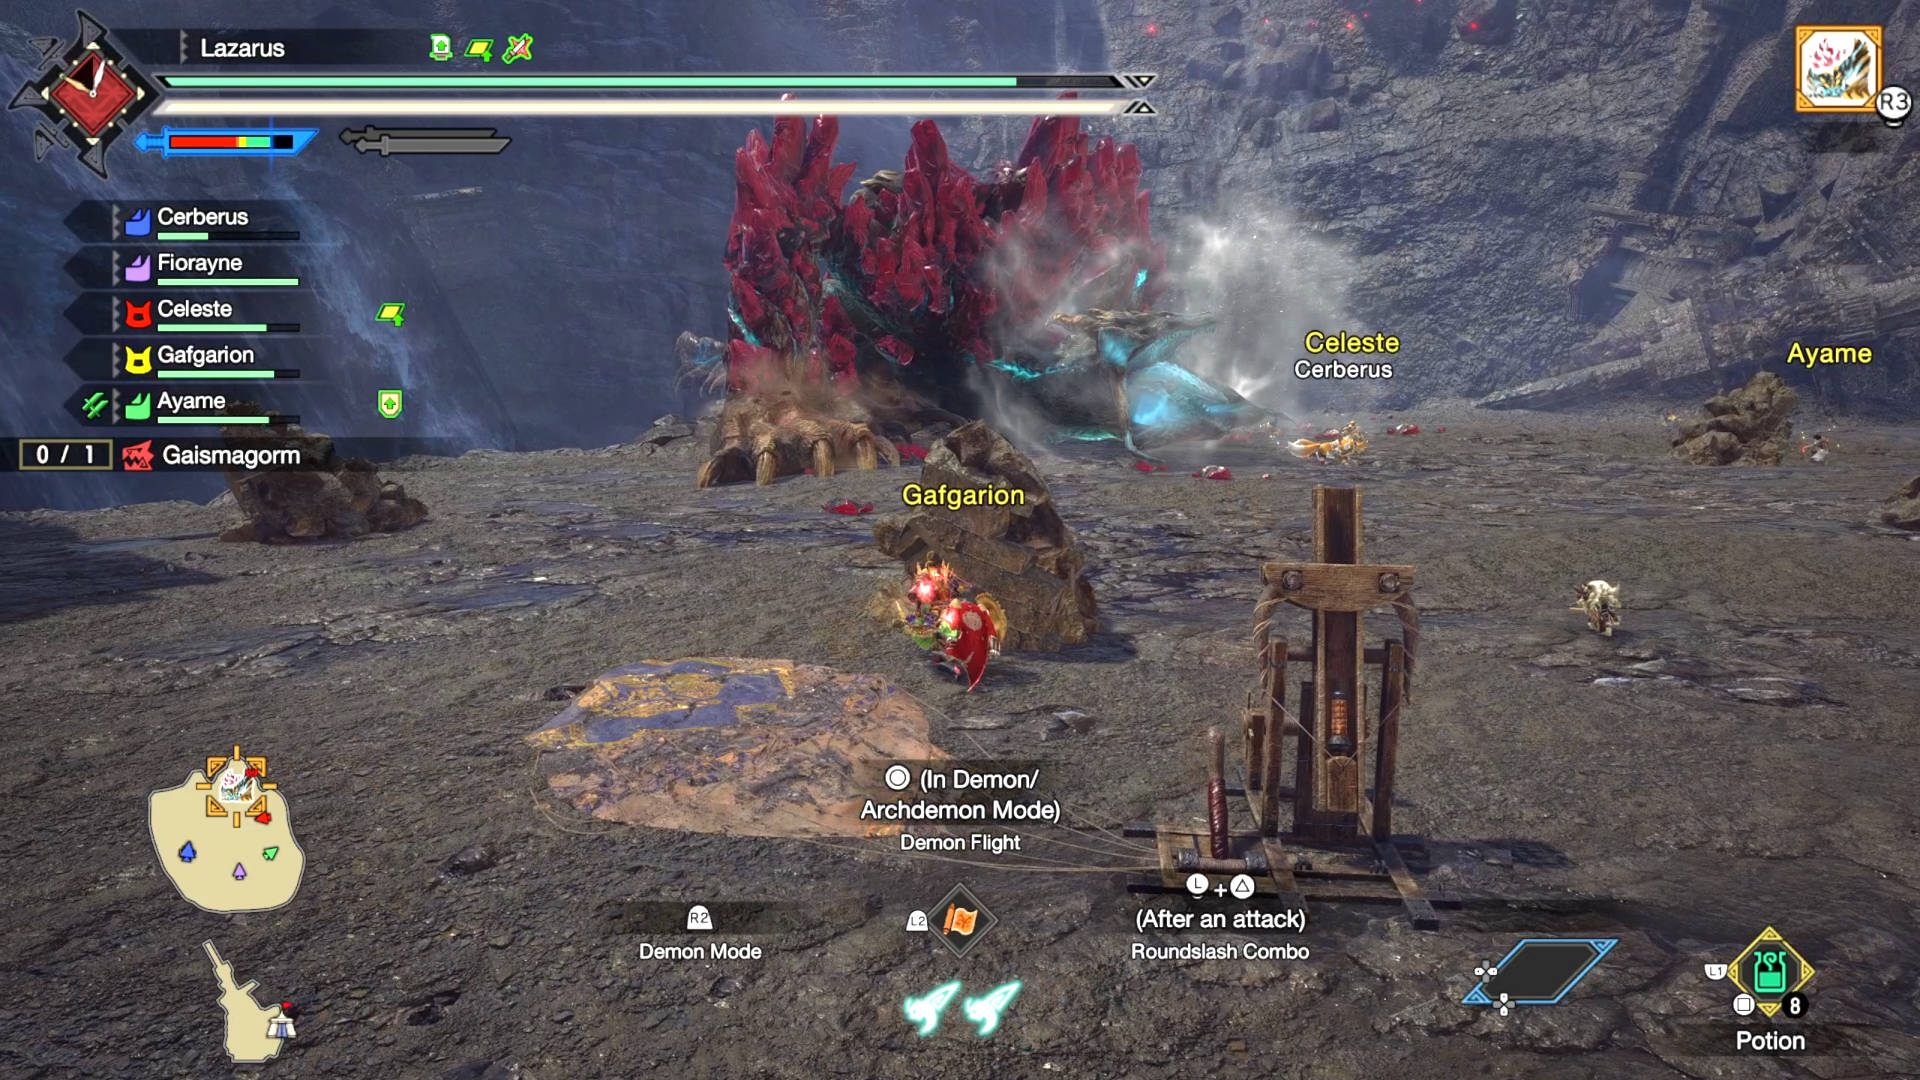
At one point during this phase of the fight, a Dragonator Signal will sound off. You must lure Gaismagorm close to it to ensure that the Dragonator bombardment hits its target when you pull the lever. After Gaismagorm takes the brunt of the firepower, it will fall over, allowing you to attack without worrying about getting hit back.
This phase will end with a cutscene in which more Dragonator attacks knock bombard Gaismagorm. This is a great chance to recover health, sharpen your weapon, and restock items at the camp before heading down again.
Second phase
Gaismagorm now has Qurios all over its body, providing constant health regeneration. And, of course, there are a few more attacks to deal with:
- Gaismagorm can produce an explosive fireball that can reach almost anywhere in the arena. Sometimes it’ll jump back after this to try and suck you in for another attack.
- If Gaismagorm rises while sucking in air, it will spin around violently. Try not to be near it when this happens.
- If Gaismagorm rises on its hind legs while looking down, it’ll create a flaming trail across the ground that will then explode. The trail detonates after a short time, so use this window to get out of range.
- If Gaismagorm rises on its hind legs and starts moving rather erratically, it’ll violently thrash the ground several times in a row while moving forward. It can turn quite quickly, so keep running and be ready to dodge reactively.
One of Gaismagorm’s most dangerous attacks sometimes happens straight after it fires a smaller fireball and leaps backwards. It will summon some meteors to strike the ground near itself. Watch for the red marks and dodge out of their radius to avoid taking too much damage.
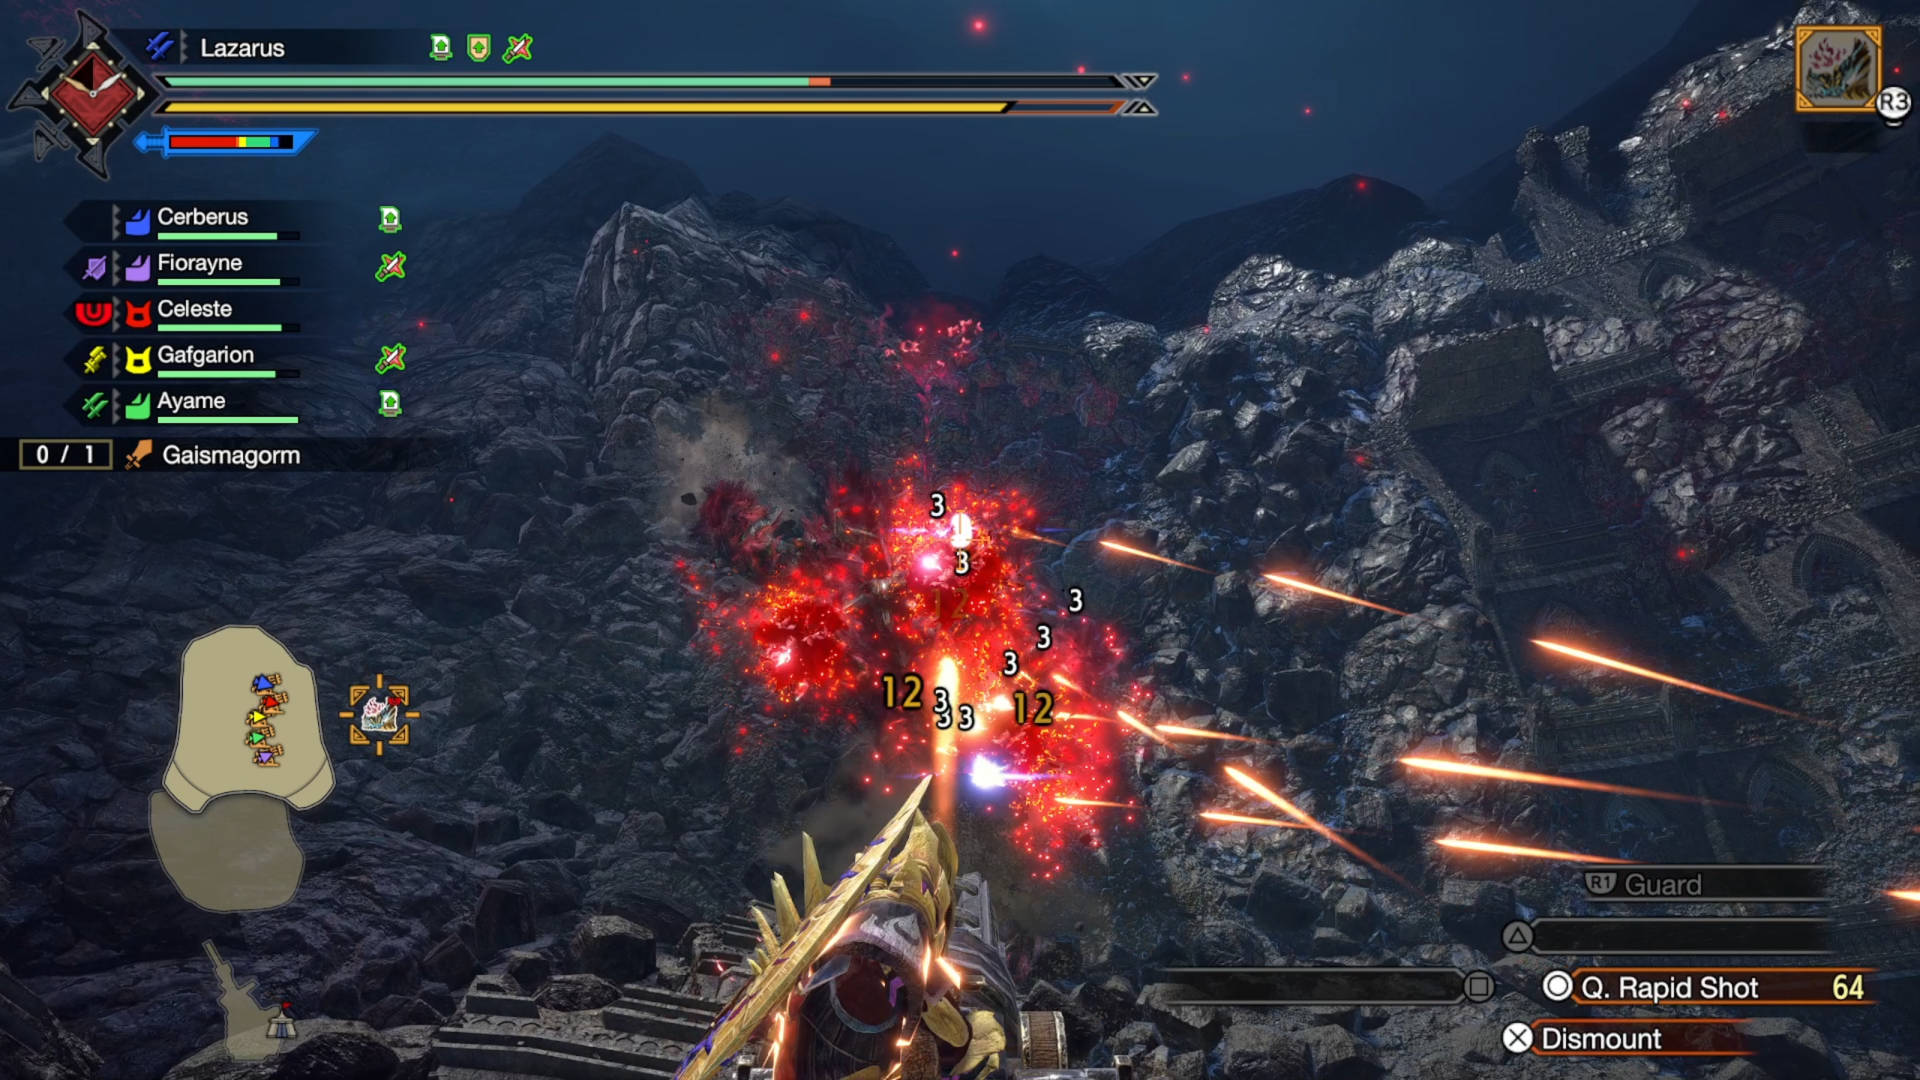
Twice in this phase, you’ll hear a gong, and Gaismagorm will cry out for a long time. As soon as it moves away, try to find where it’s climbing to and position yourself nearby. You should see several black spots on the ground. These spots are where the Barrage Ballista turrets will appear. You want to hop onto a ballista and then fire at any Gaismagorm’s red parts and any incoming Quiros. As soon as you see crimson wings, disengage from the cannons and run away as far as you can.
Third phase
The third and final phase is suitably the most dangerous part of the battle. Gaismagorm heralds in its ultimate form with an almighty roar that turns the arena red. However, aside from variations on its other attacks, such as the charging attack happening multiple times in a row or fireballs getting increased range, there isn’t much that’s different. We recommend using a Wirebug to dart out of range of either of these two attacks.
Shortly after this phase starts, though, Gaismagorm will begin to climb the wall once more. However, you won’t have access to turrets like in the previous phase as they’re not ready yet. After a short time of Gaismagorm climbing the wall, a cutscene will play in which Fiorayne will leap up and stab it in the back, dealing a huge amount of damage and causing it to fall over for a few seconds. Use this opportunity to hit it as much as you can. Keep attacking and stay vigilant for those tells. With any luck, you should have enough healing items to see you through the rest of the fight.
Gaismagorm materials
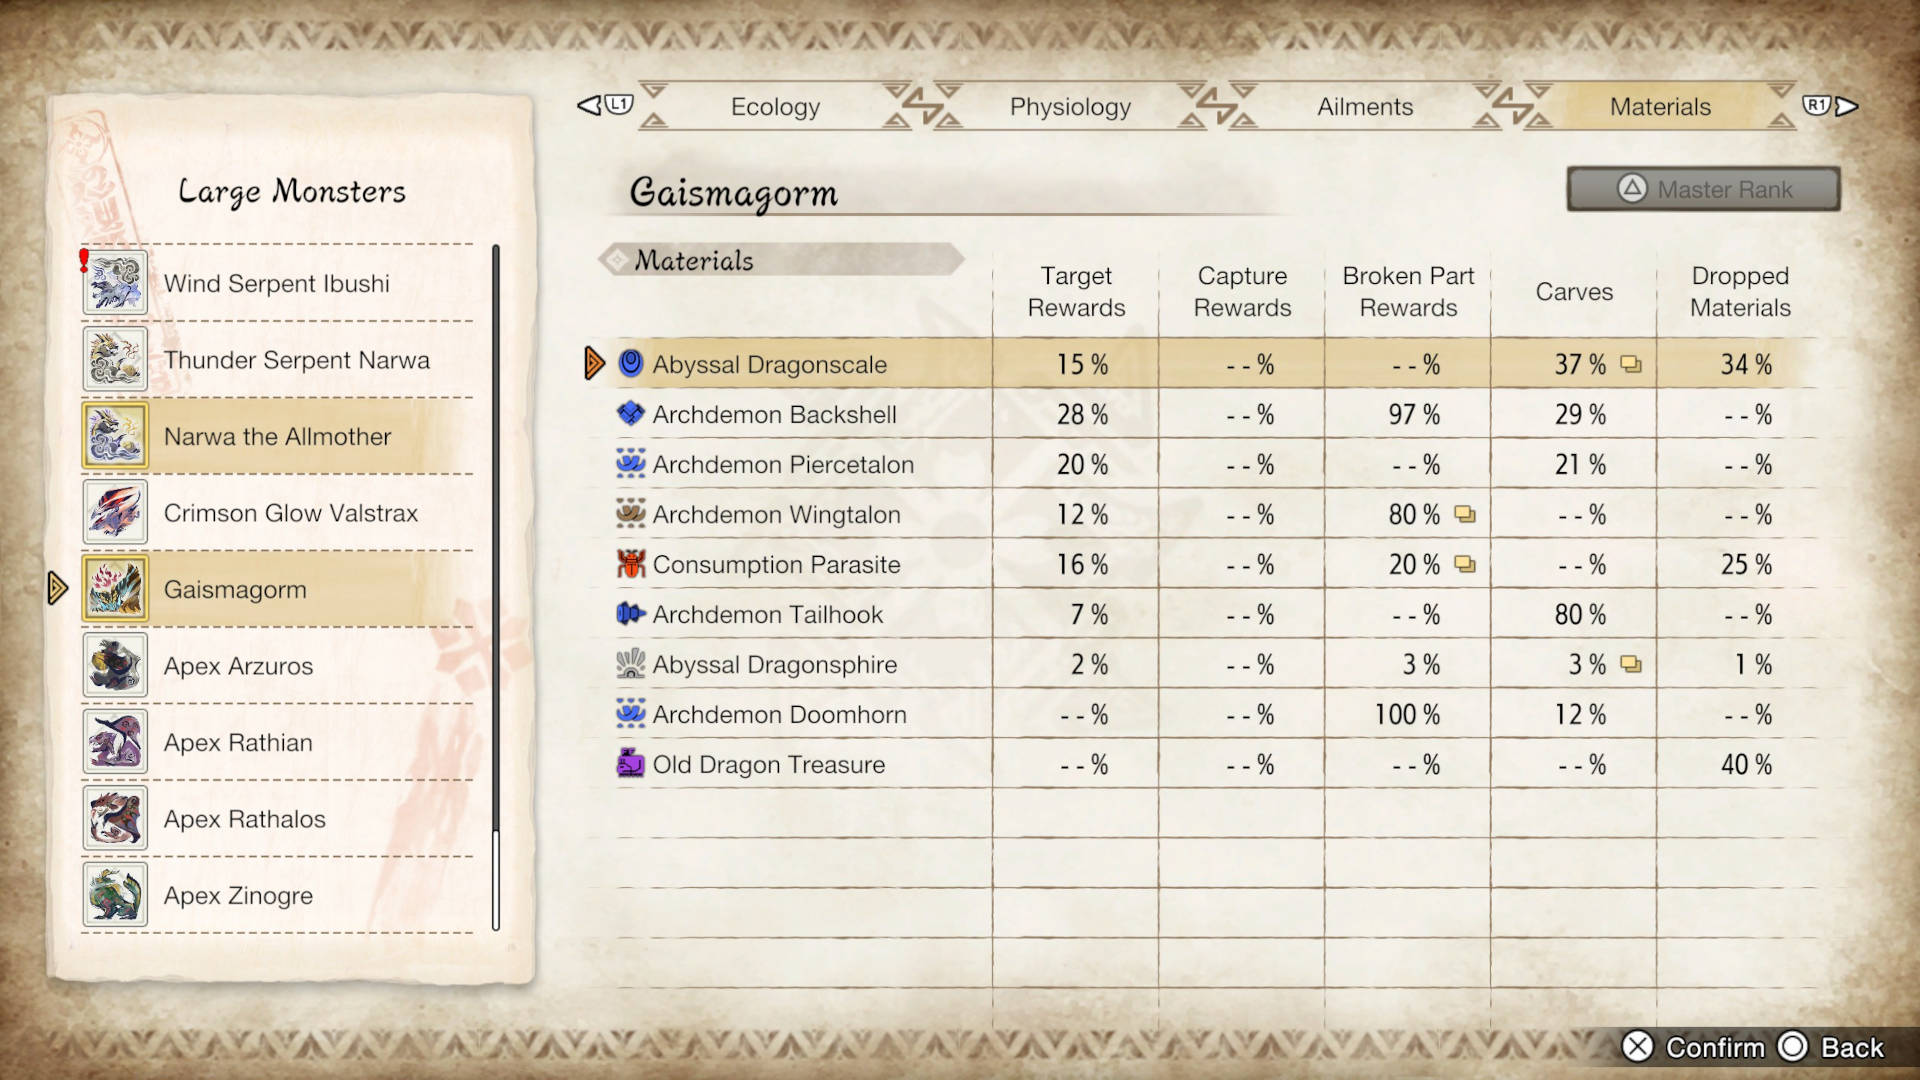
Gaismagorm has some of the rarest materials in Sunbreak. It’ll likely take more than a few attempts to get enough to craft some of the best Monster Hunter Rise Sunbreak Longsword builds that use its gear. Here are all of the Gaismagorm materials you can scavenge from this colossal beast, and the percentages for how likely each item is to drop:
| Materials | Target rewards | Broken part rewards | Carves | Dropped materials |
| Abyssal Dragonscale | 15% | N/A | 37% (Body) 17% (Tail) |
34% |
| Archdemon Backshell | 28% | 97% | 29% | N/A |
| Archdemon Piercetalon | 20% | N/A | 21% | N/A |
| Archdemon Wingtalon | 12% | 80% (Right Wingarm) 80% (Left Wingarm) |
N/A | N/A |
| Consumption Parasite | 16% | 20% (Right Wingarm) 20% (Left Wingarm) |
N/A | 25% |
| Archdemon Tailhook | 7% | N/A | 80% | N/A |
| Abyssal Dragonsphire | 2% | 3% | 3% (Tail) 1% (Body) |
1% |
| Old Dragon Treasure | N/A | N/A | N/A | 40% |
That’s how you beat Gaismagorm, the final boss in Monster Hunter Rise Sunbreak. With this beast’s demise, you can progress through the post-game Master Ranks at your leisure by hunting down more of the new Monster Hunter Rise Sunbreak monsters. Eventually, you’ll get the option to start Anomaly quests, which reward you with the coveted Monster Hunter Rise Sunbreak afflicted materials you need to craft the best weapons in the game.
