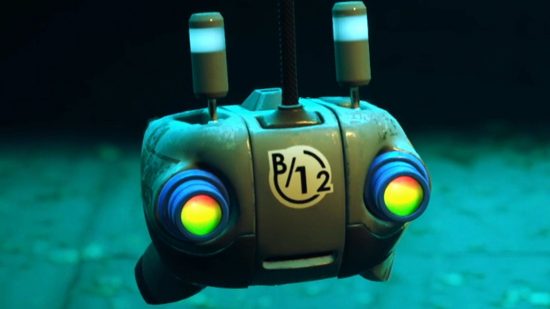
Are the Stray memories eluding you? The Walled City is teeming with collectibles, and chief among them are B-12’s lost memories. While your first priority is finding a means of escaping the city, restoring B-12’s memories by finding all of the Stray memory locations comes in at a close second. Each memory will give you some valuable insight into the history of the Walled City, as well as B-12’s own obscure origins.
There are a whopping 27 Stray memories to collect, so we certainly wouldn’t blame you for missing a few on your playthrough. Some memories are impossible to miss, while others can only be found by exploring the darkest corners of the Walled City. Thankfully, if you have reached the end of the game with a few gaps left in B-12’s memory, you can easily restart each chapter from the main menu.
How to find Stray memories
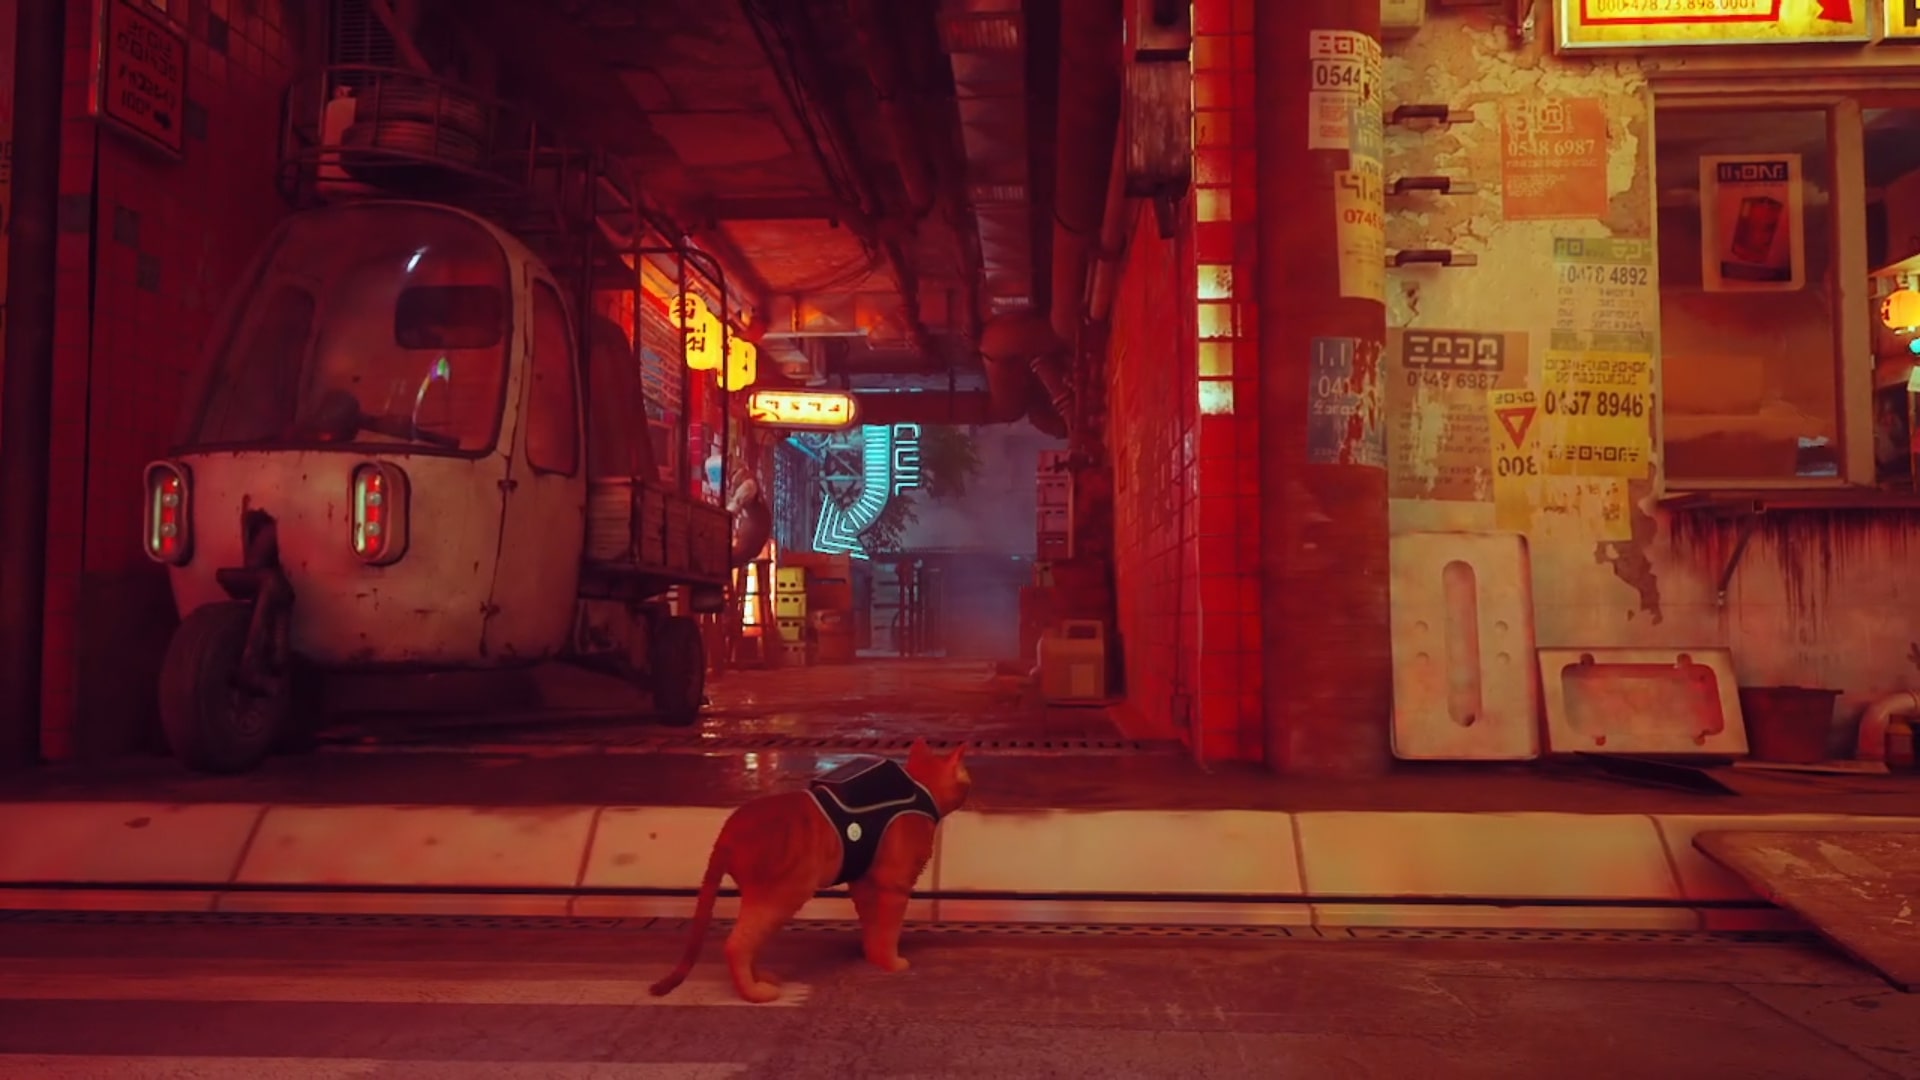
All Stray memory locations emit a blue glow, allowing you to spot them in the environment. You can also consult B-12’s memory banks to find a glitching image of the location of every lost memory in the area, though they are understandably difficult to decipher.
You’re free to explore at your own pace, so the order that you’ll stumble upon Stray memories will vary from playthrough to playthrough. However, we’ve organised this list to reflect the order they’re unlocked in B-12’s memory banks.
Stray memory locations
The Flat
There’s one Stray memory in The Flat:
Mural
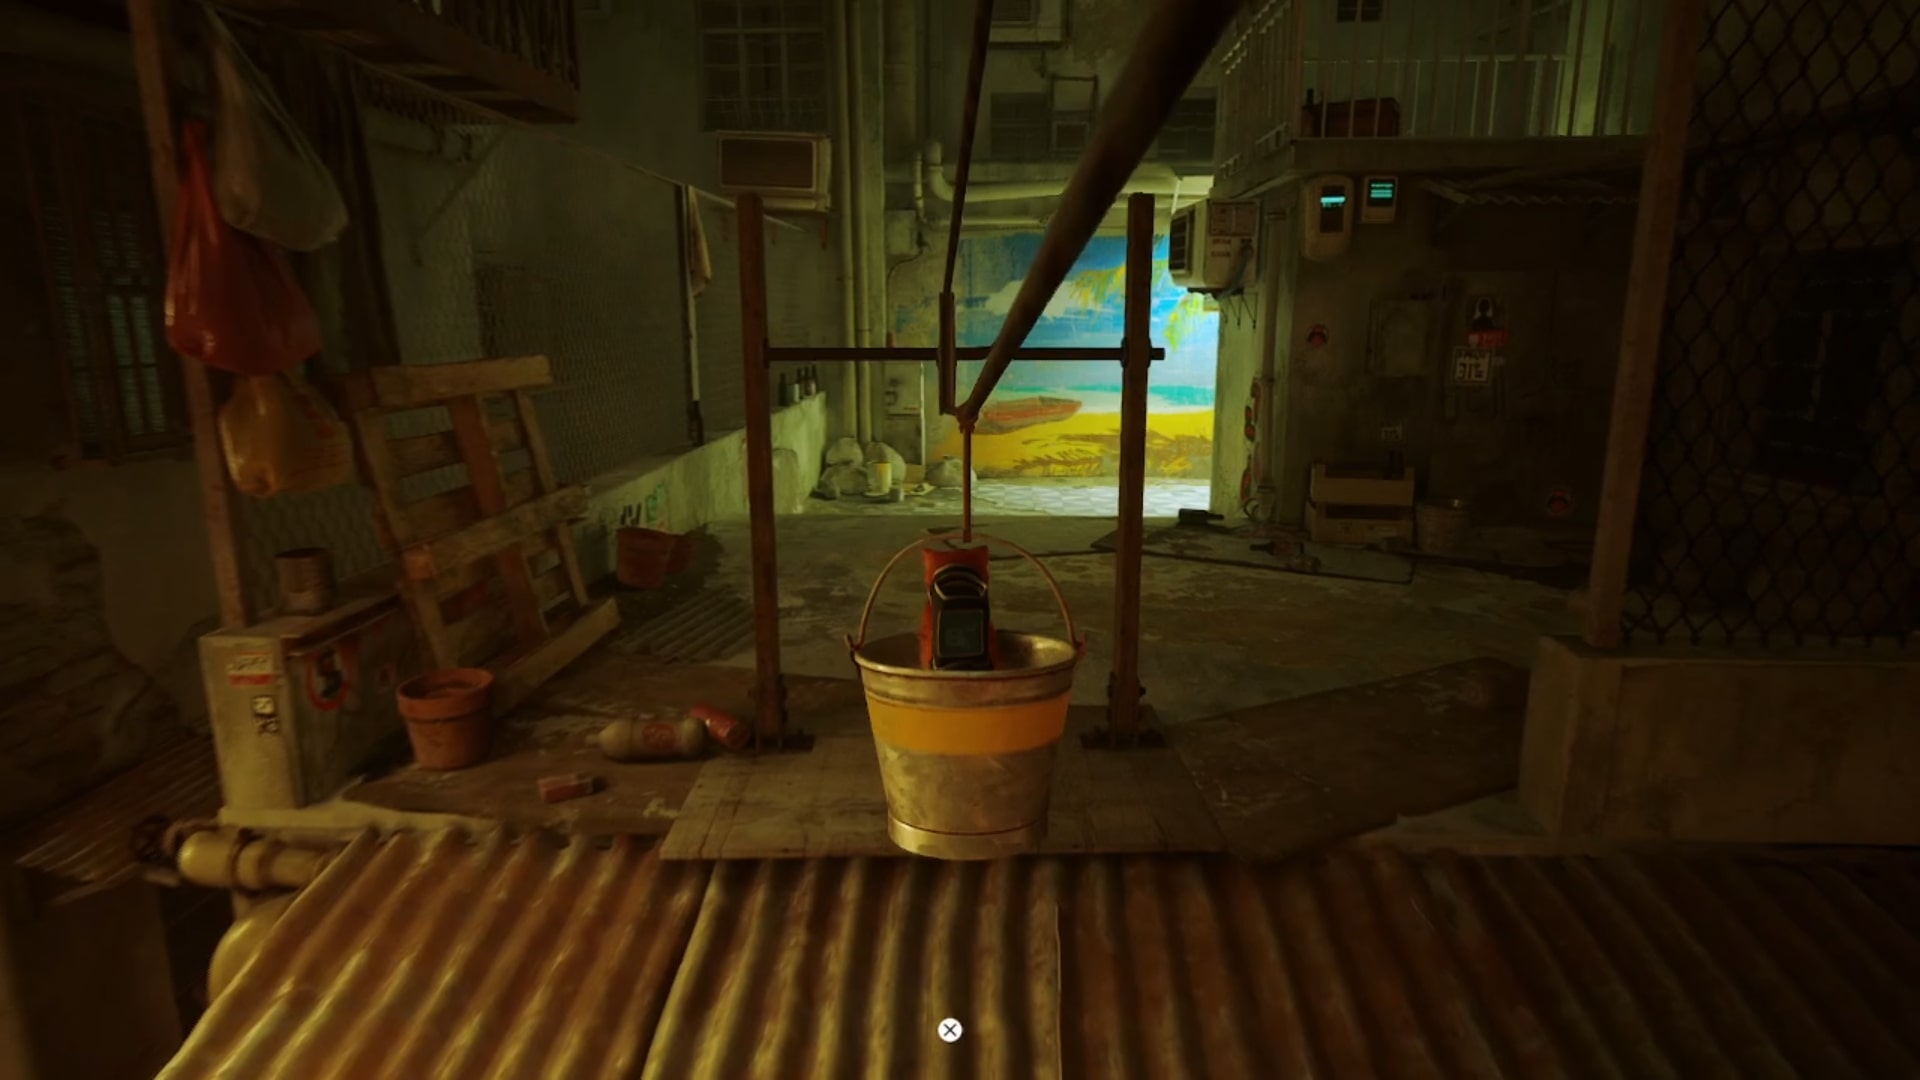
Primary memory #1: All of B-12’s primary memories are recovered during cutscenes that are necessary to progress, making them impossible to miss. You’ll encounter this one shortly after you leave the flat, on the linear path to The Slums. Ride the bucket down to the lower levels, and when you hop out you’ll be confronted with a vibrant mural of a beach with a palm tree.
The Slums
It’s worth noting that the Stray chapter list displays seven memories for both The Slums and The Slums – Part 2, but this is only to reflect how many memories are outstanding in the area. If you’ve retrieved all memories during your first visit to The Slums, there will be no additional ones to collect in The Slums – Part 2.
There are seven Stray memories in The Slums:
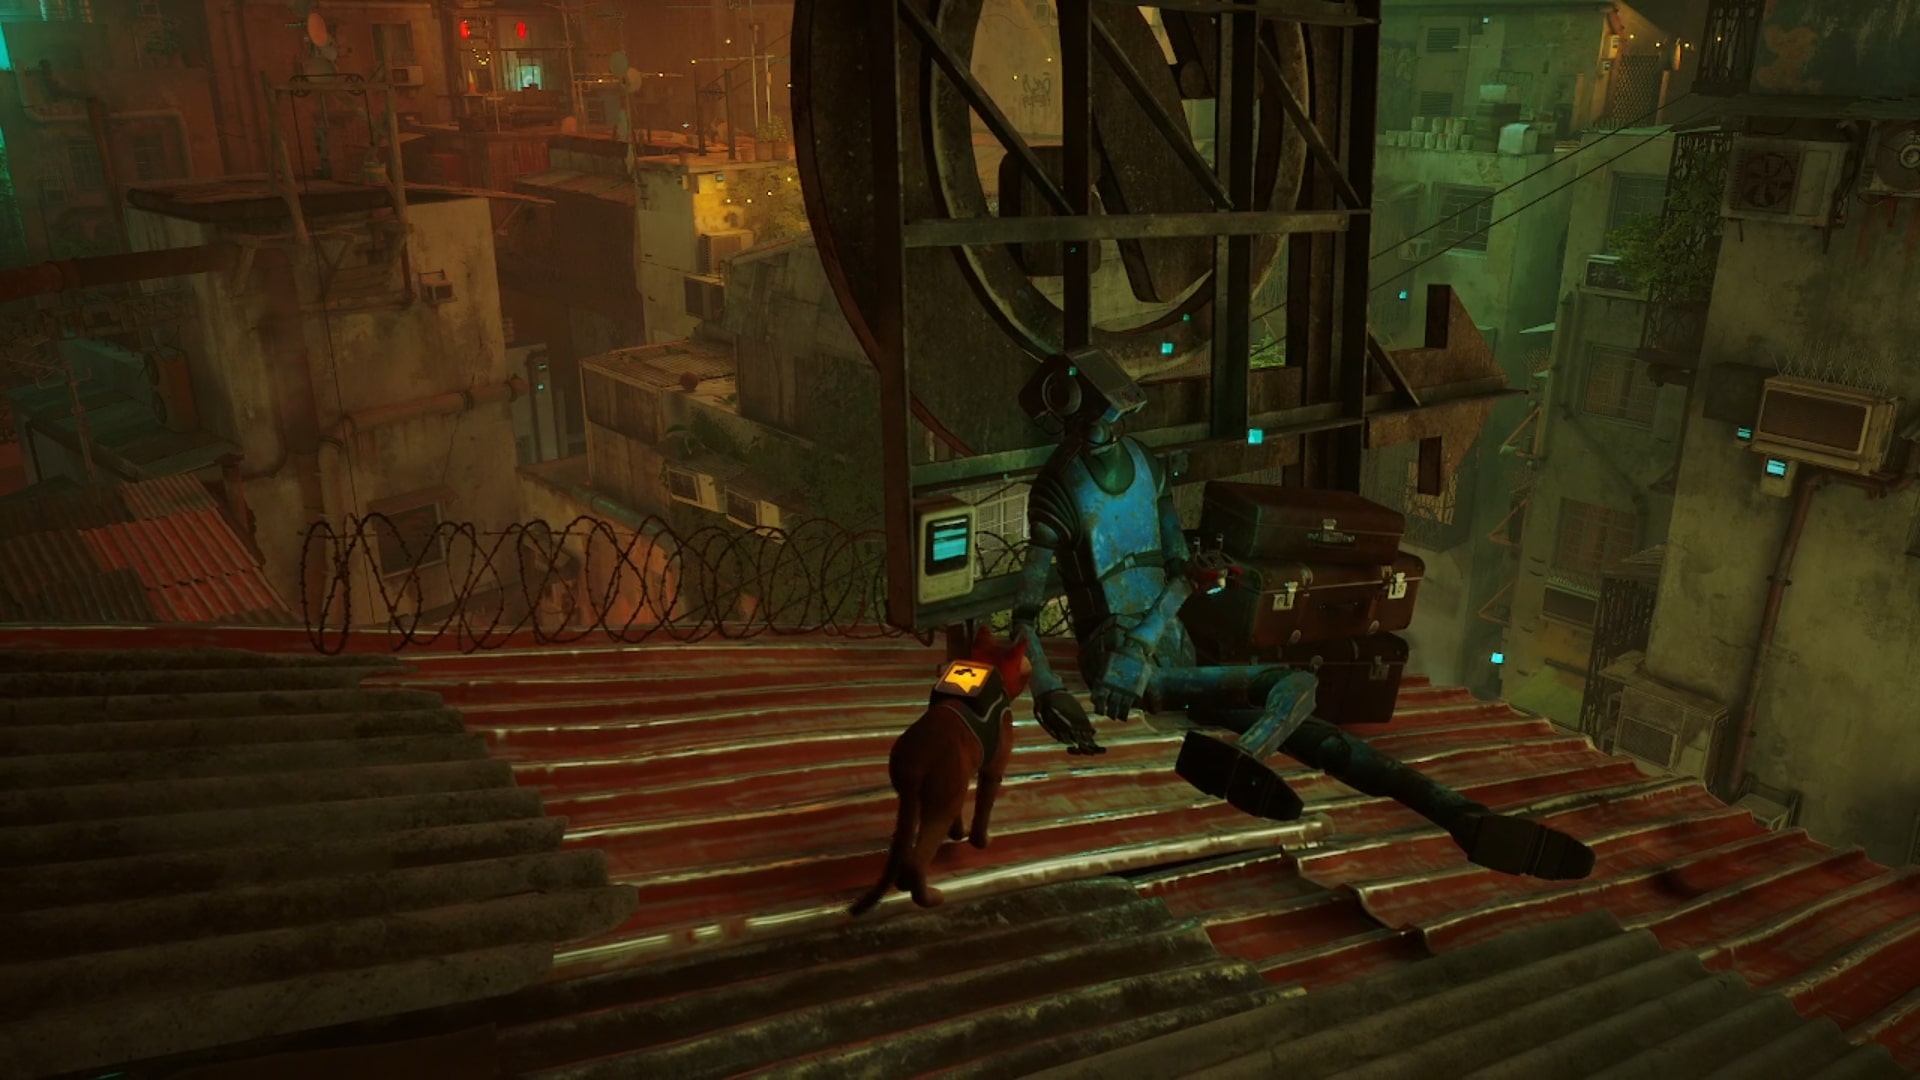
Rooftop robot
By the time you reach The Slums, you’ll have encountered the remains of several robots on your travels. This one, however, is slightly off the beaten path.
Head to the rooftops, then ride the bucket adjacent to the two robots throwing paint buckets above the Stray Super Spirit laundromat. From there, scale the slanted roof to your immediate left and take a peek behind the broken sign to find a robot slumped beside a stack of suitcases.
Ancient relic
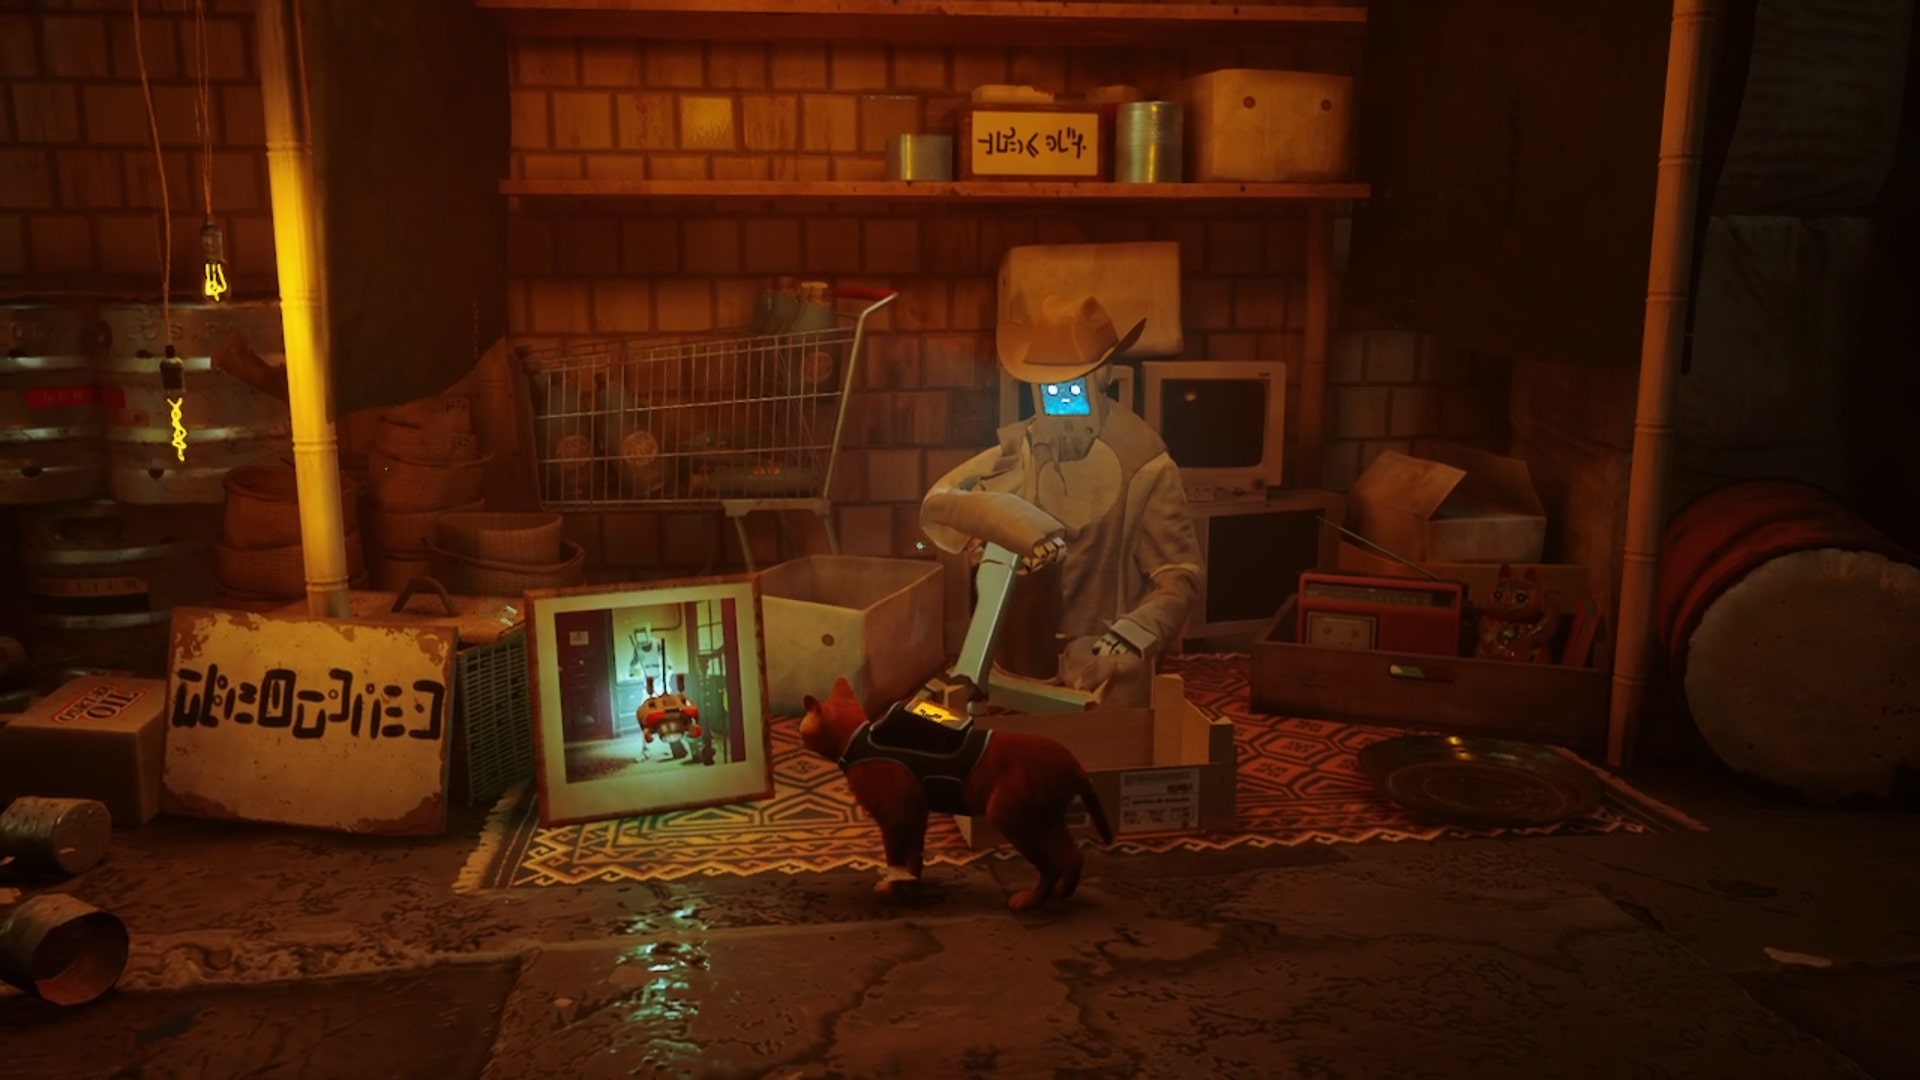
Once you’ve managed to collect three energy drinks from the vending machines scattered across The Slums, trade these in at the Barterman for the ancient relic, which turns out to be a photograph of a robot sweeping.
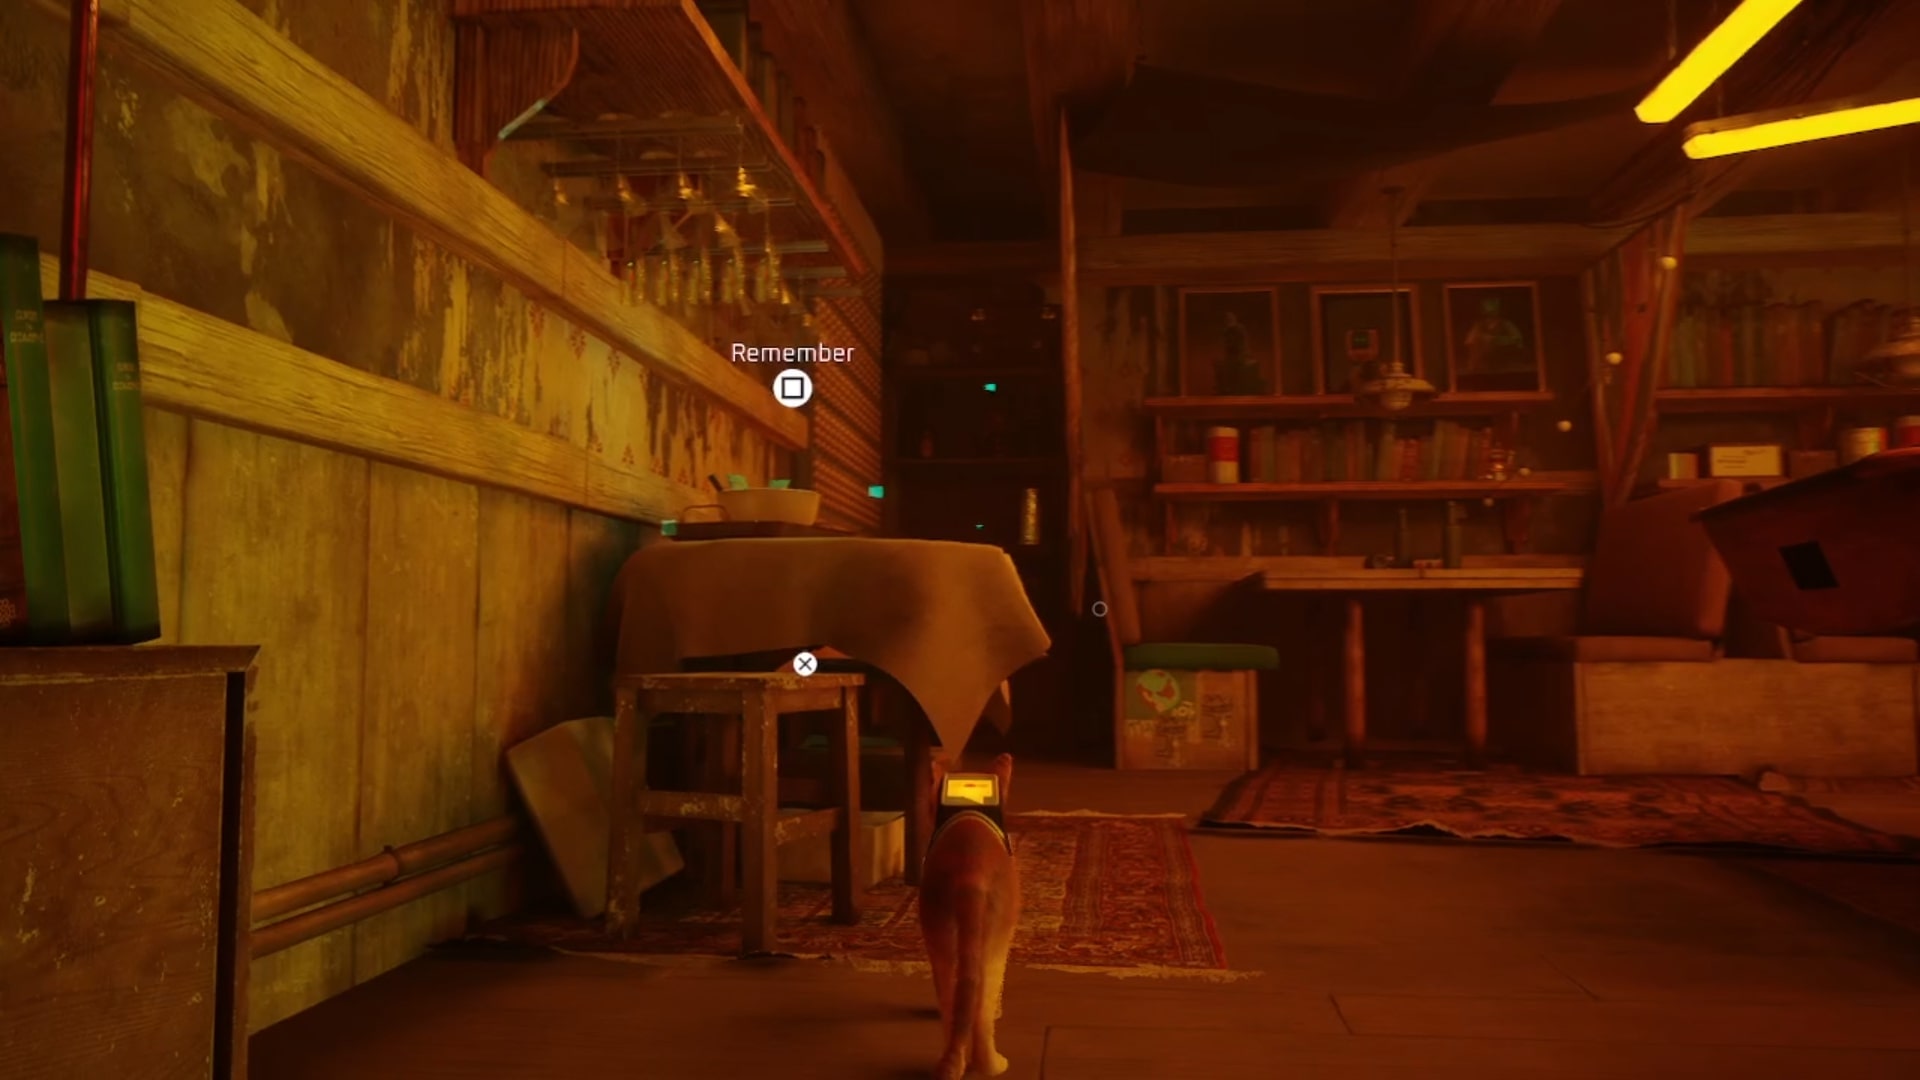
Abandoned meal
This Stray memory resides on the upper floor of the Dufer Bar. You return to this location repeatedly during your time in The Slums, so if you haven’t found it yet, look for the red neon sign to the right of the robot leaning against the vending machine. The abandoned meal can be found on the small table at the top of the stairs, just opposite the pool table.
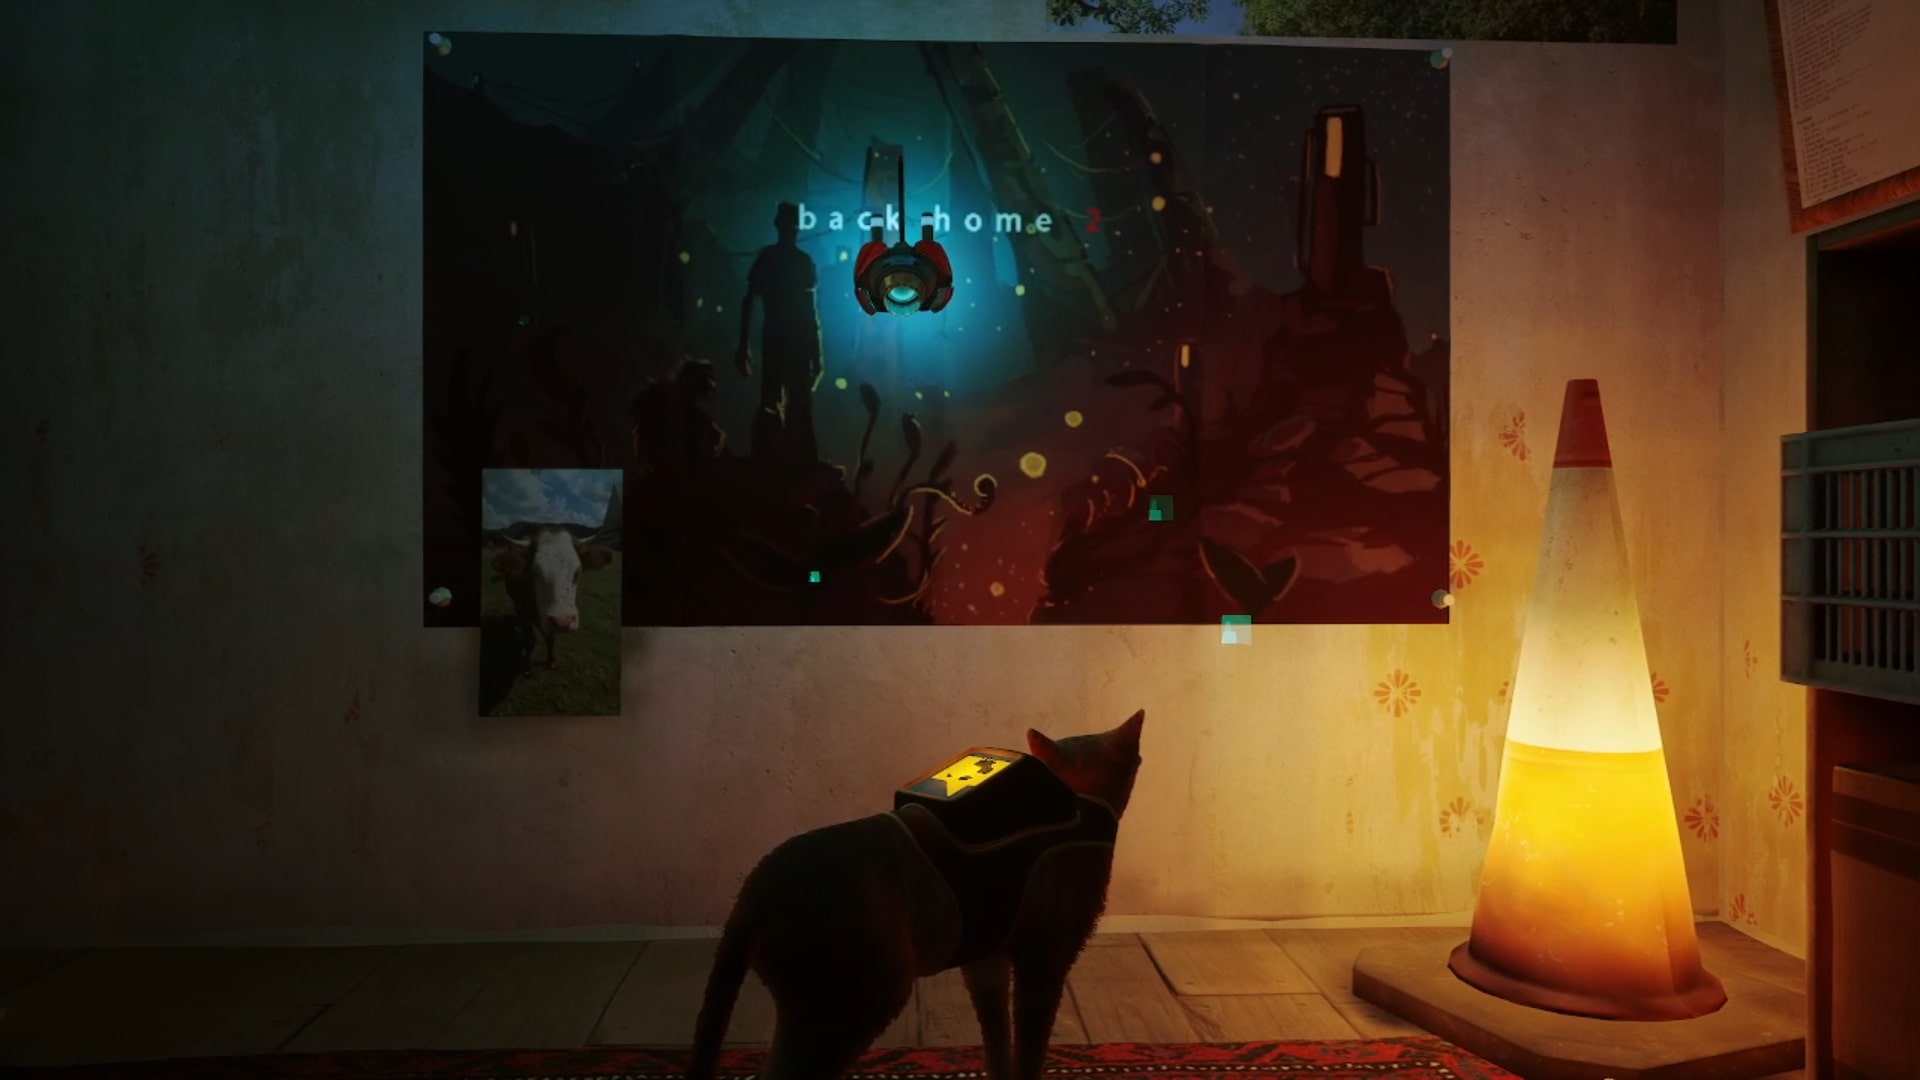
Back Home 2
Finding this memory requires having a snoop around Momo’s flat, which you’ll visit as part of the story. Pass through the bead curtain just beyond the television and you can find the poster for Back Home 2 on the left-hand wall of Momo’s bedroom.
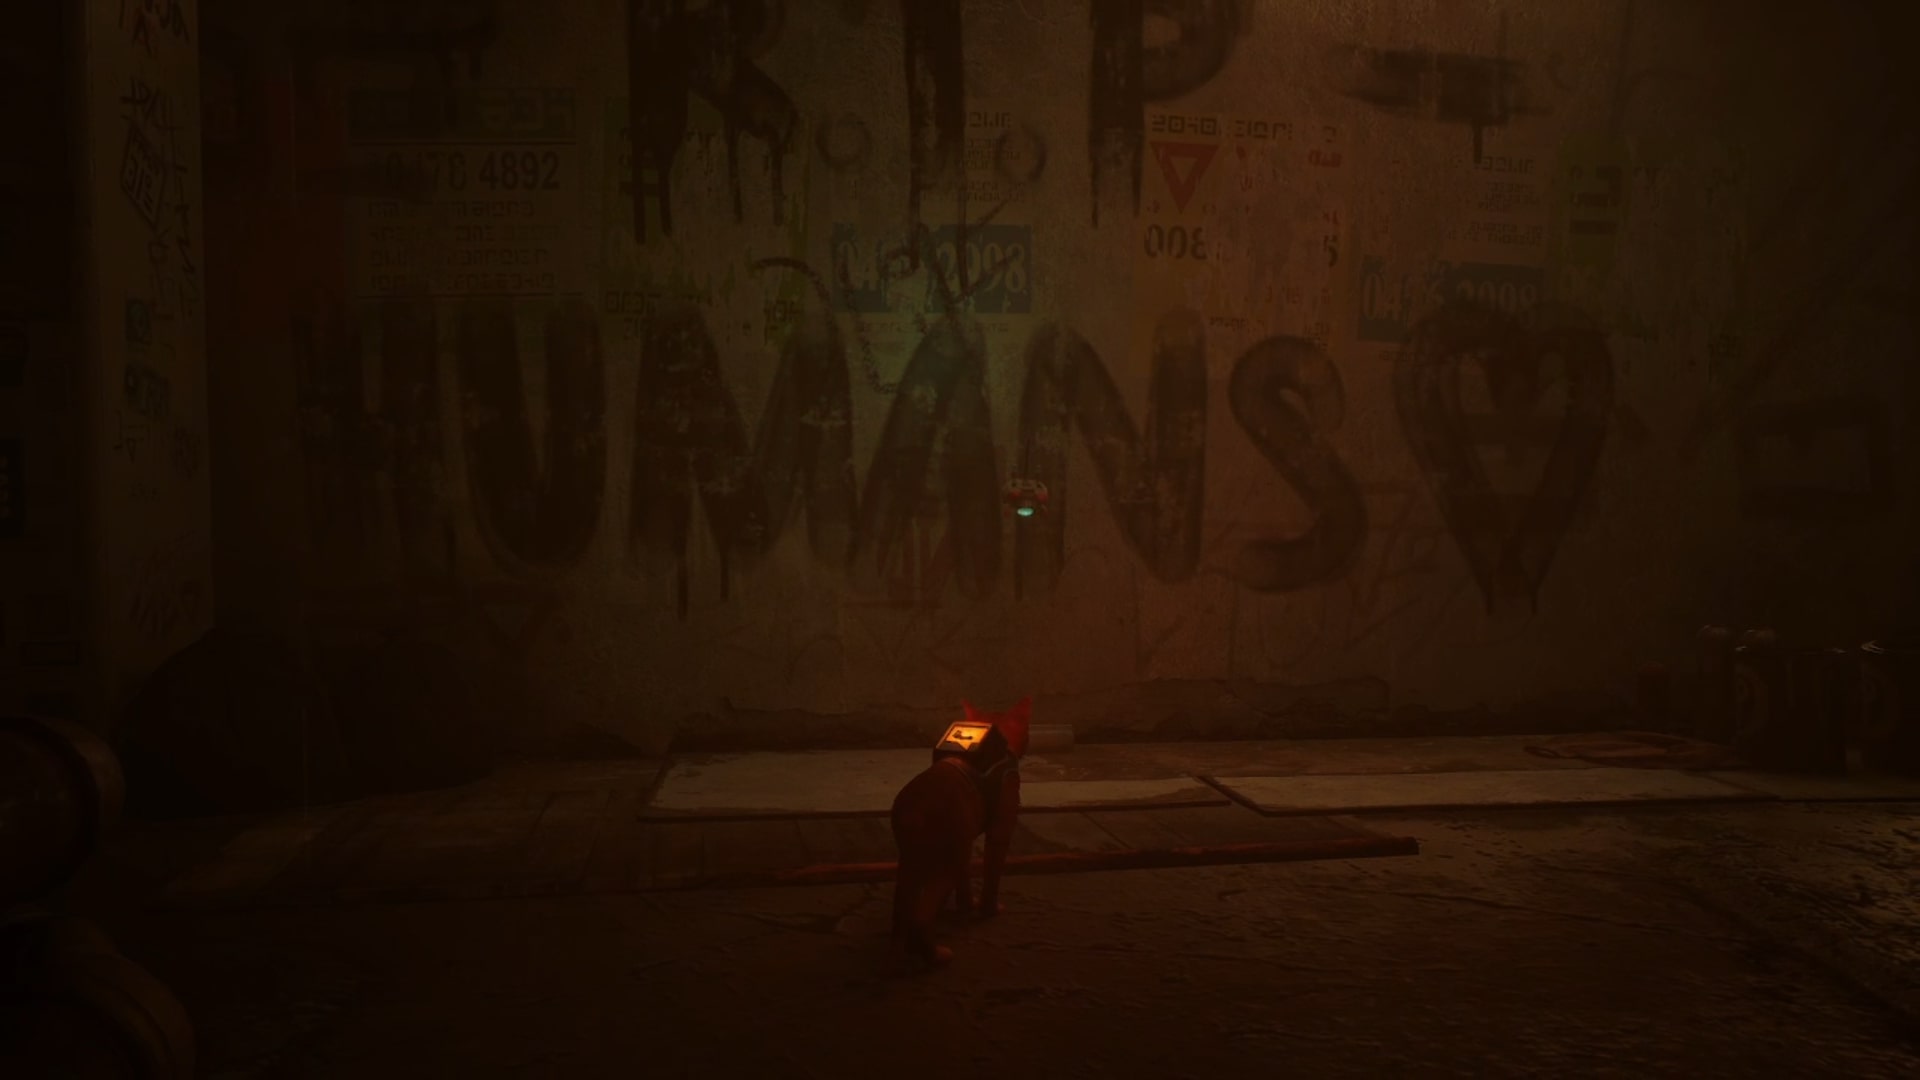
RIP Humans
There’s plenty of graffiti that’ll draw your attention in The Slums, but the one you’re searching for is particularly eye-catching. The RIP Humans mural is up the short flight of stairs past the Super Spirit laundromat. Be sure to grab the energy drink from the vending machine nearby to exchange with the Barterman while you’re at it.
Waving robot graffiti
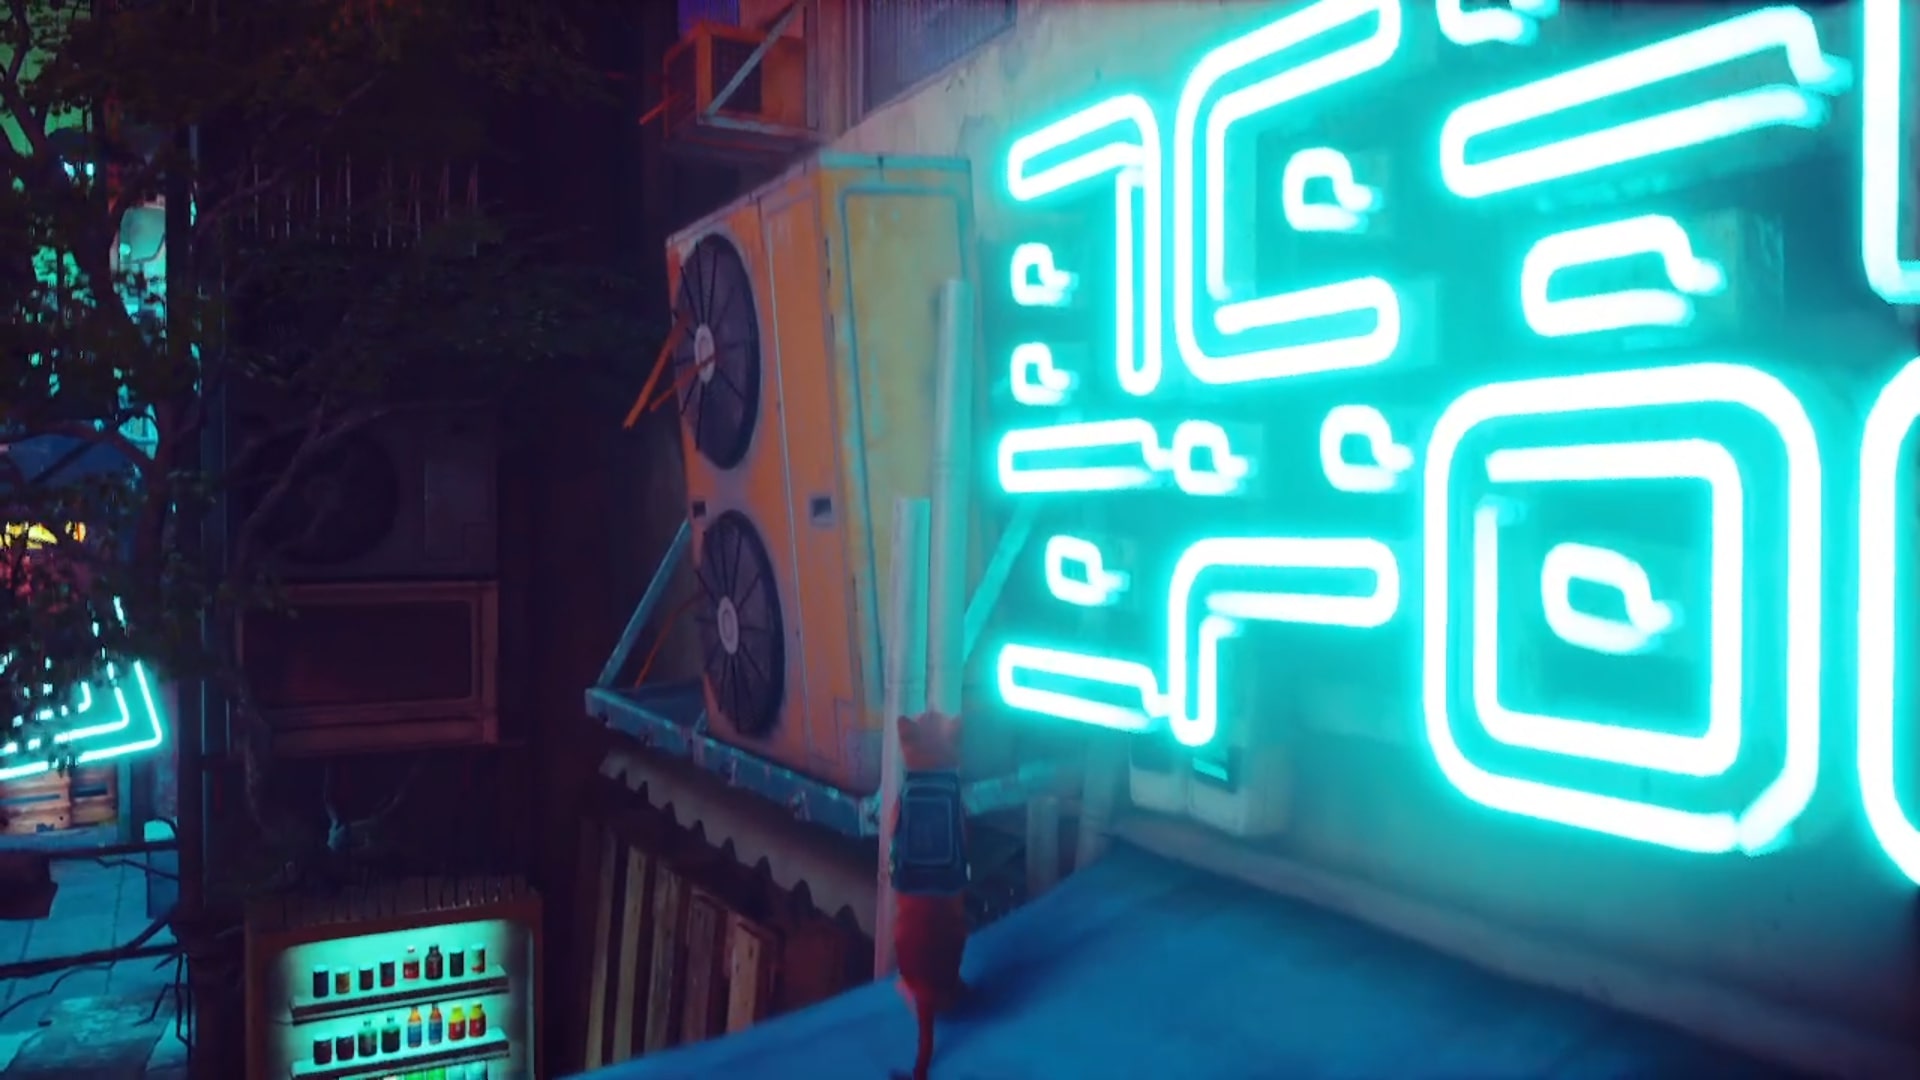
Plenty of Stray memories can only be recovered by making use of the game’s extensive verticality, and this one is no exception. Enter the small alleyway to the left of Morusque, the musician, and scale the bins and air-con units to find this cheerful graffiti.
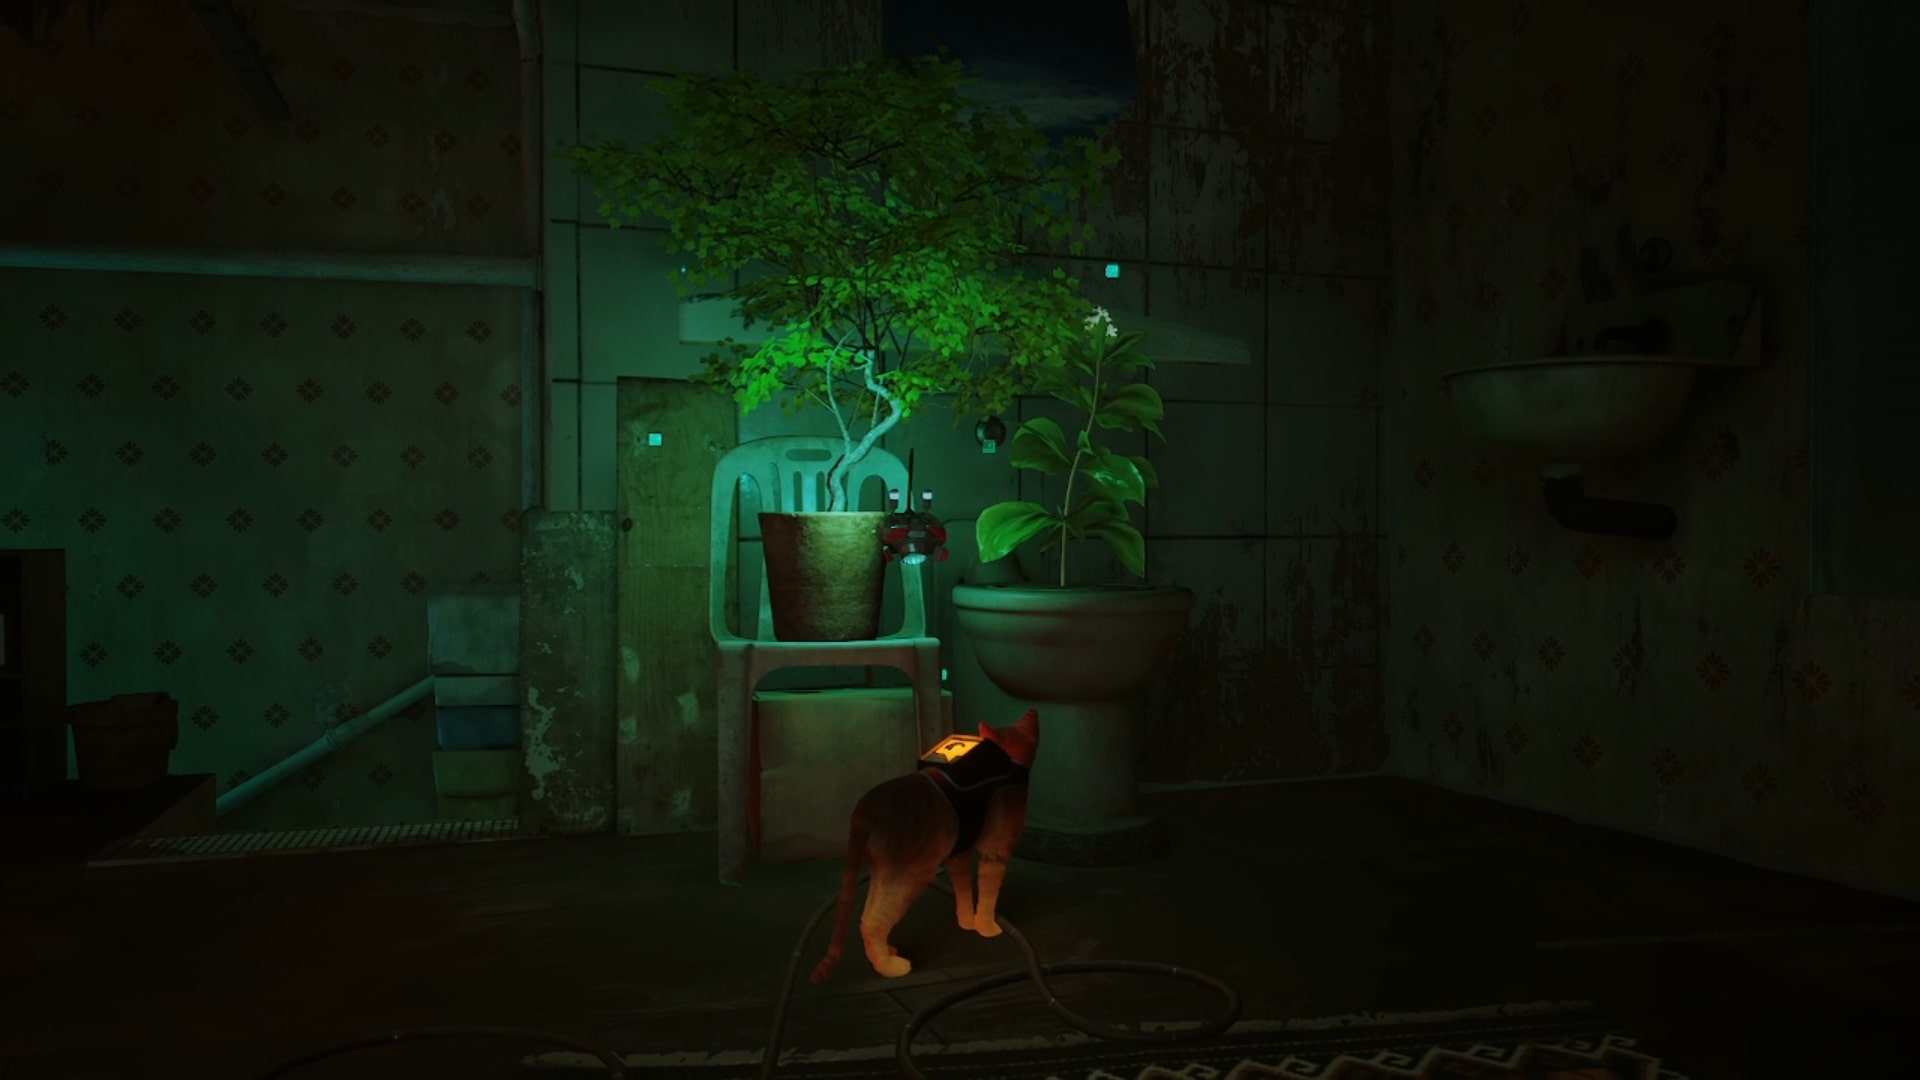
Potted plant
This Stray memory is inexplicably flourishing in a dark corner of Elliot’s Programming, sitting on a plastic chair to your left at the top of the stairs. You eventually need to pay Elliot a visit to find a use for the Stray poncho, so if you haven’t encountered them yet, take a look at our guide to solving the Stray safe code for directions to their room – and how to crack the mysterious password while you’re at it.
Rooftops
There are three Stray memories in Rooftops:
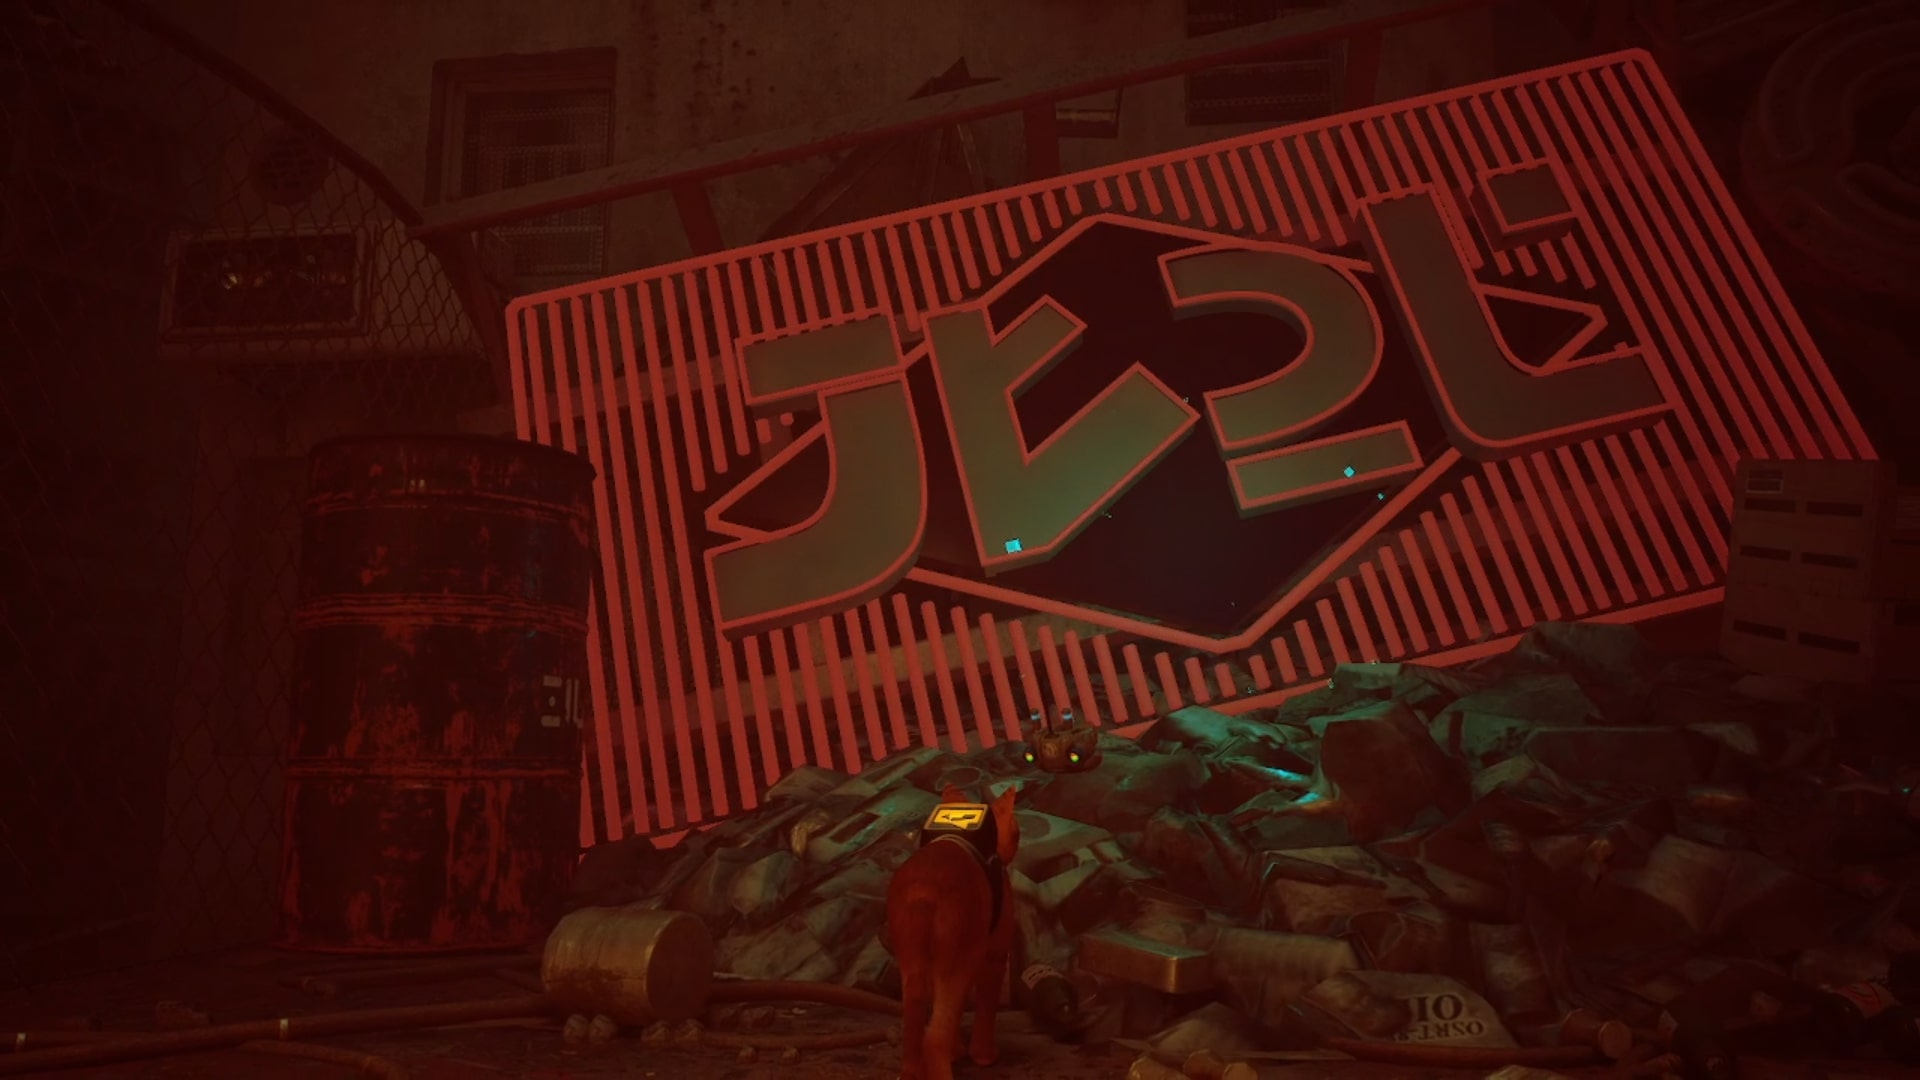
Neon sign
This Stray memory can be found shortly after encountering the first pack of Zurks in the area. Once you’ve climbed onto the tin roof, use the loose beam to swing yourself around and reach the messy rooftop straight ahead. Not only is the neon sign enormous, it also flickers erratically, making it almost impossible to miss.
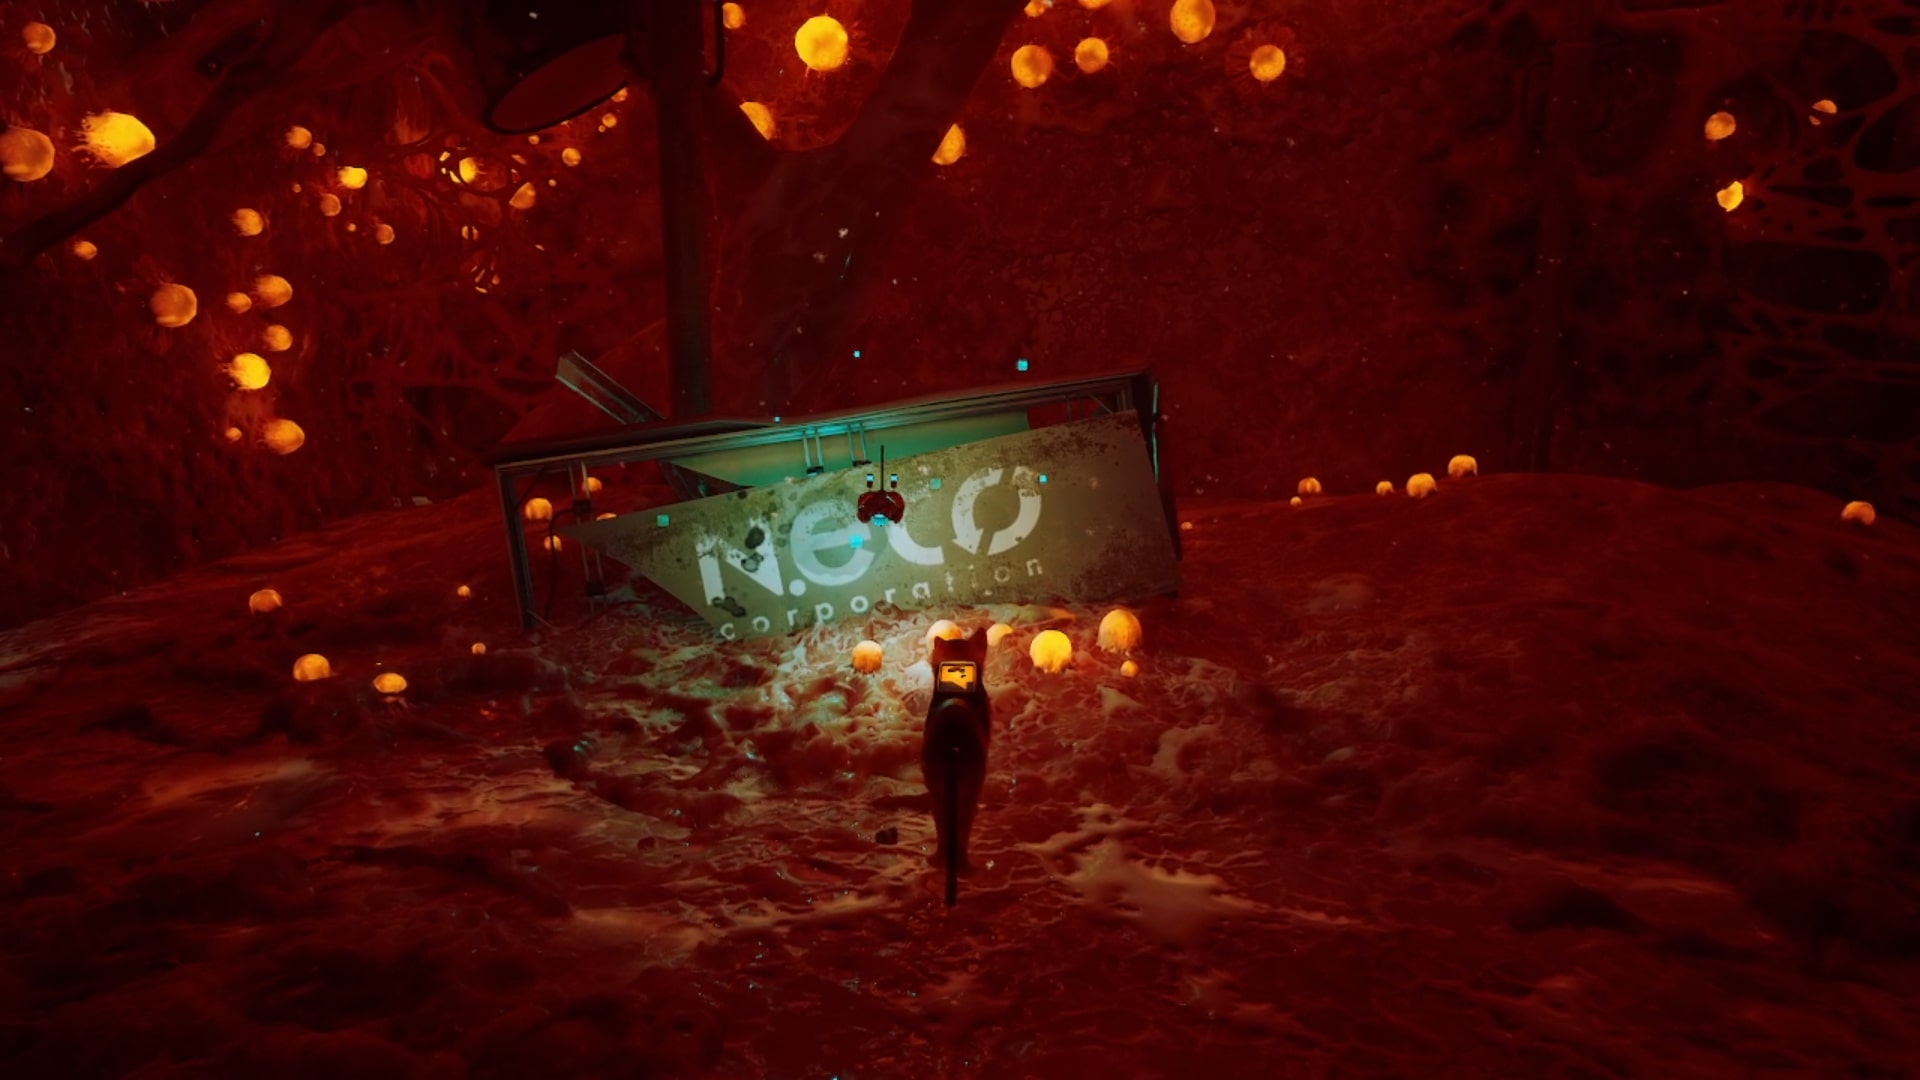
Neco Corp billboard
It’s easy to overlook the Neco Corp billboard on your journey up the tower block, especially since you’ll be preoccupied dealing with the pack of Zurks roaming this particular floor. Once you’ve lured the Zurks into the fenced-in area and closed the entrance using the terminal, head to the blockade of metal girders. Hop over them to find the Neco Corp billboard half-buried under the strange fleshy substance infesting the area.
City view
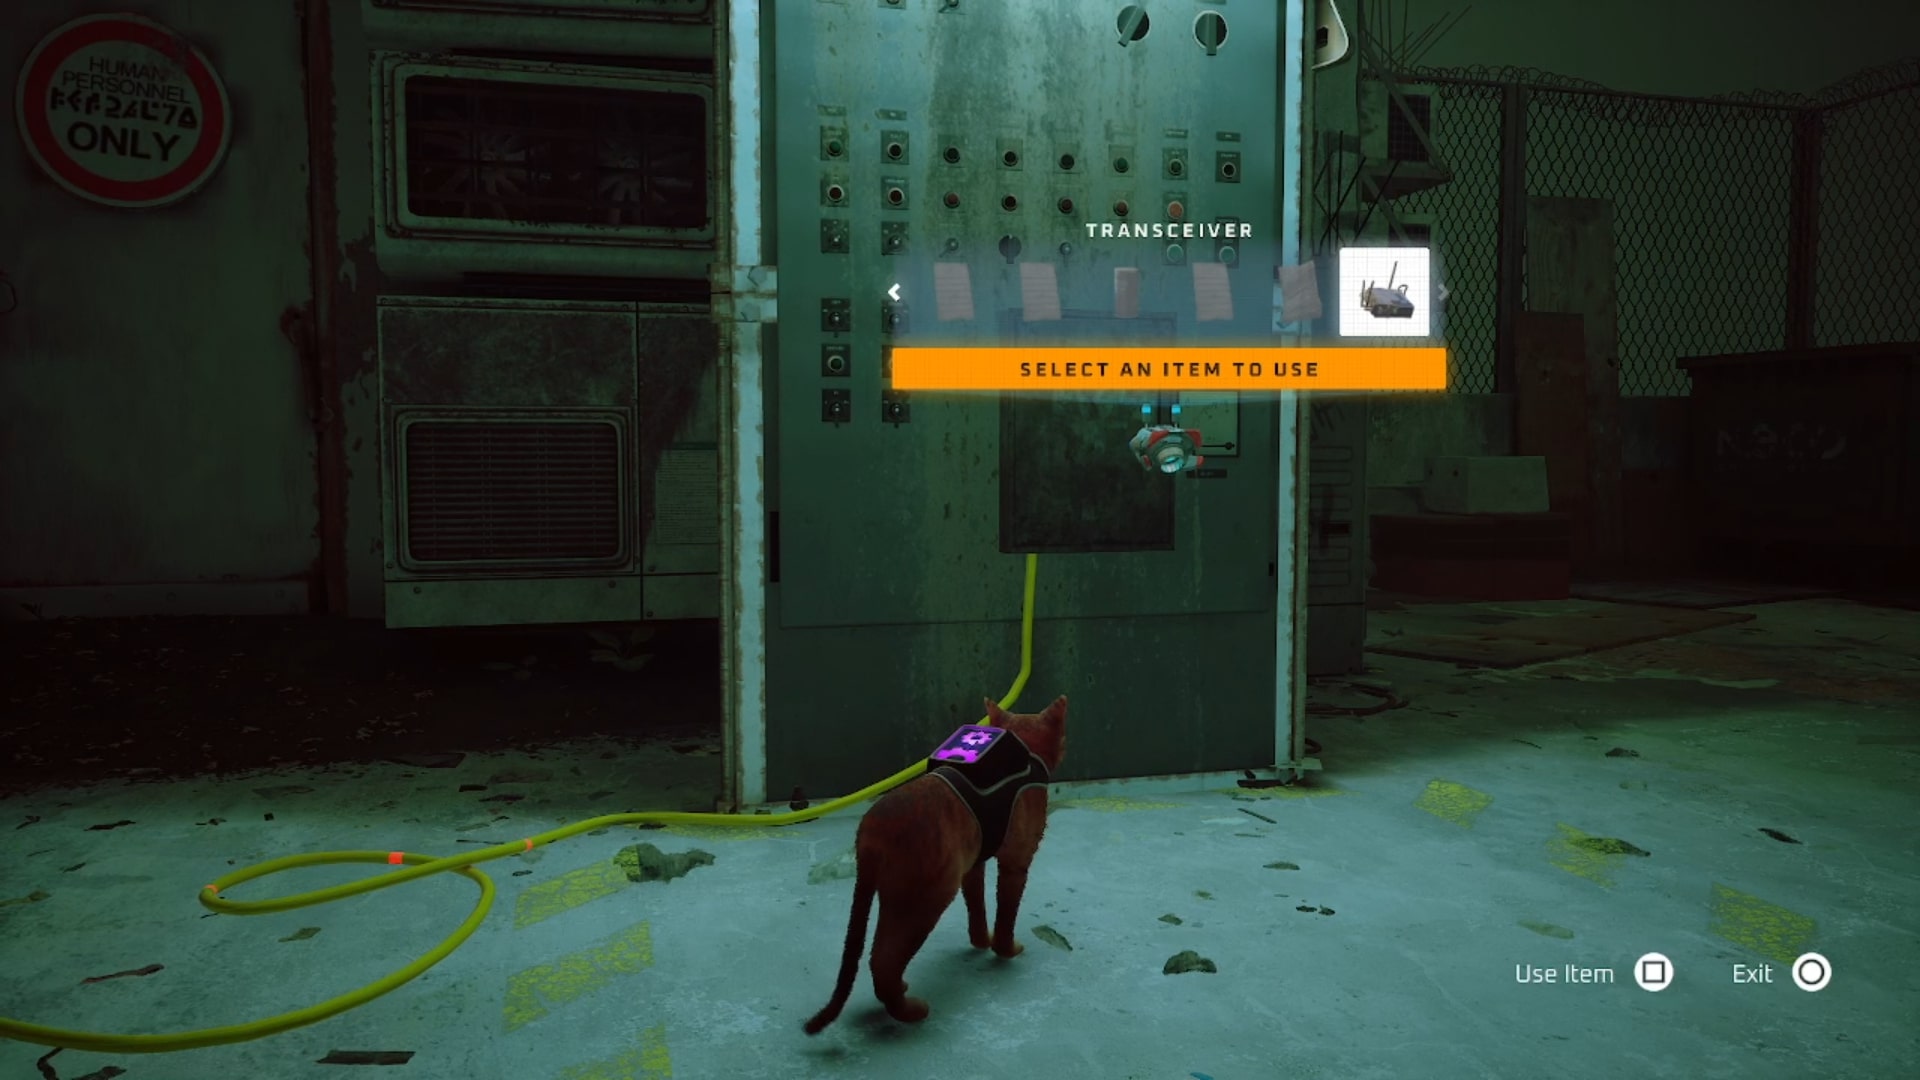
Primary memory #2: Once you attach the transceiver to the antenna as Momo requested, B-12’s second primary memory will be recovered during the ensuing cutscene.
Dead End
There are three Stray memories in Dead End:
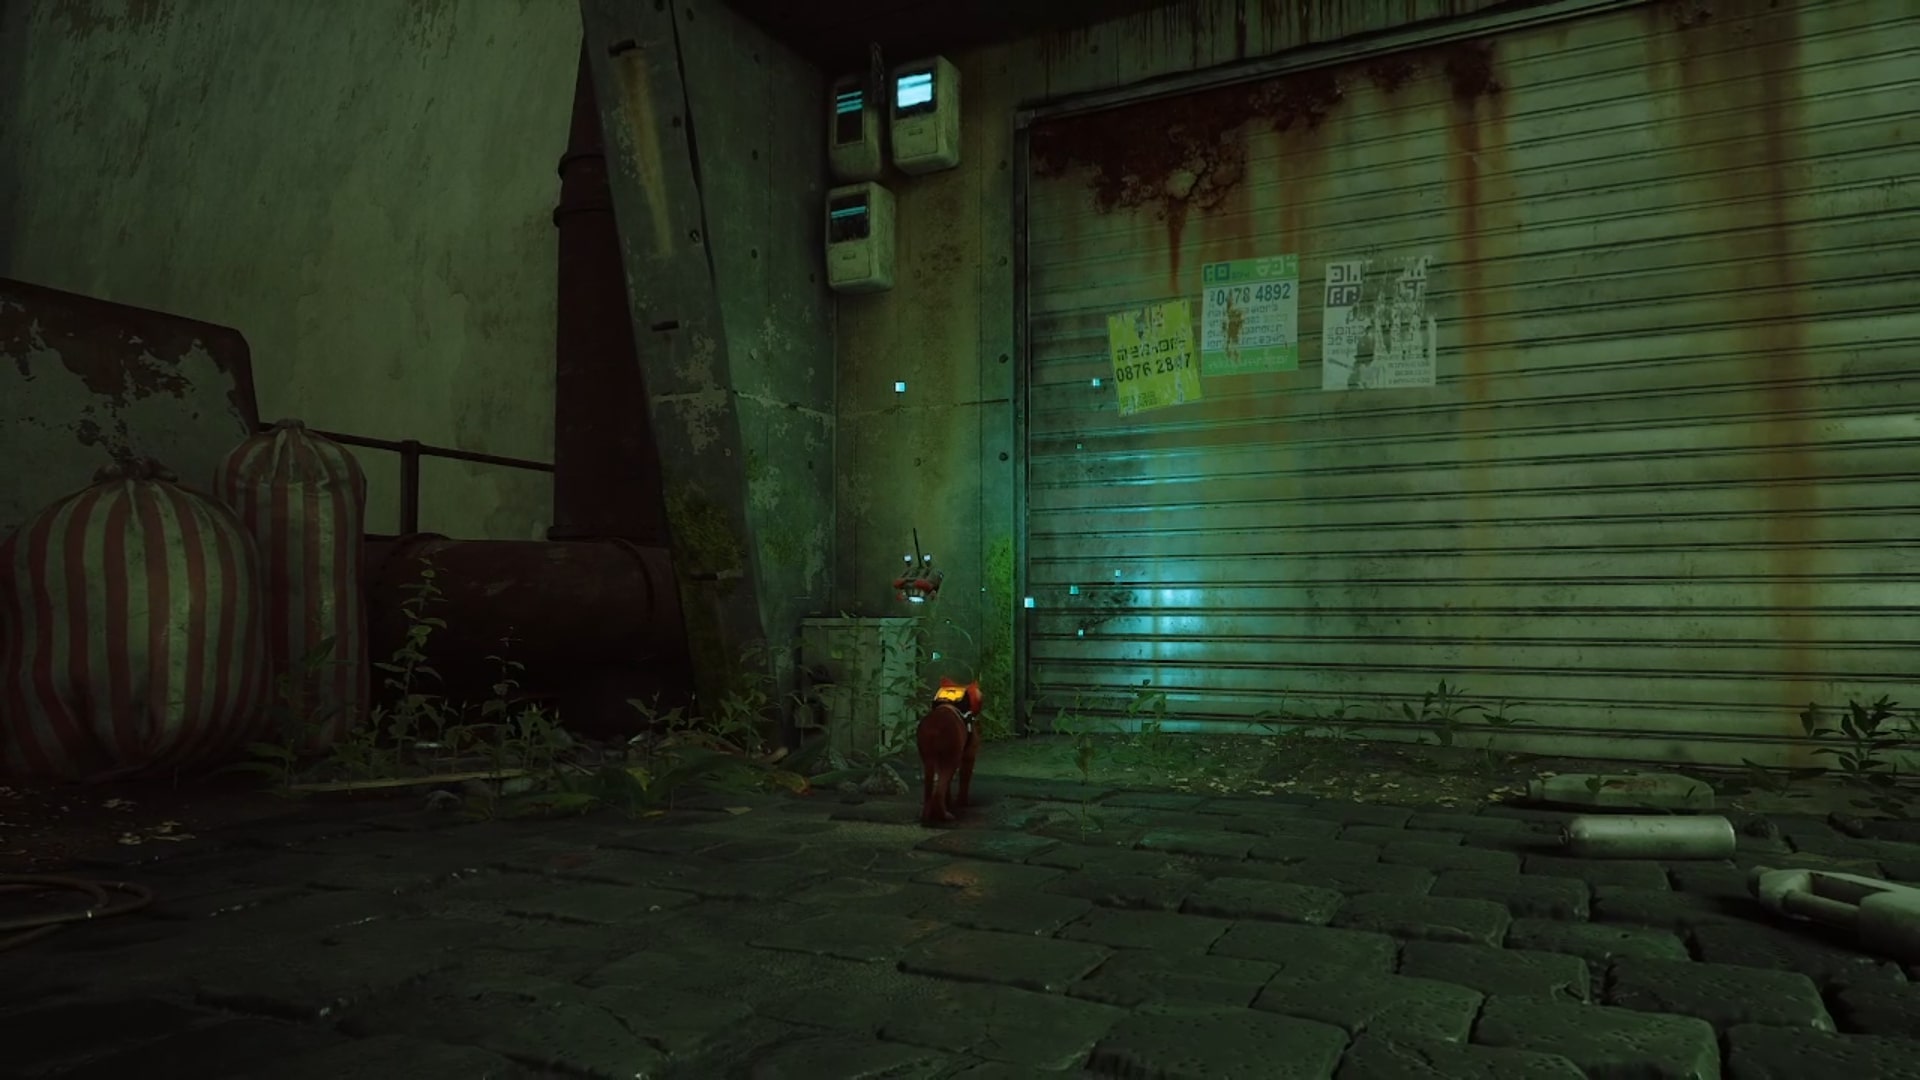
Border wall
Find the border wall after passing through the gate into the area, shortly after leaving Seamus. Follow the canal path and turn left to see the large set of shutters emitting the tell-tale blue glow that signals a Stray memory.
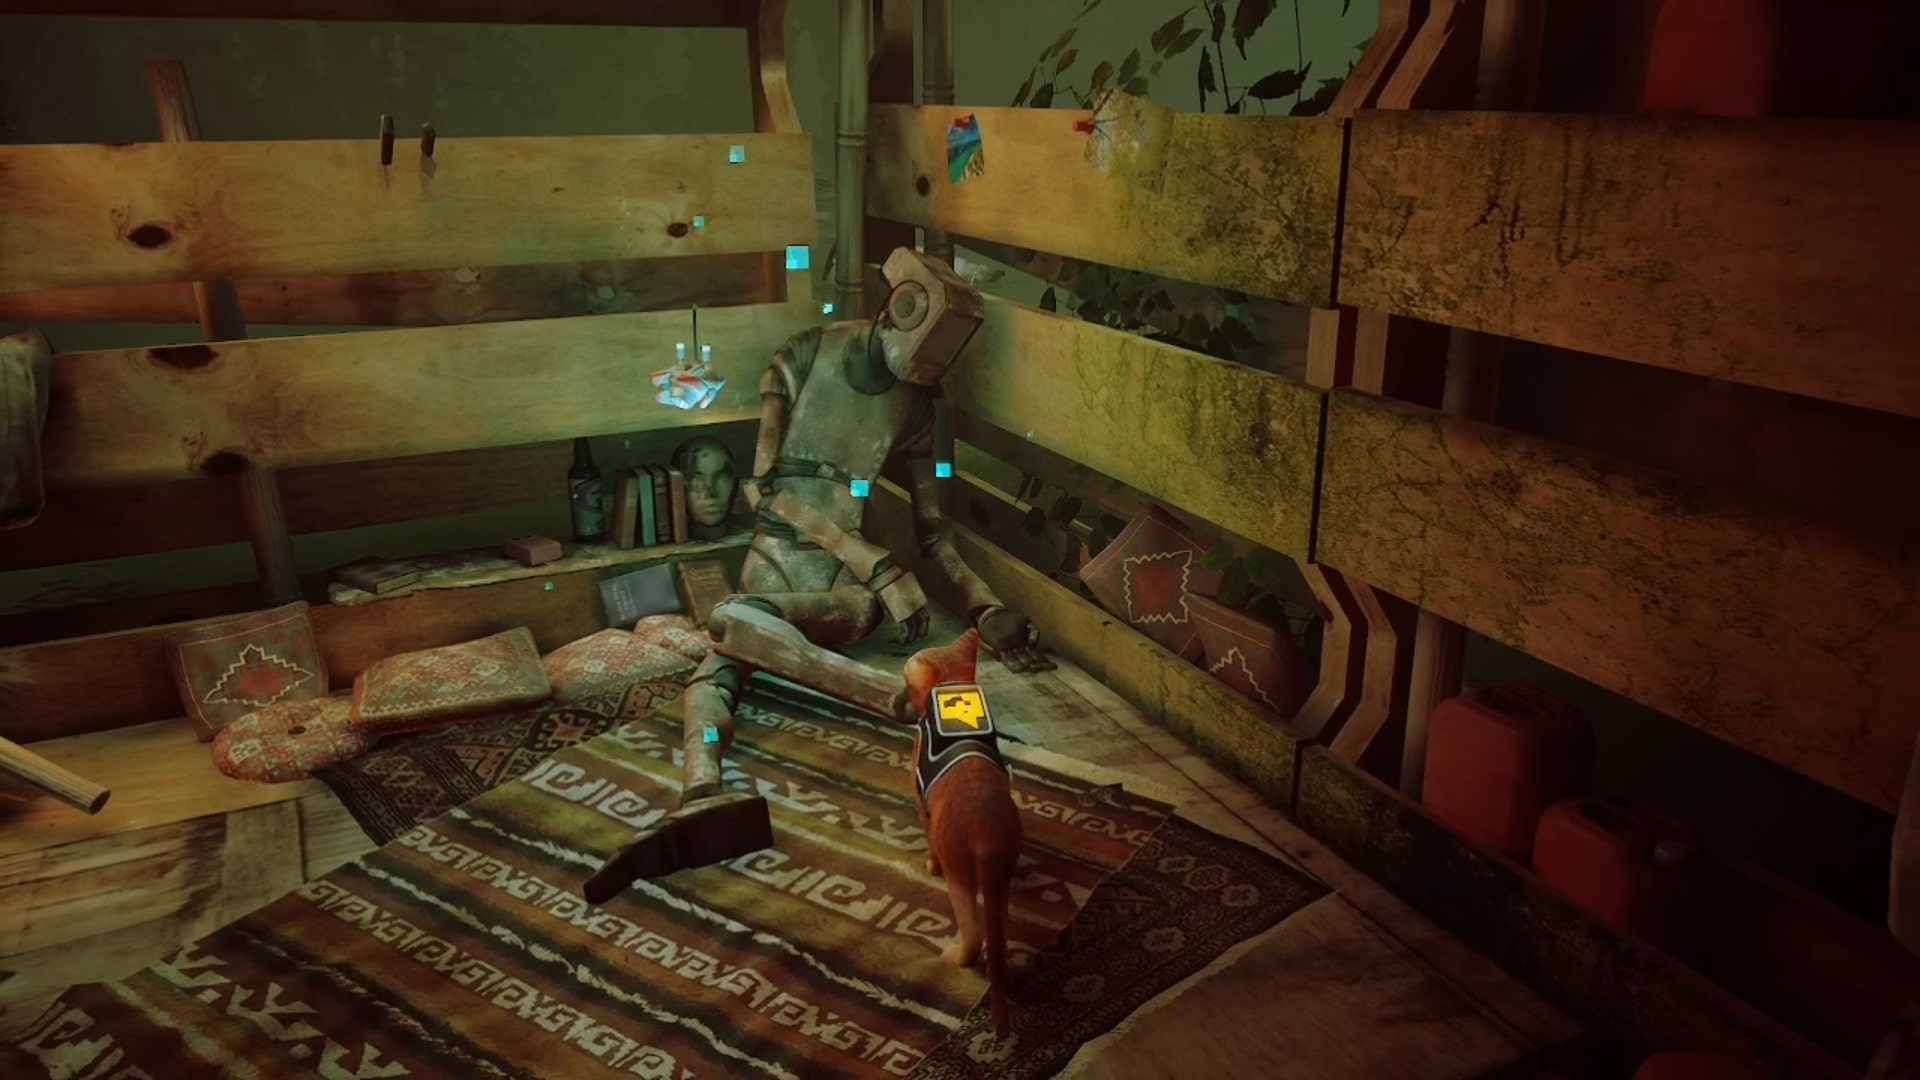
Fisherman
You’ll recover this memory shortly after riding the cart and climbing up the waste pipes. Slip through the hole in the chain-link fence and follow the path along to a small platform on the water. You can find the remains of the robot fisherman slumped in the corner alongside a collection of cushions.
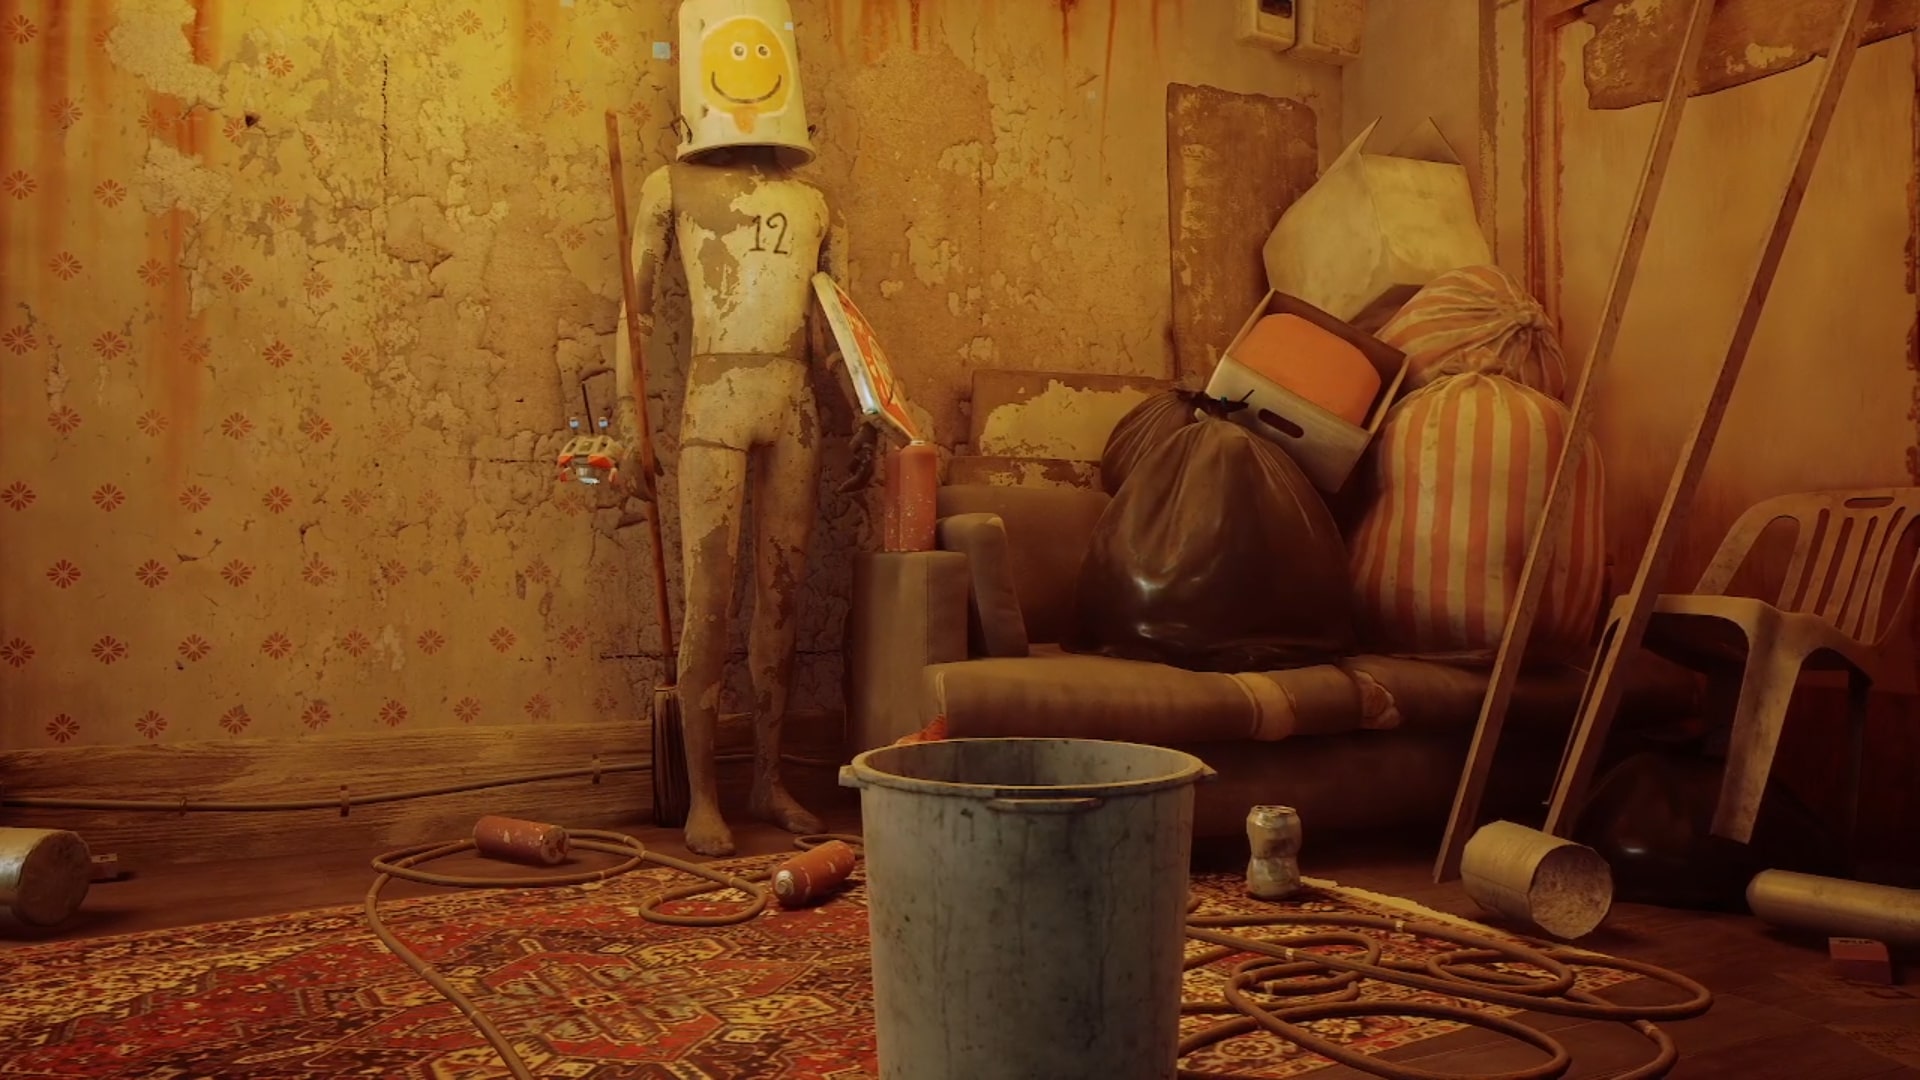
Mannequin
Doc’s house is jam-packed with stuff, so take a minute or two to have a poke around. The mannequin is propped up against the wall to the right of the computer desk, easily identifiable by the upturned bucket bearing a smiley face placed over its head.
The Sewers
There are two Stray memories in The Sewers:
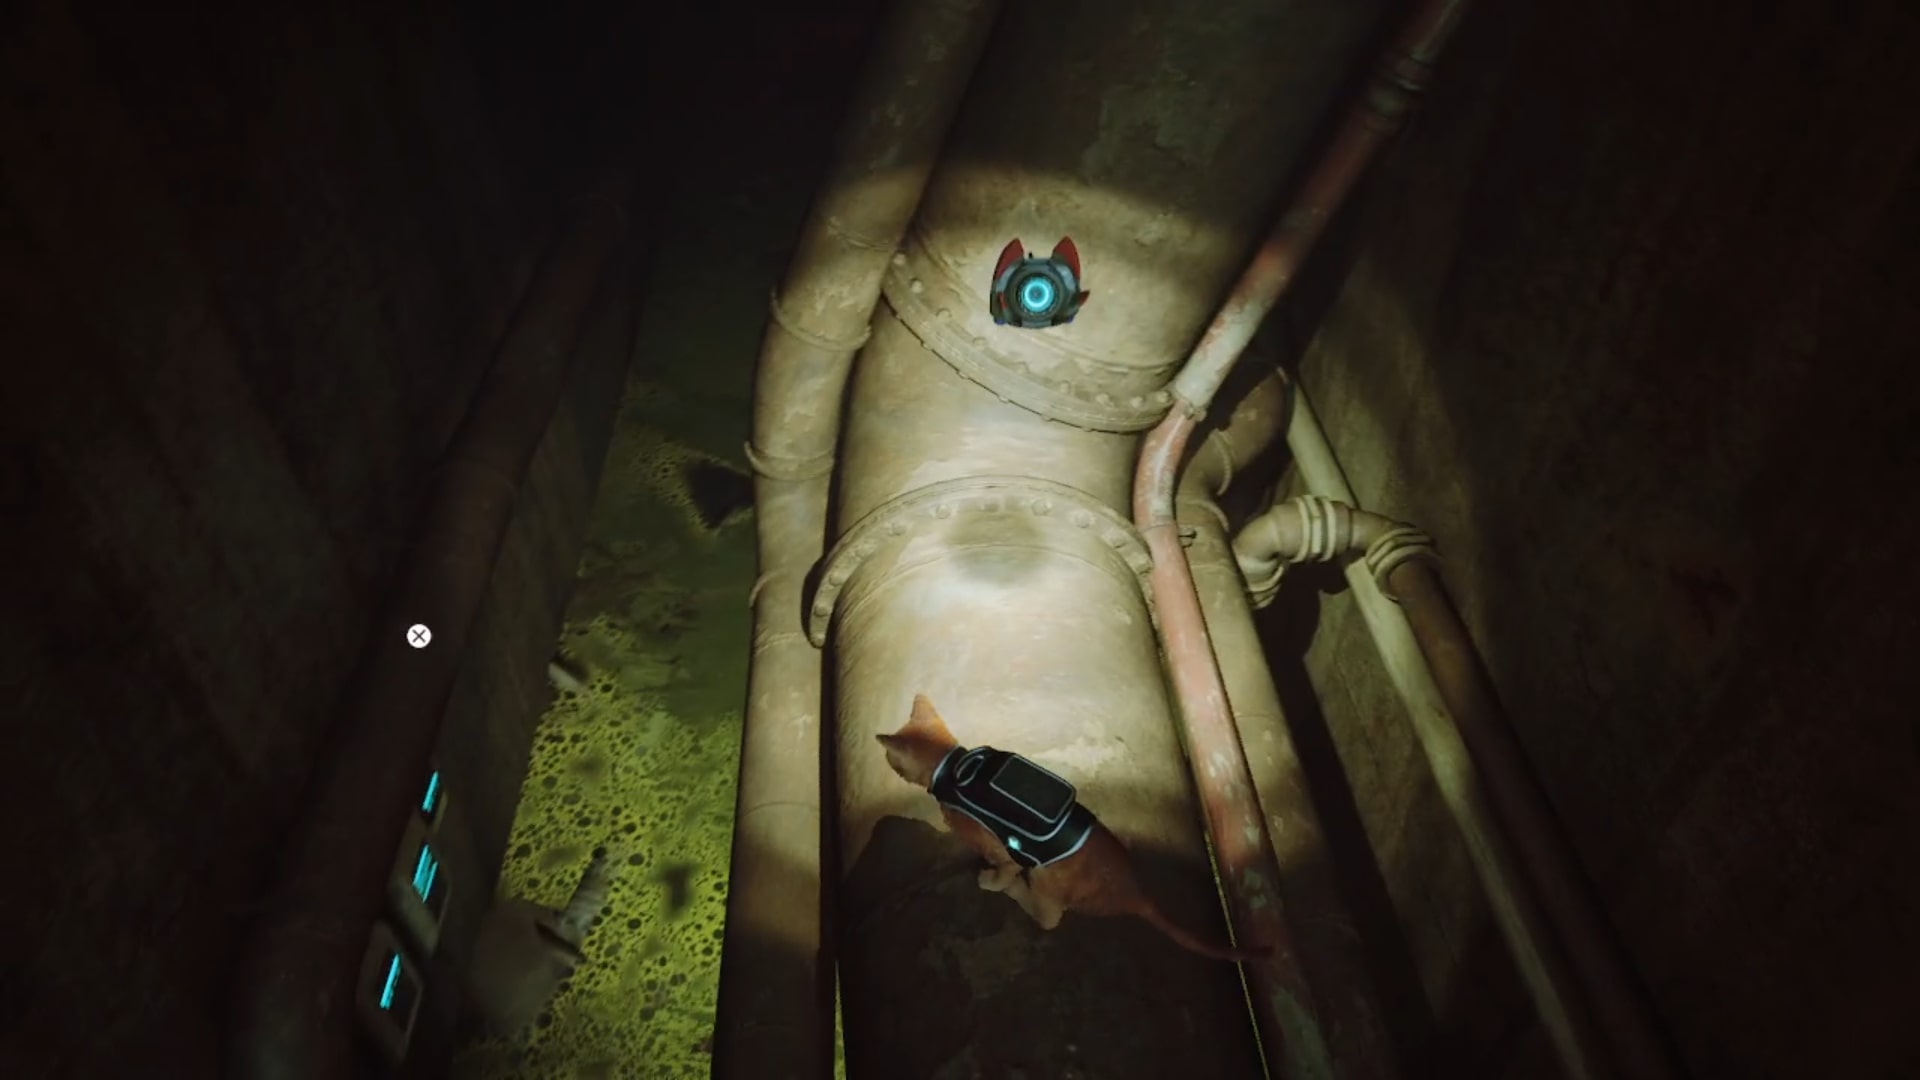
Sewer system
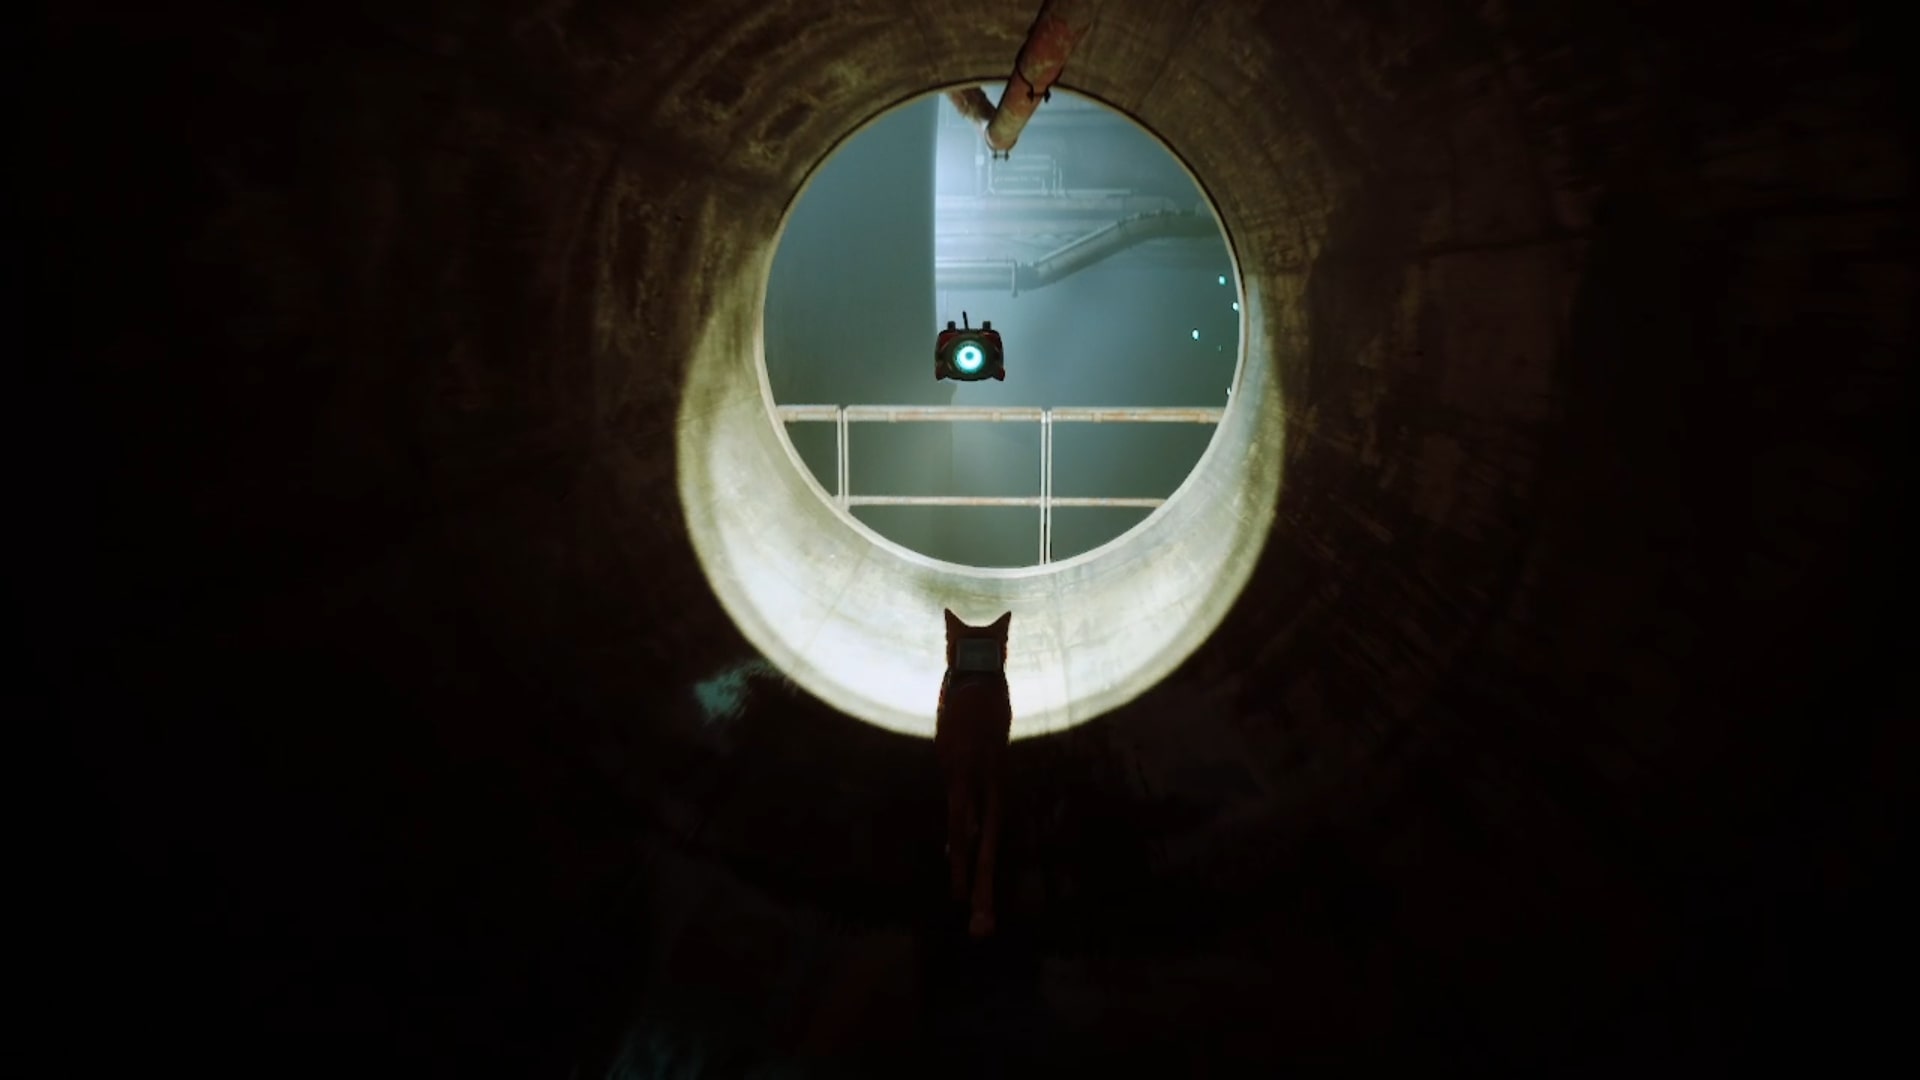
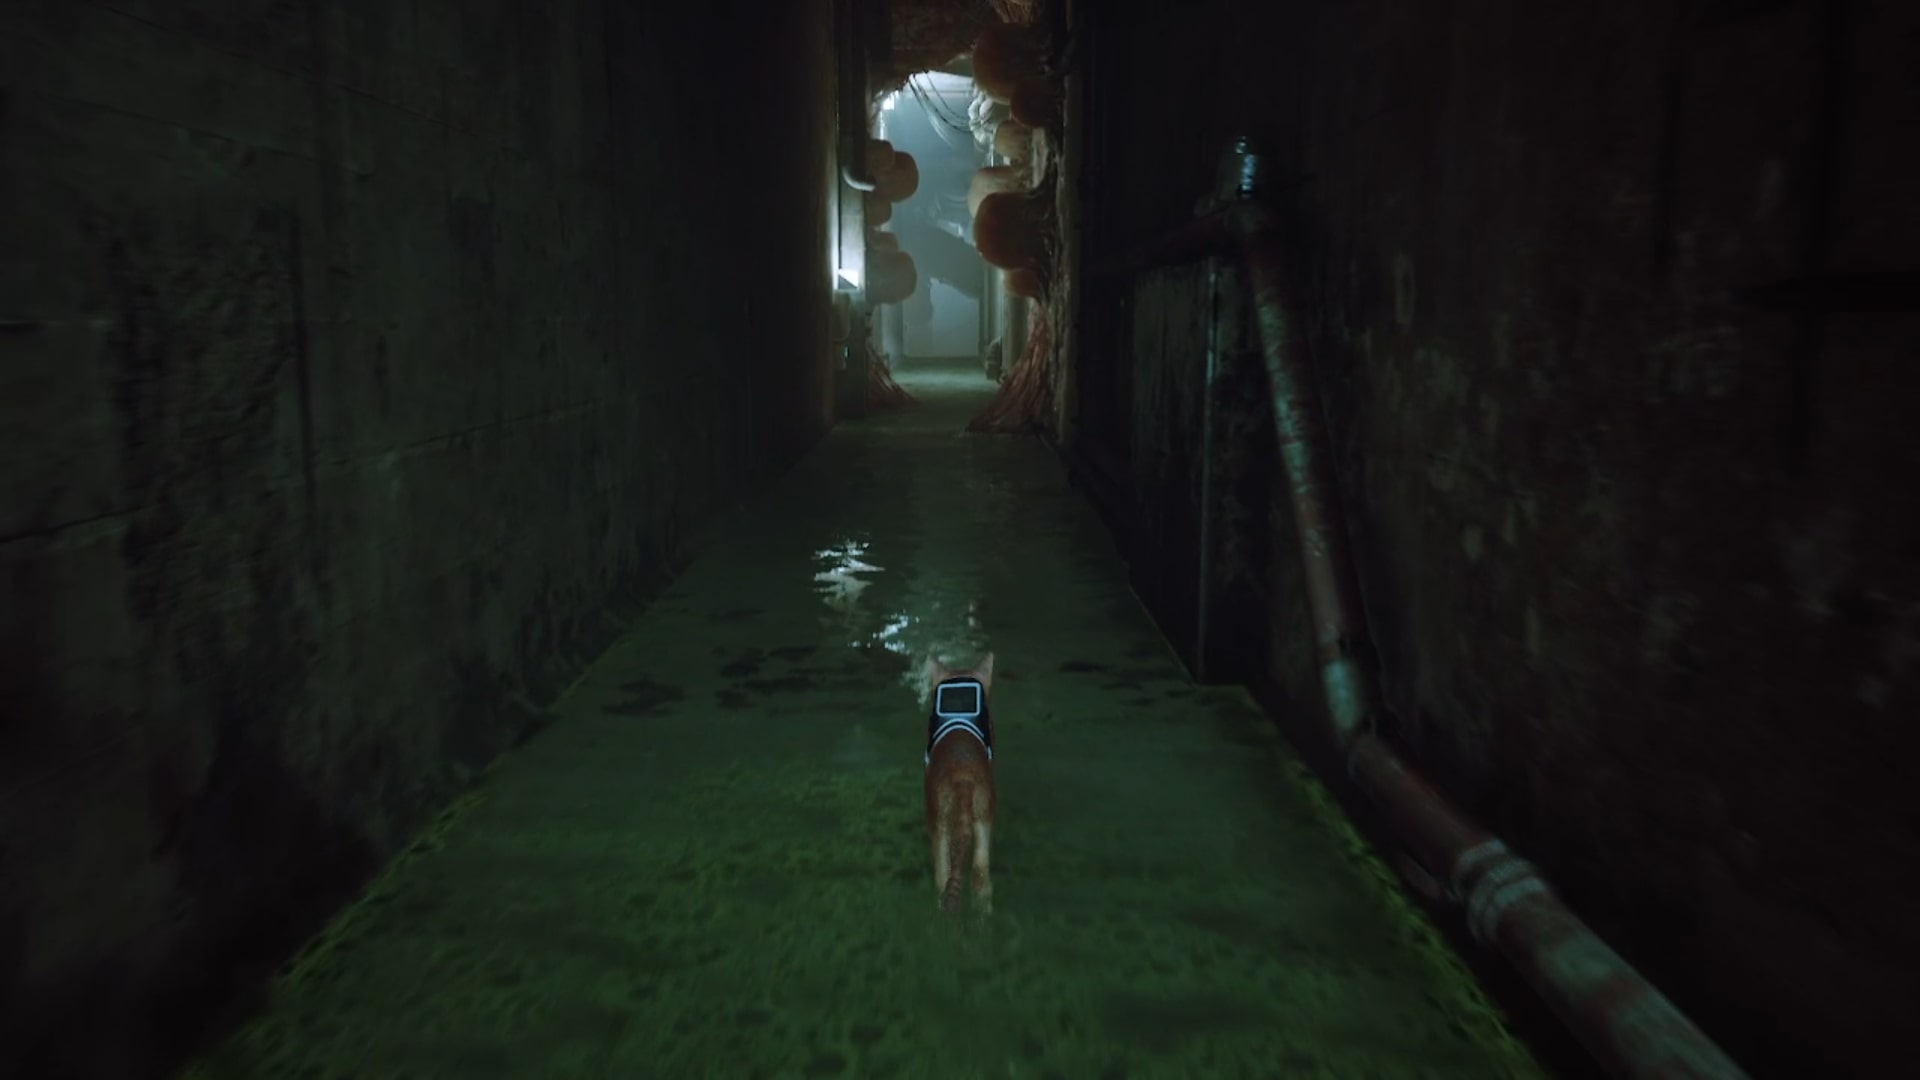
This Stray memory can be found shortly after leaving Momo behind. Slowly make your way along the flooded corridor – taking care not to disturb any of the Zurk eggs unnecessarily – until you reach the adjoining corridor to the left. Unfortunately, the way is blocked by a barricade of Zurk eggs.
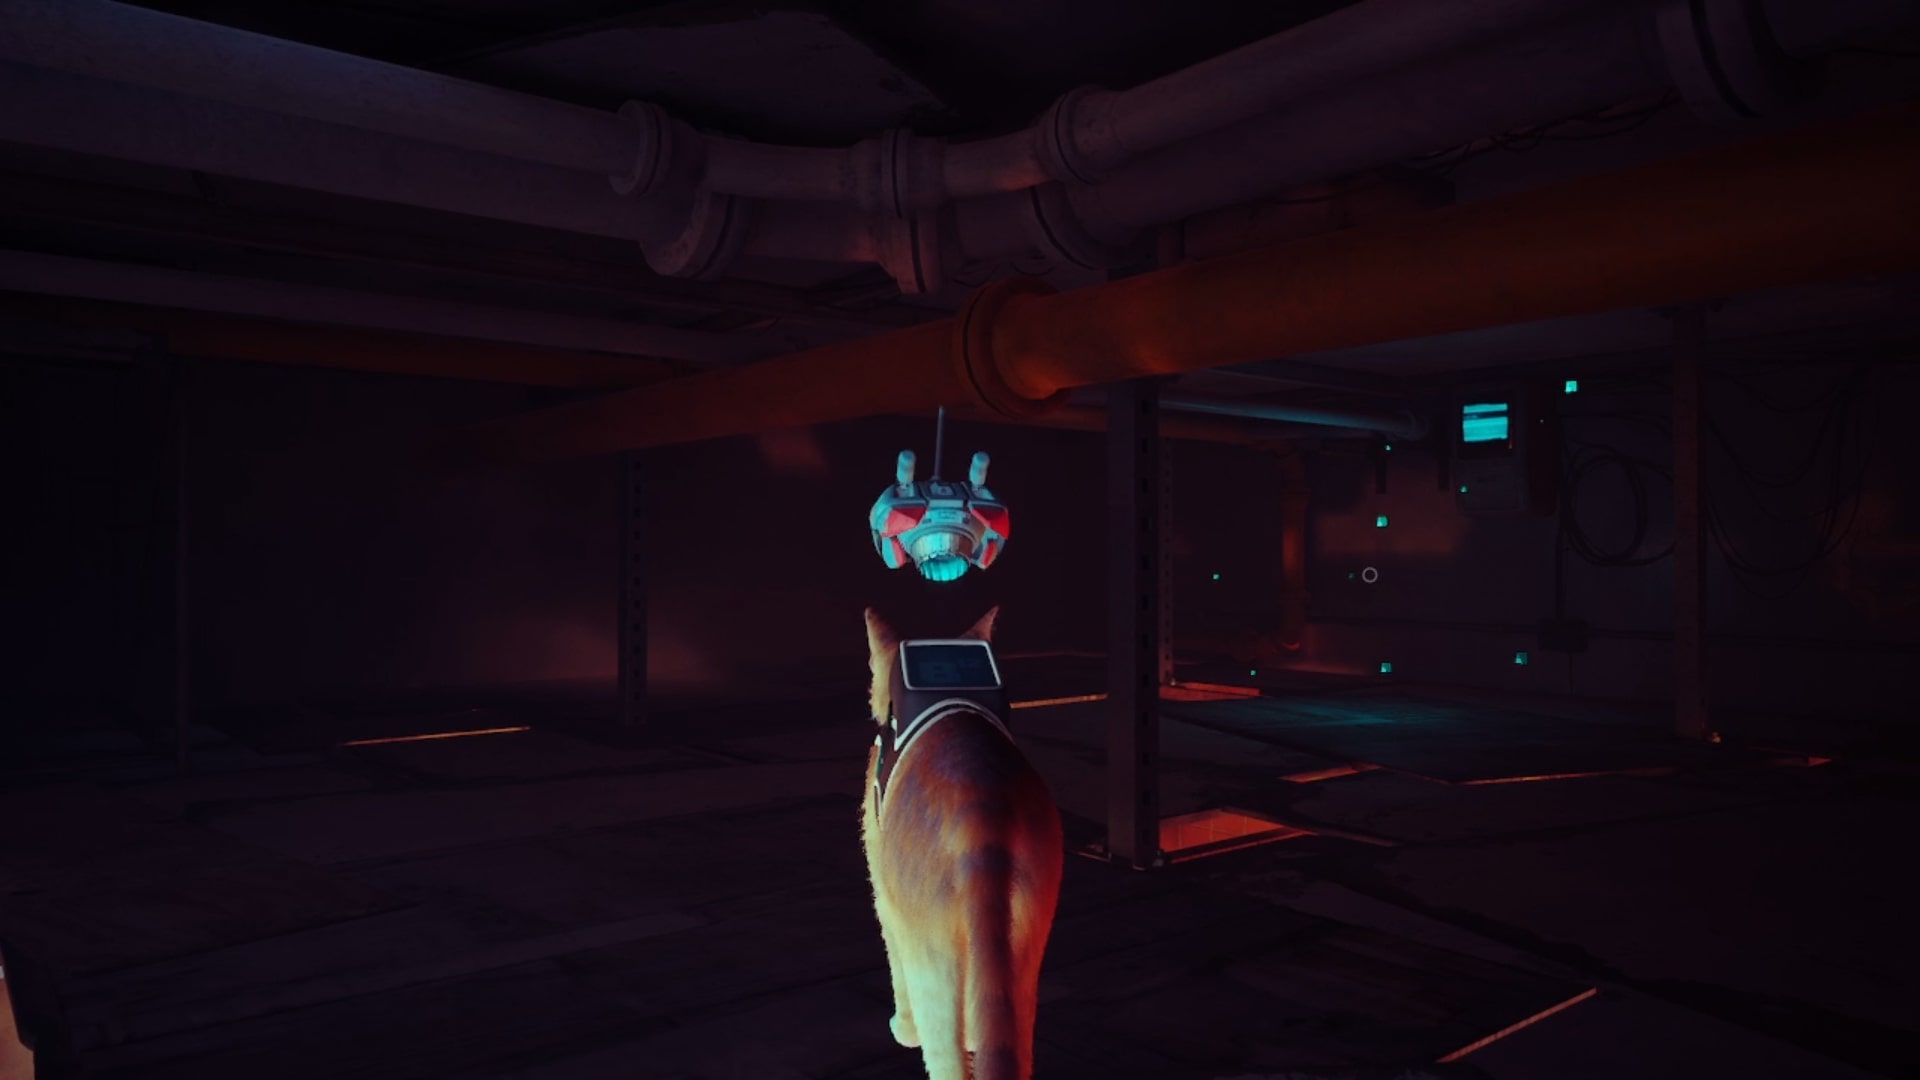
Clear them out using the Defluxor, then travel through the large sewer pipe to enter an enormous, pitch-black room. Hop onto the safety barrier to retrieve the first of the Stray memories in The Sewers.
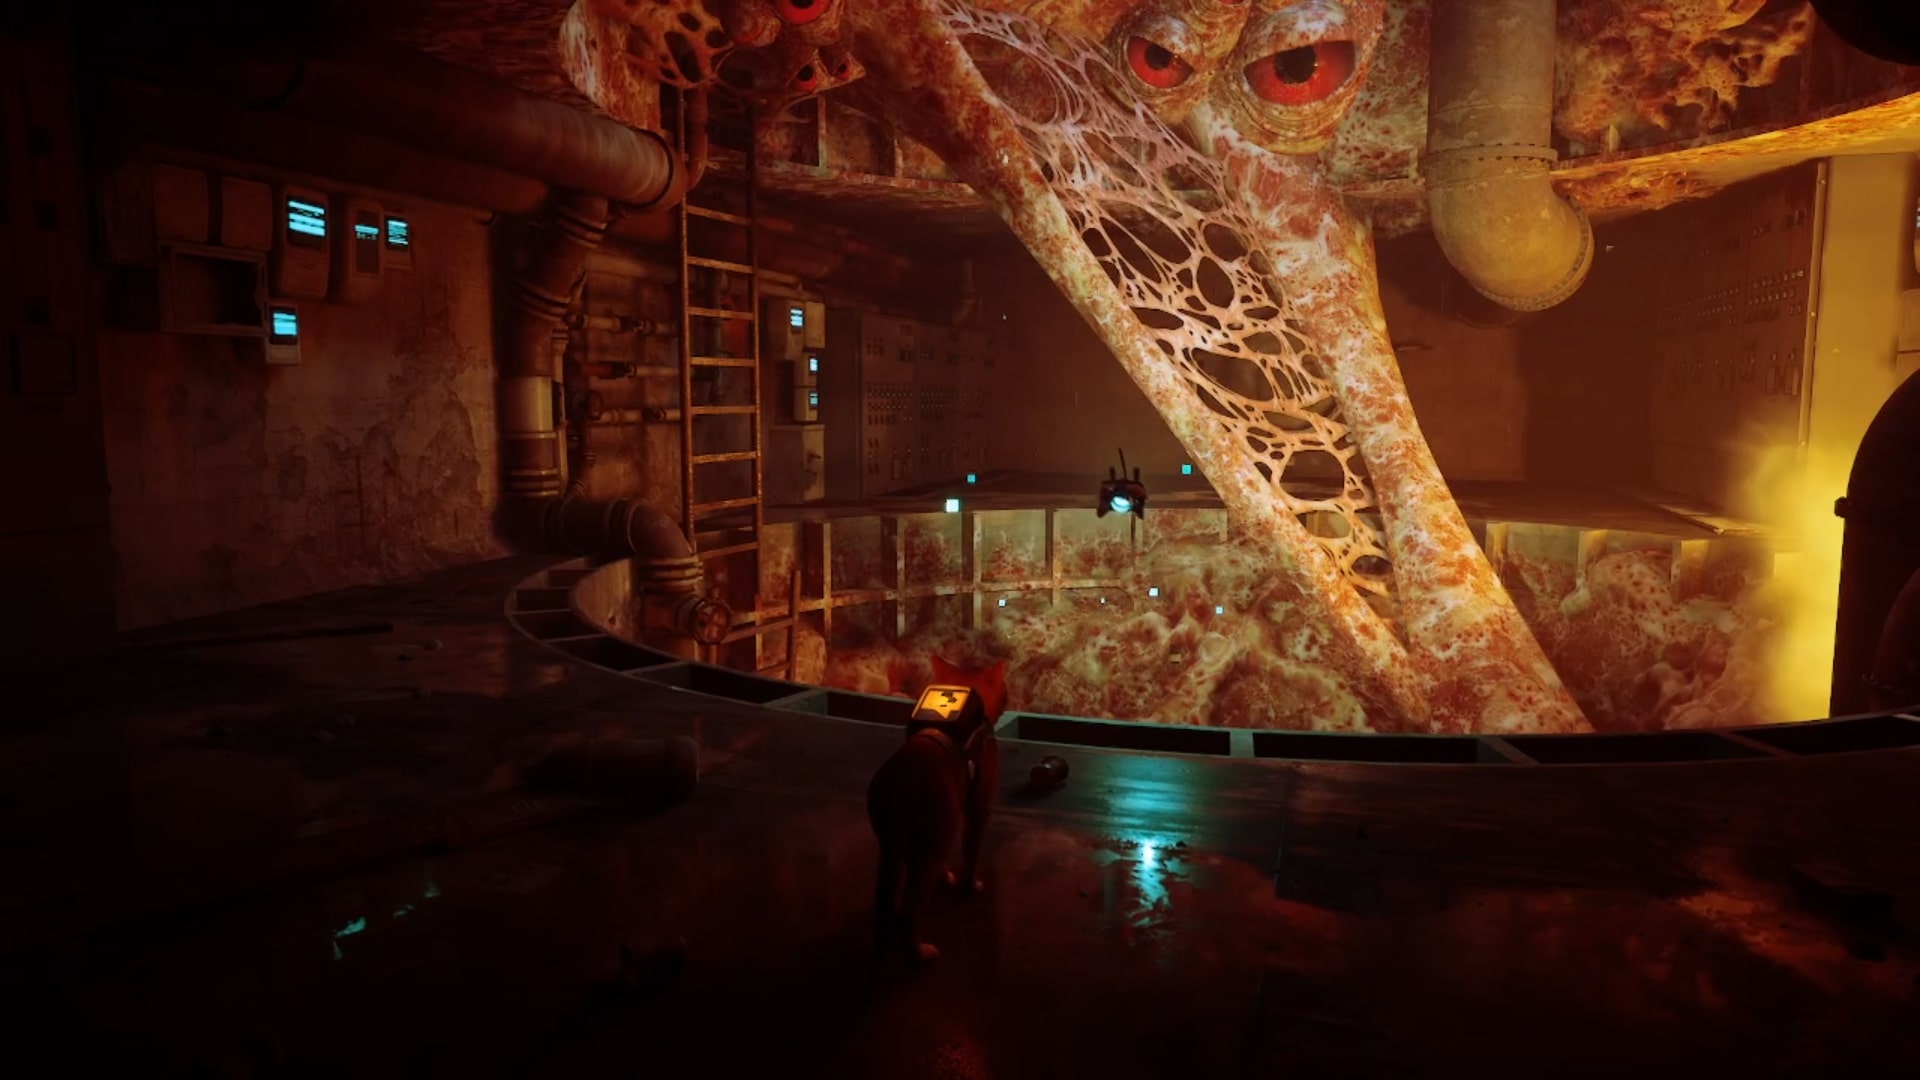
Zurk Flesh
One of the trickiest Stray memories to track down, finding the Zurk Flesh requires you to take a temporary detour after the long corridor teeming with red eyes and Zurk eggs. Leap down onto the large pipe at the end of the corridor, but don’t follow where it leads. Instead, approach the blocked section to the left until you receive the prompt to jump across to the smaller pipe running along the opposite wall.
Use the detritus as stepping stones to reach yet another sewer pipe that’s big enough to enter. Once you’re through, you should find an amalgamation of flesh and eyeballs growing out of a large pit. Approach it to receive the last Stray memory in The Sewers.
Antvillage
There are two Stray memories in Antvillage:
Machine capsule
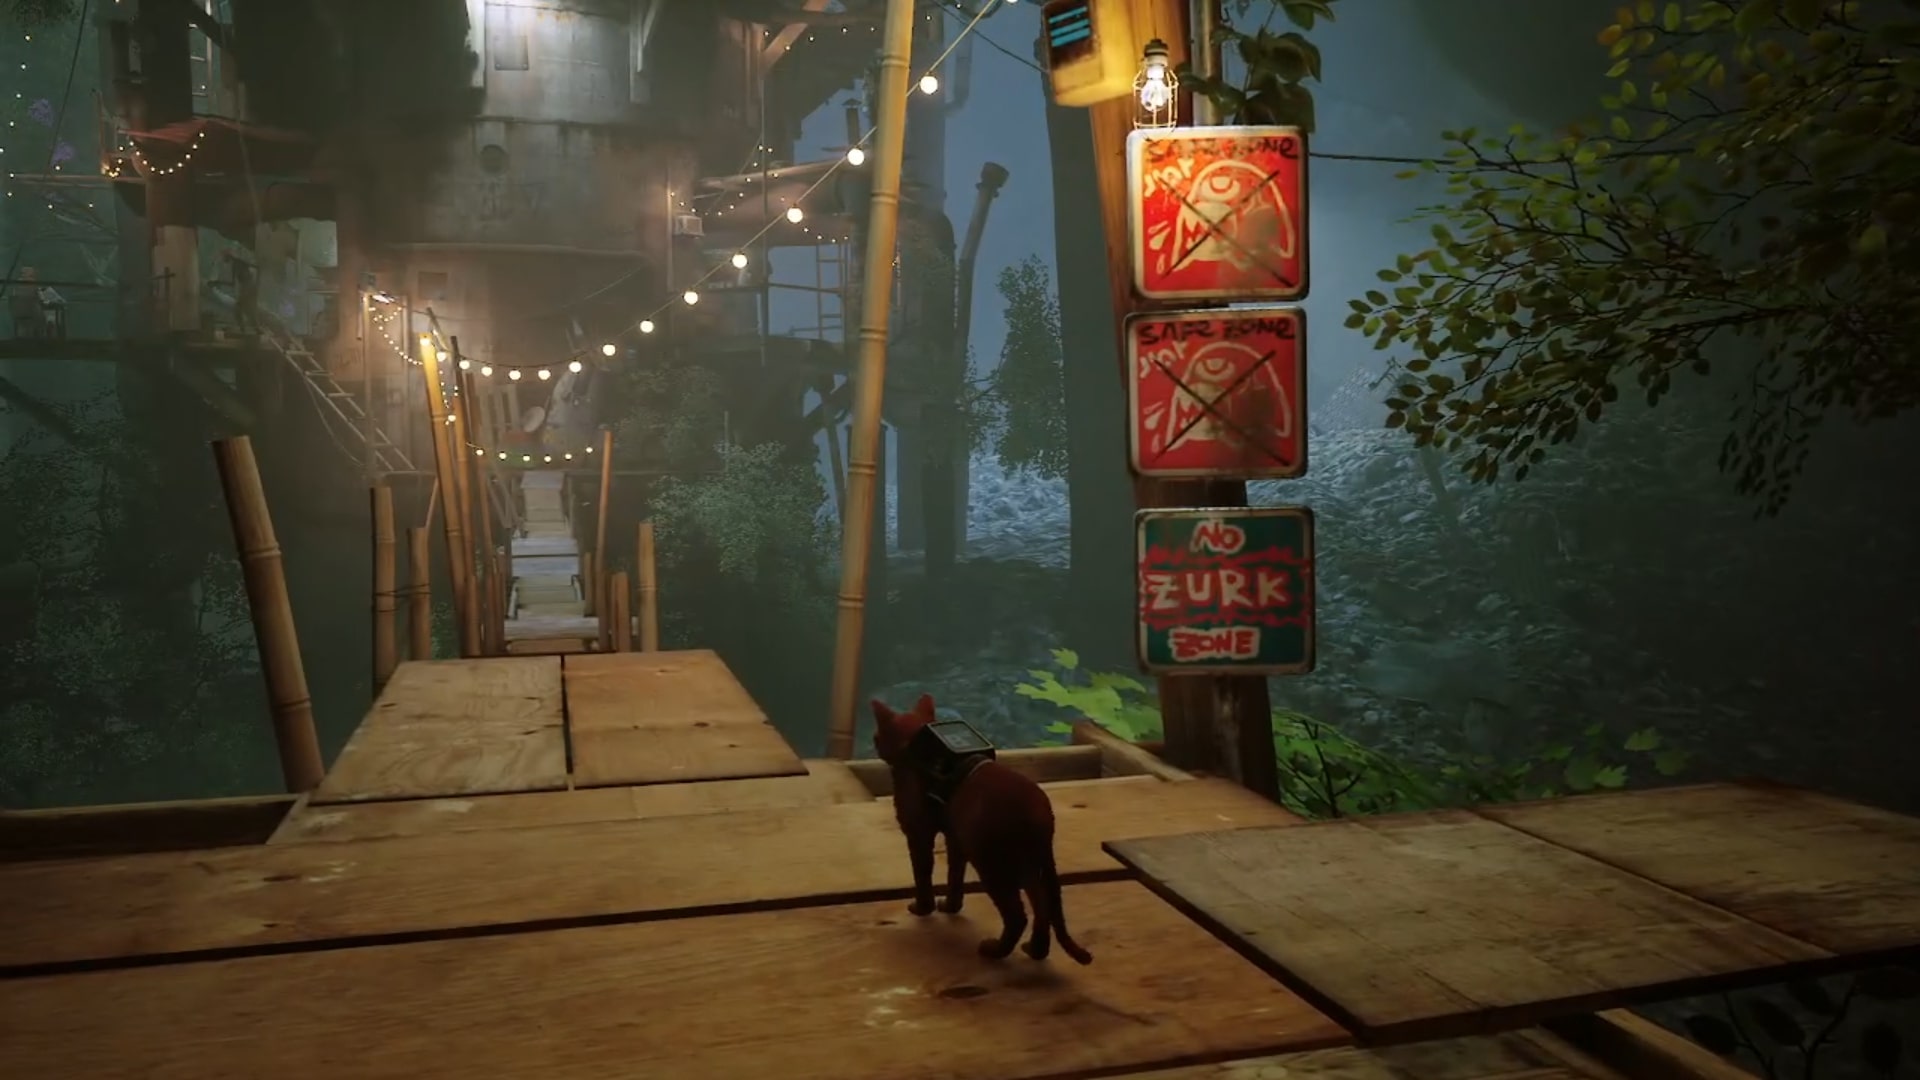
Primary Memory #3: This Stray memory is recovered during the cutscene that begins as you cross the bridge leading to Antvillage.
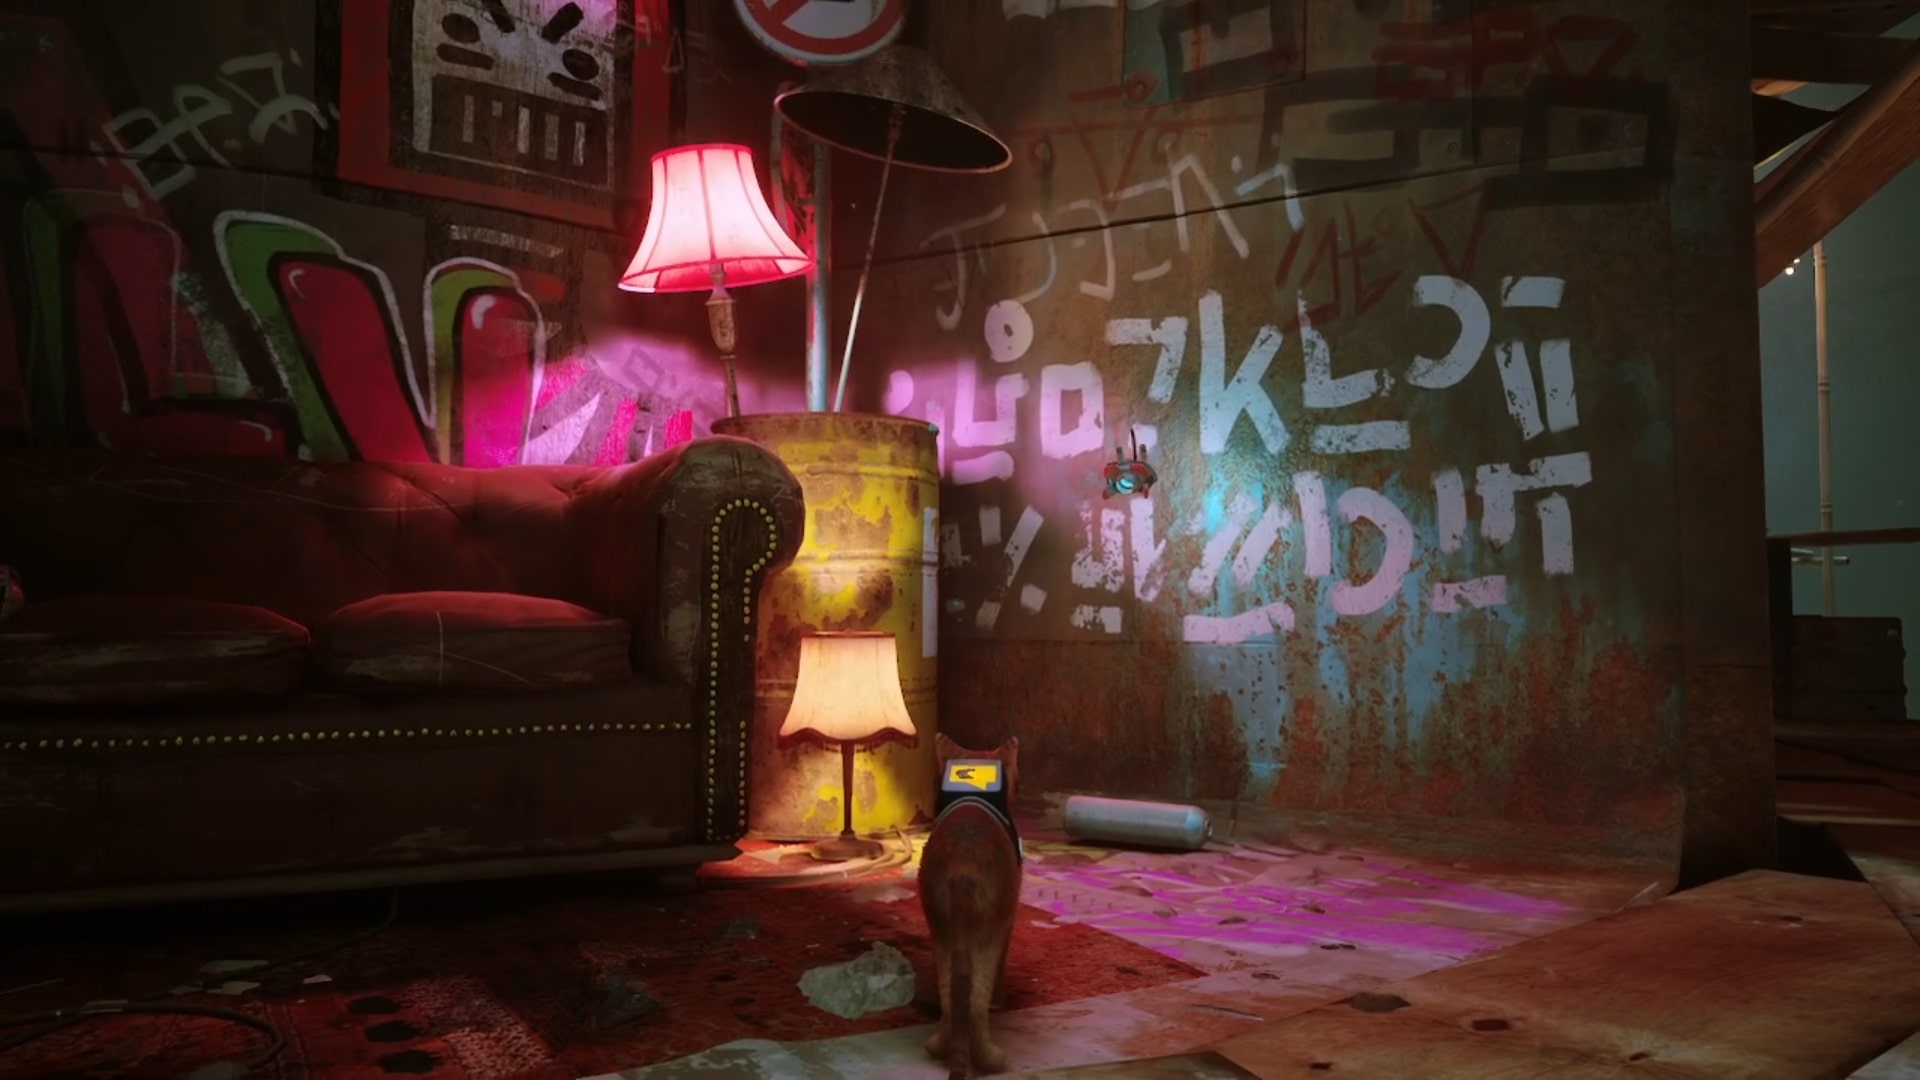
Robot language graffiti
It’s worth mentioning that you only be able to retrieve this Stray memory once B-12 is ready to talk again, so you have to do some backtracking from Zbaltazar.
Return to the second floor of the treehouse where you first encountered the robots playing Mahjong and follow the platform around to find a robot asleep in front of a television. There’s a lot of graffiti in this area, but the white lettering on the wall to the right of the sofa contains the Stray memory.
Midtown
There are seven Stray memories in Midtown:
Subway Station
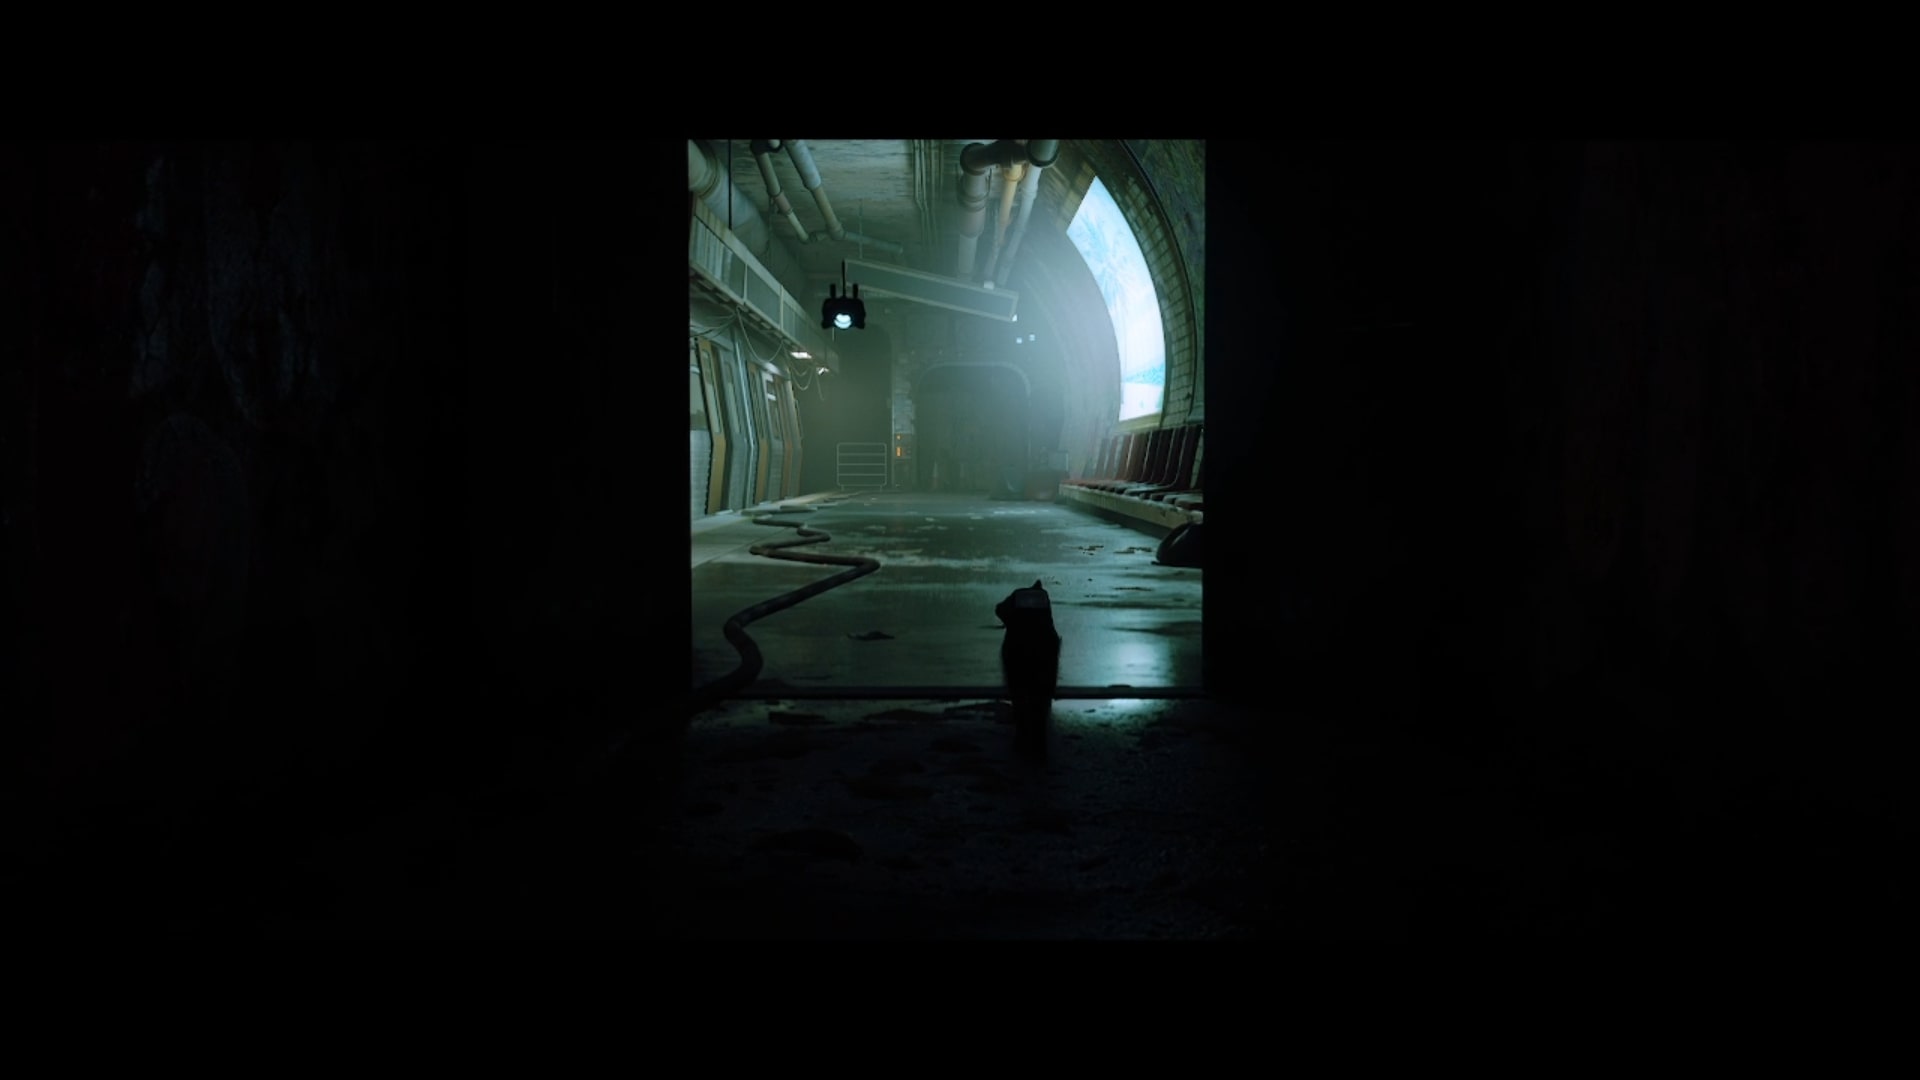
Primary Memory #4: Yep, you guessed it – this memory is recovered during a cutscene as you enter the subway station at the beginning of the chapter.
Books
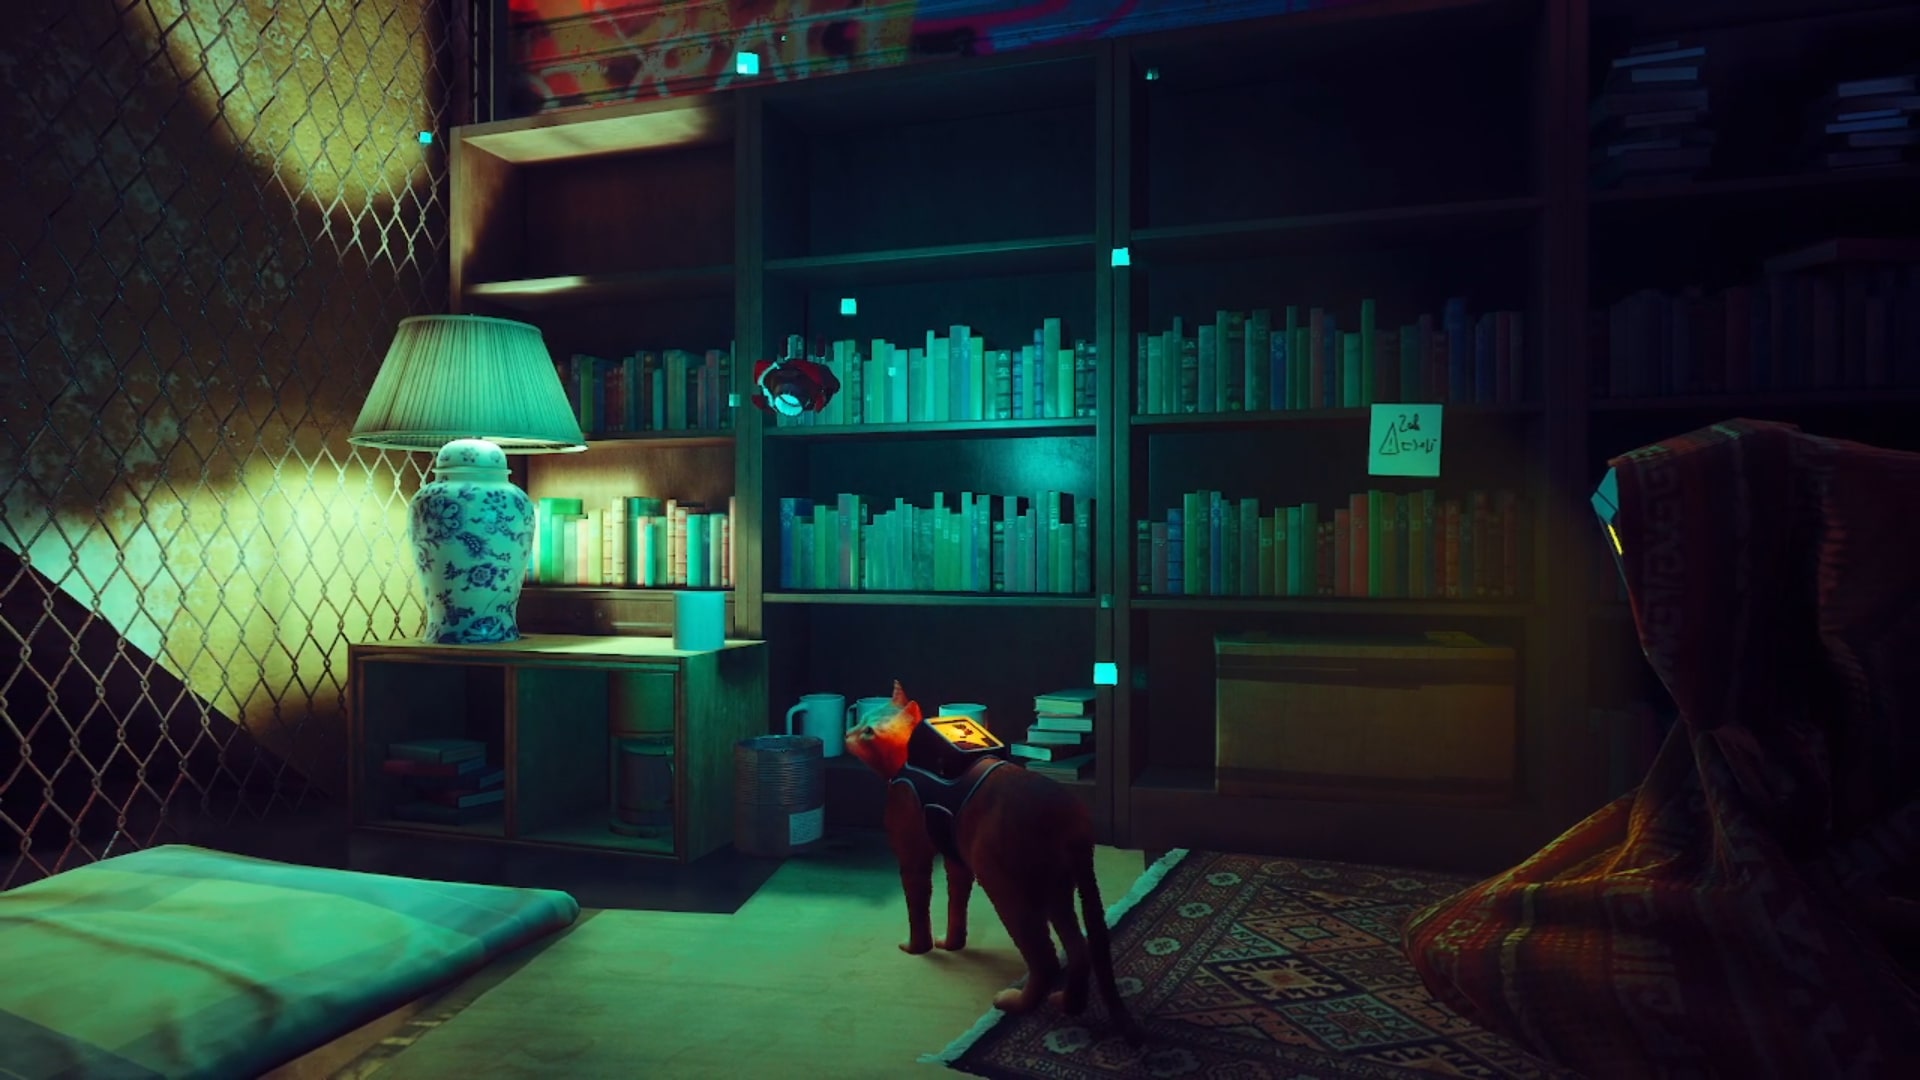
The second of the Midtown Stray memories can be found just before you step out onto the streets of Midtown itself. After you’ve travelled up the subway escalator and through the gap in the chain-link fence, you should see a makeshift home to your right that’s partially obscured by hanging blankets. Head to the row of books containing the Stray memory by their tell-tale blue glow.
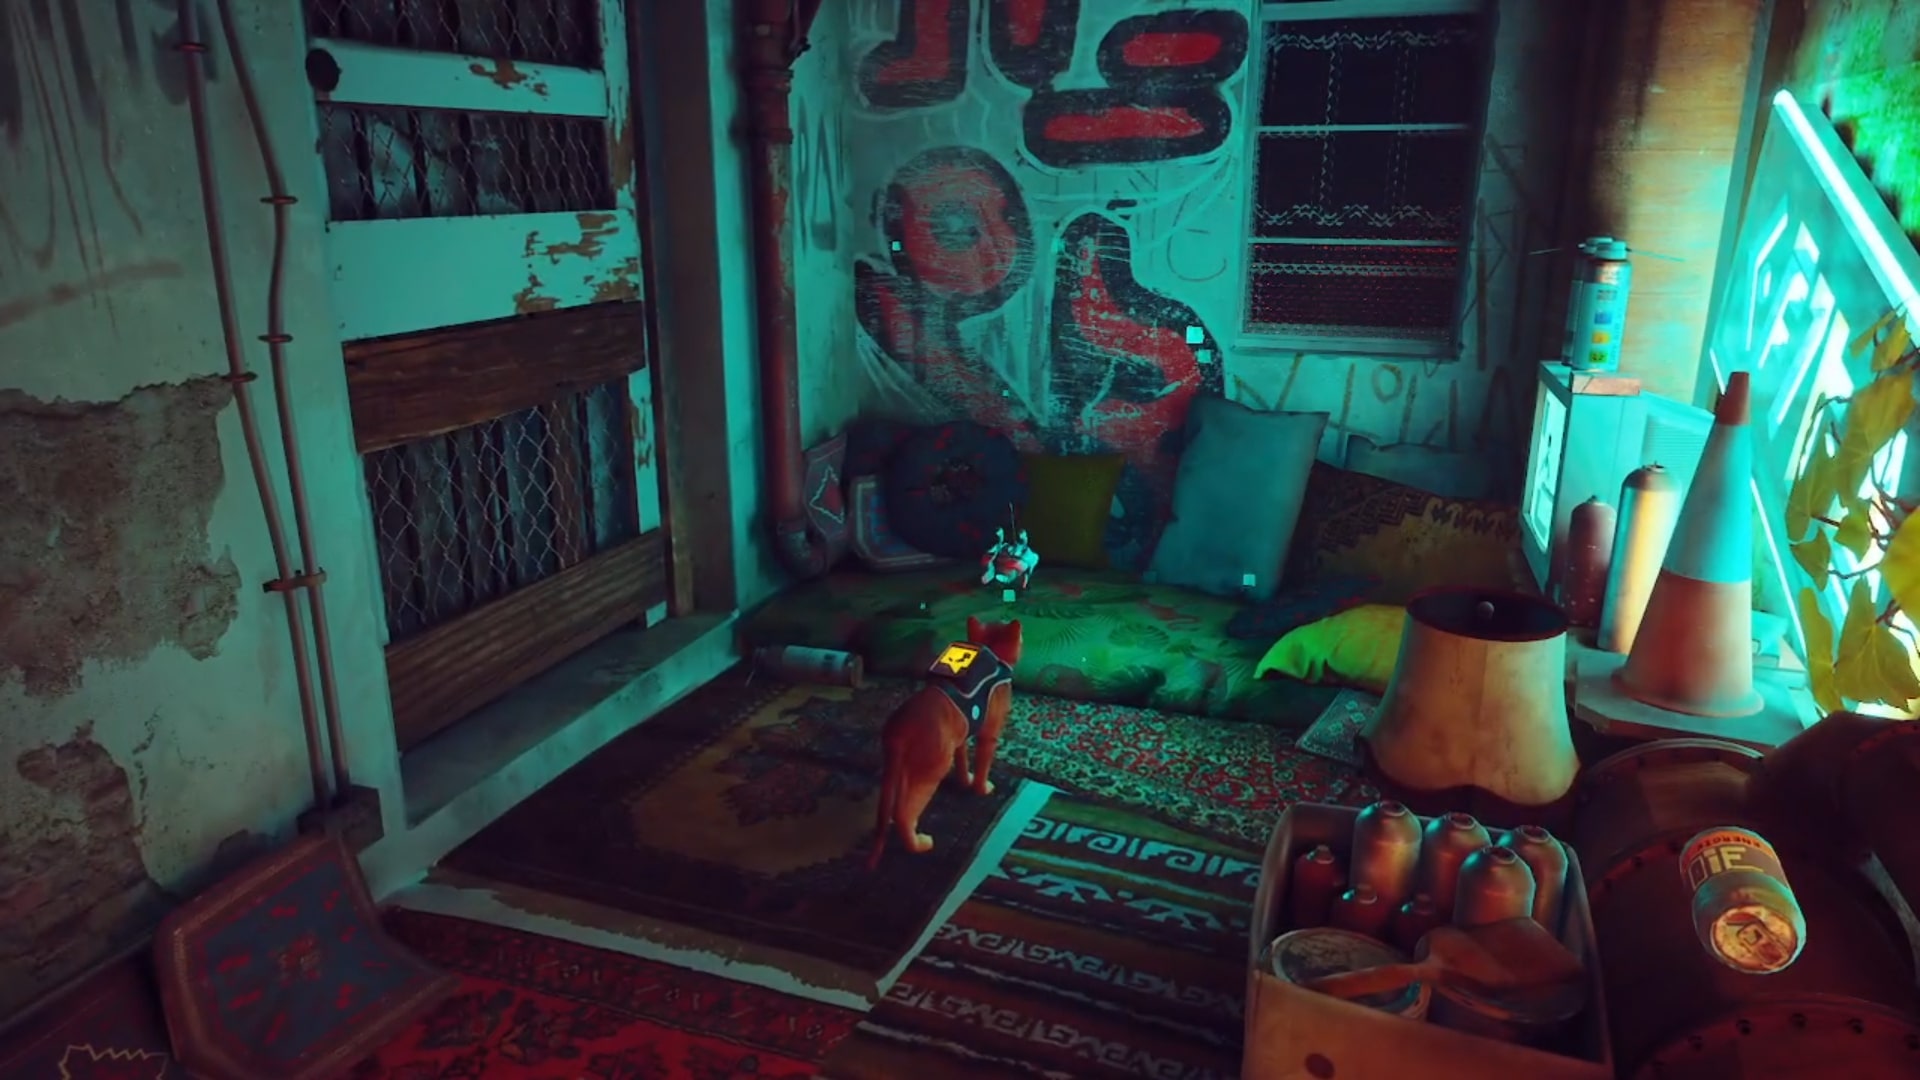
Cosy spot
If you’ve read our Stray beginners guide, you’ll know that the neon signs scattered throughout Stray aren’t just there for the aesthetic – they can also point you to hidden areas.
The giant neon arrow that’s halfway along the alleyway opposite the bar is one of the more obvious, identifiable by the same colour blue as the light that emits from all Stray memories.
Go down the stairs and use the bin near the robot sweeping to make your way onto the awning. From there, hop along the string of air-con units and up to the ledge lined with beer bottles. The cosy spot is to the right, against the wall.
Barbershop
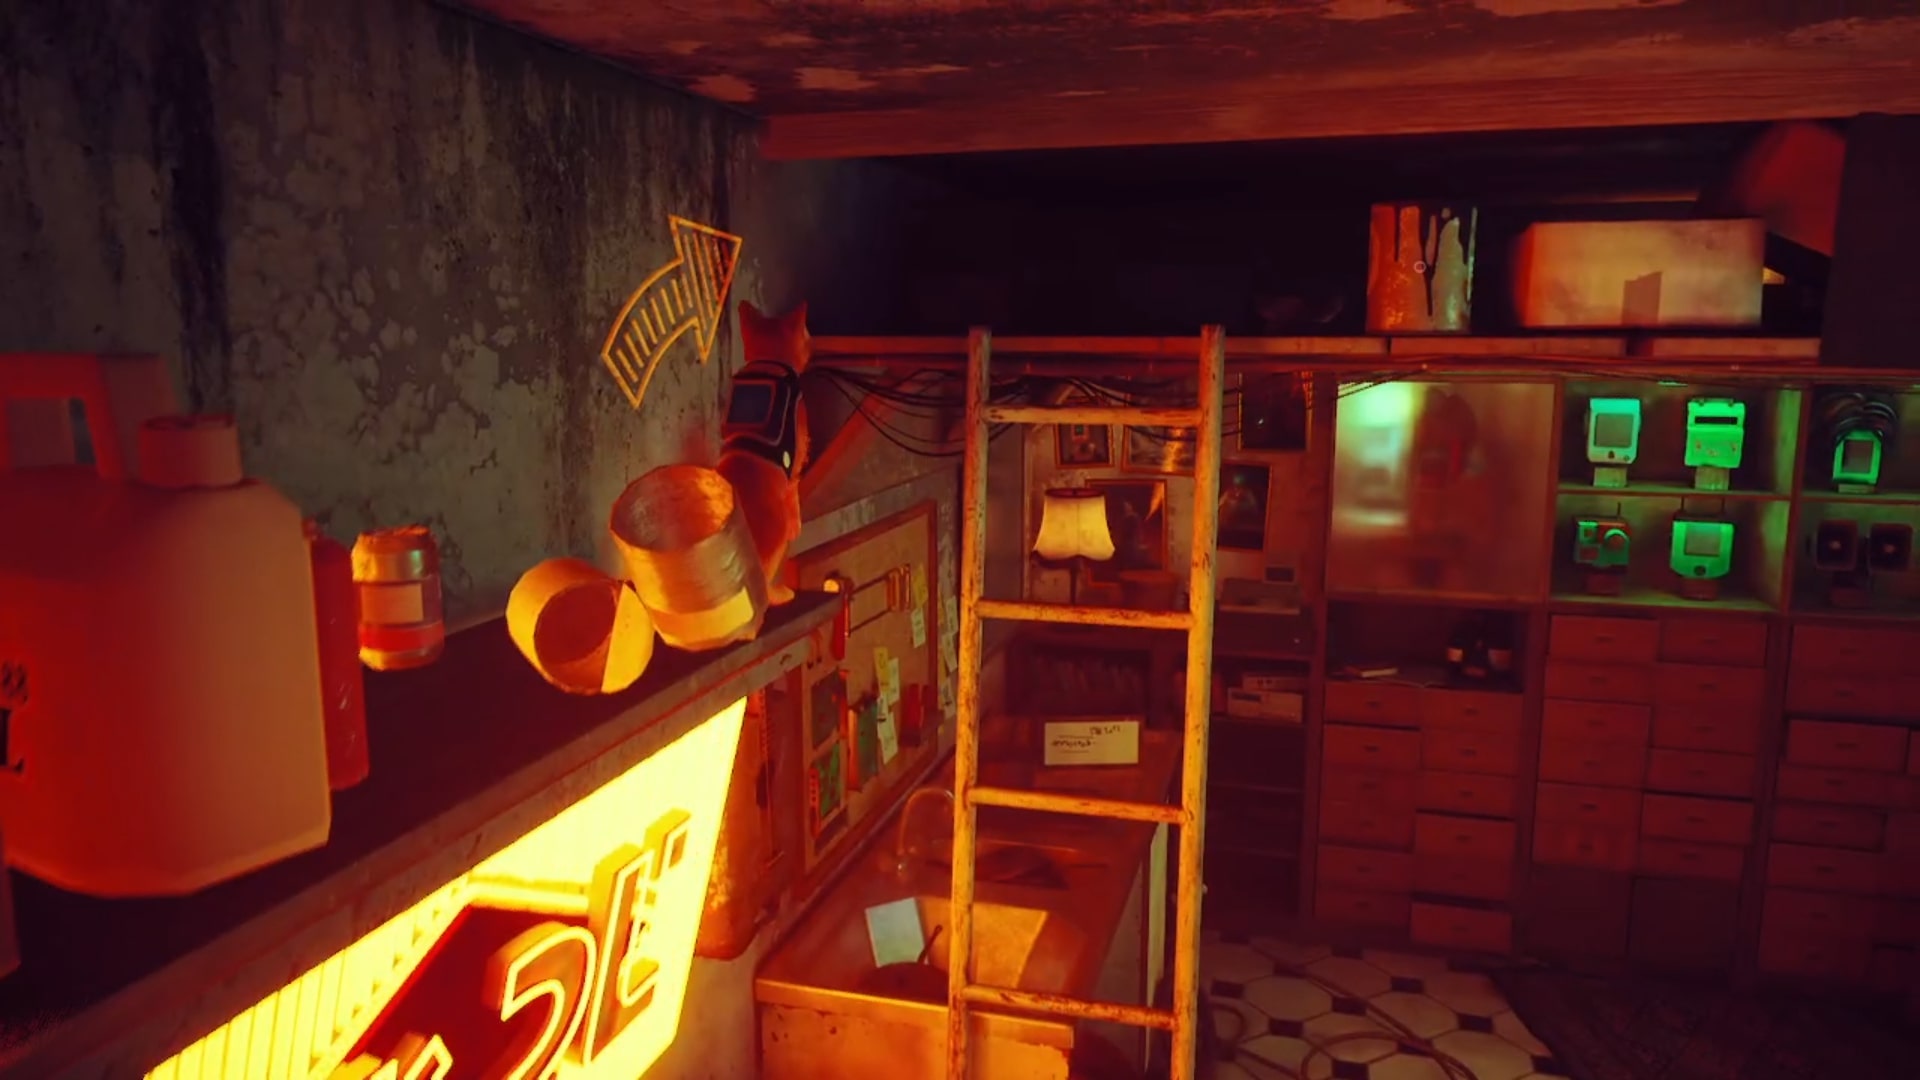
The next Stray memory is inside the barbershop, just to the right of the alleyway opposite the bar. The door to the barbershop is closed, so use the open window to gain entry.
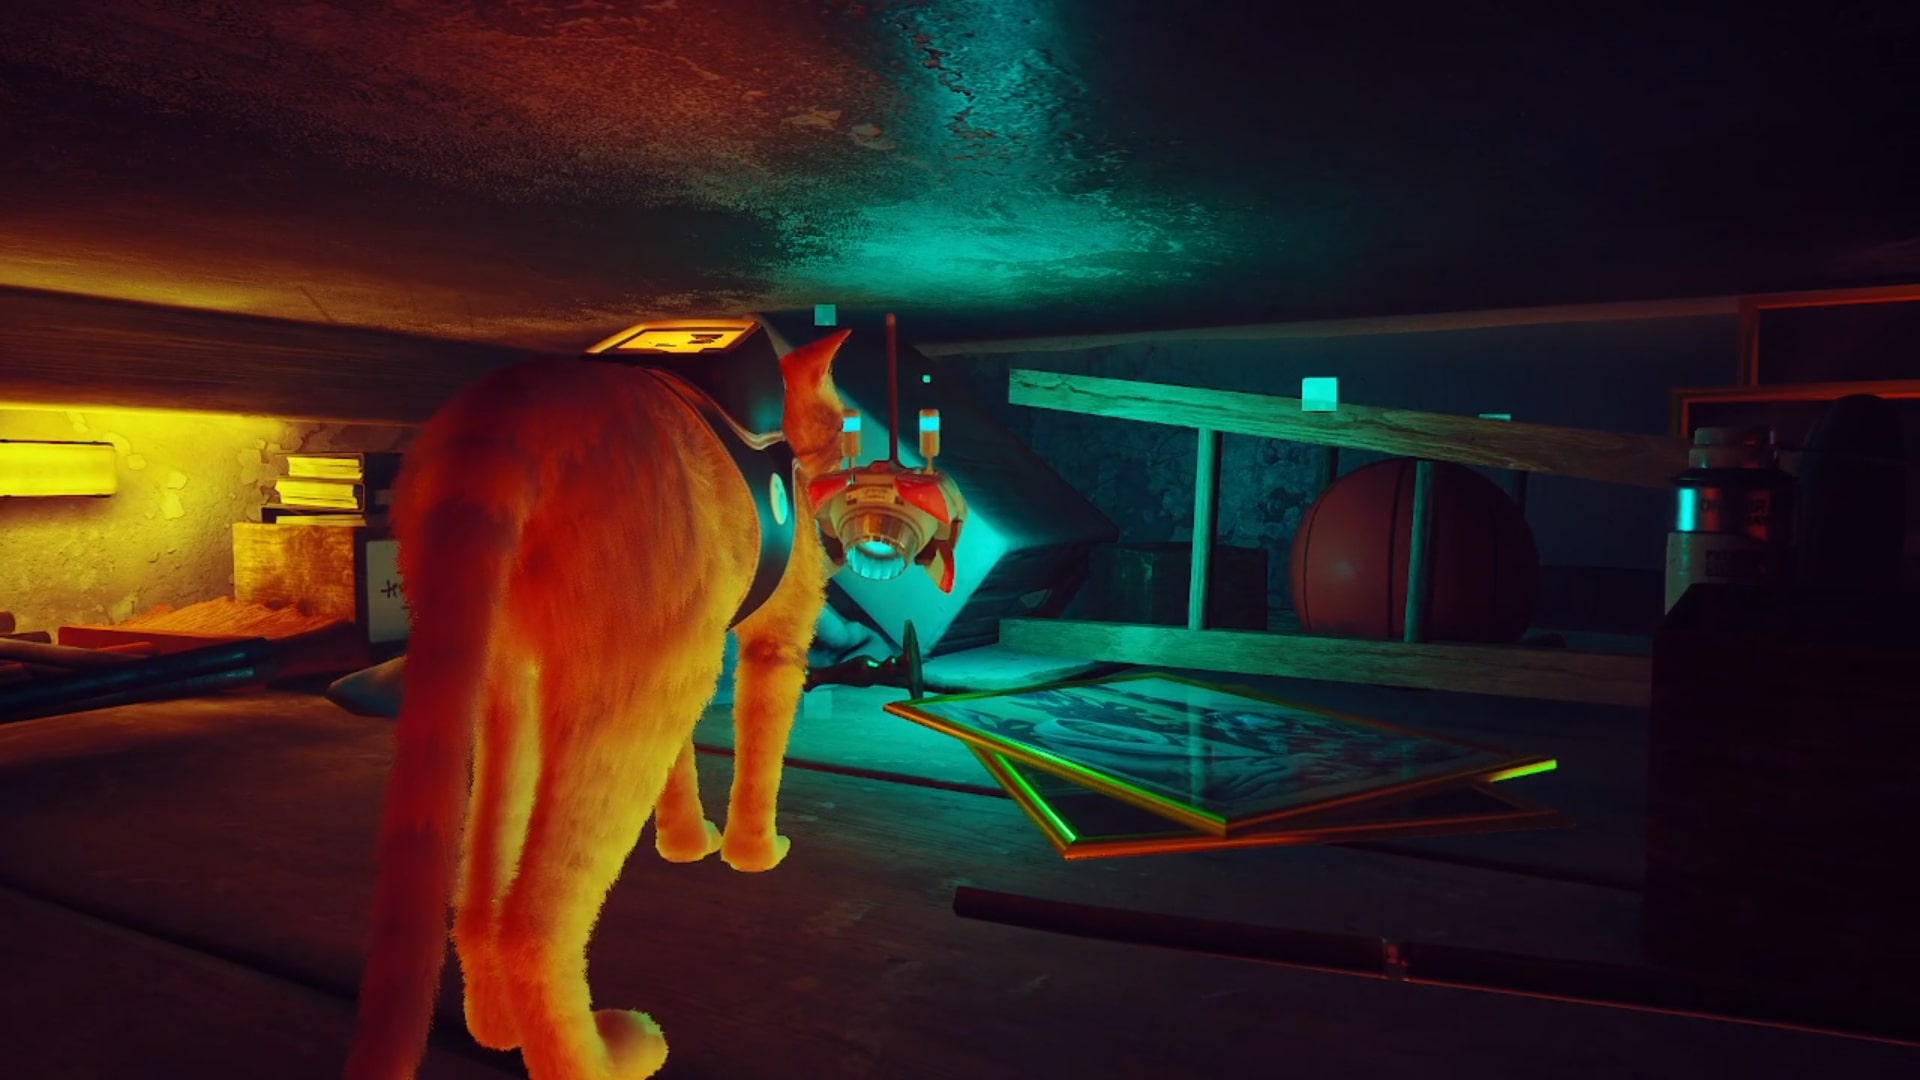
From there, jump onto the yellow neon sign from the arm of the sofa to reach the barbershop’s loft. This space is dark and cramped, but you can find the Stray memory by following the blue light to a stack of photographs.
Street food
Make your way to the restaurant in the main square of Midtown, just around the corner from the bar. Once inside, jump onto the counter and then across to the ledge lined with flowerpots. There’s a hole in the restaurant’s ceiling directly above you – if the prompt to reach it doesn’t pop up straight away, try adjusting your position on the ledge. There’s no clear object attached to this Stray memory, so you have to rely on the blue glow to recover it.
Sentinel photograph
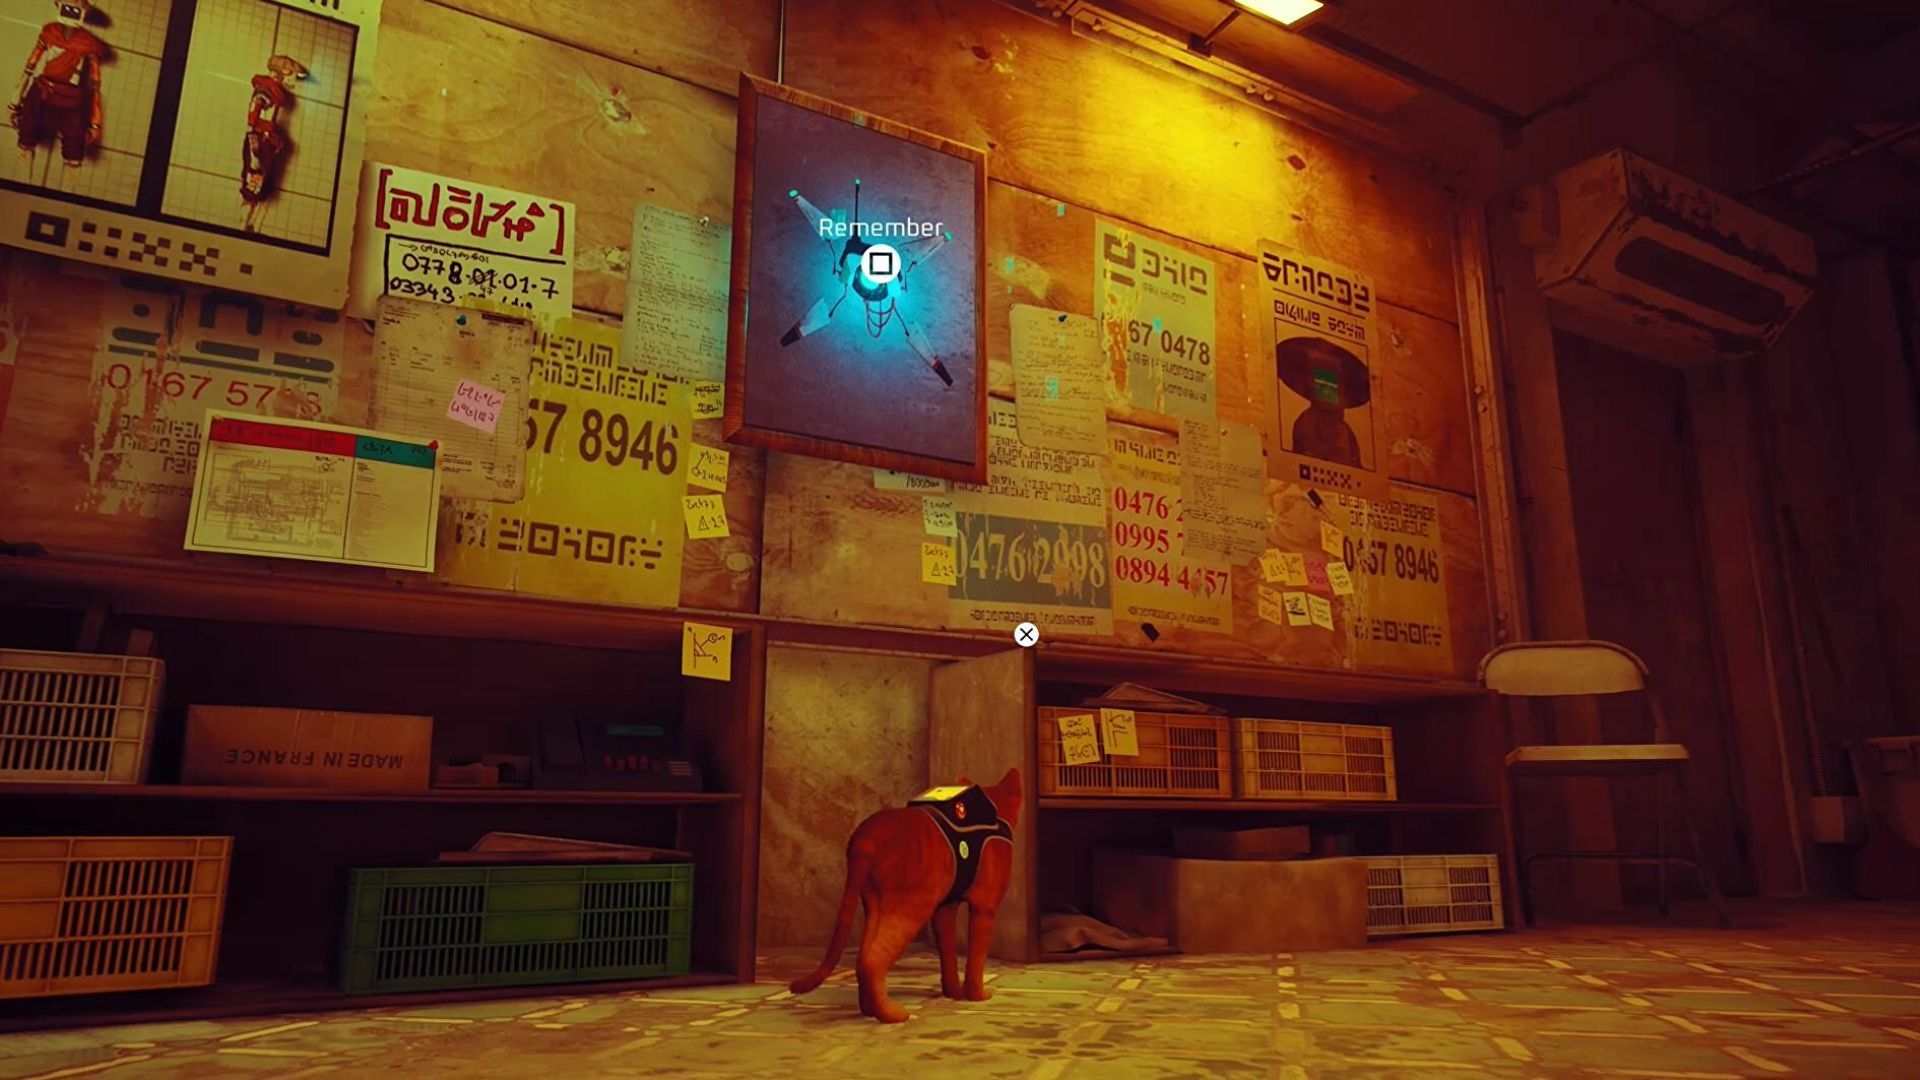
The photograph of a Neco Corp anti-cat drone can be easily spotted in the window of the police station while exploring Midtown. However, there’s no way to retrieve it prior to breaking into the factory, so don’t waste your time trying to find a way to sneak inside prematurely.
If you need a hand collecting the disguise for Blazer, check out our guide to stealing the Stray worker jacket and hat. Once you’ve returned to Midtown with the atomic battery, head through the open door and recover the Stray memory with no further issue.
Alcohol
This Stray memory can be found in the nightclub, which only becomes accessible once you’ve returned to Midtown after breaking into the factory.
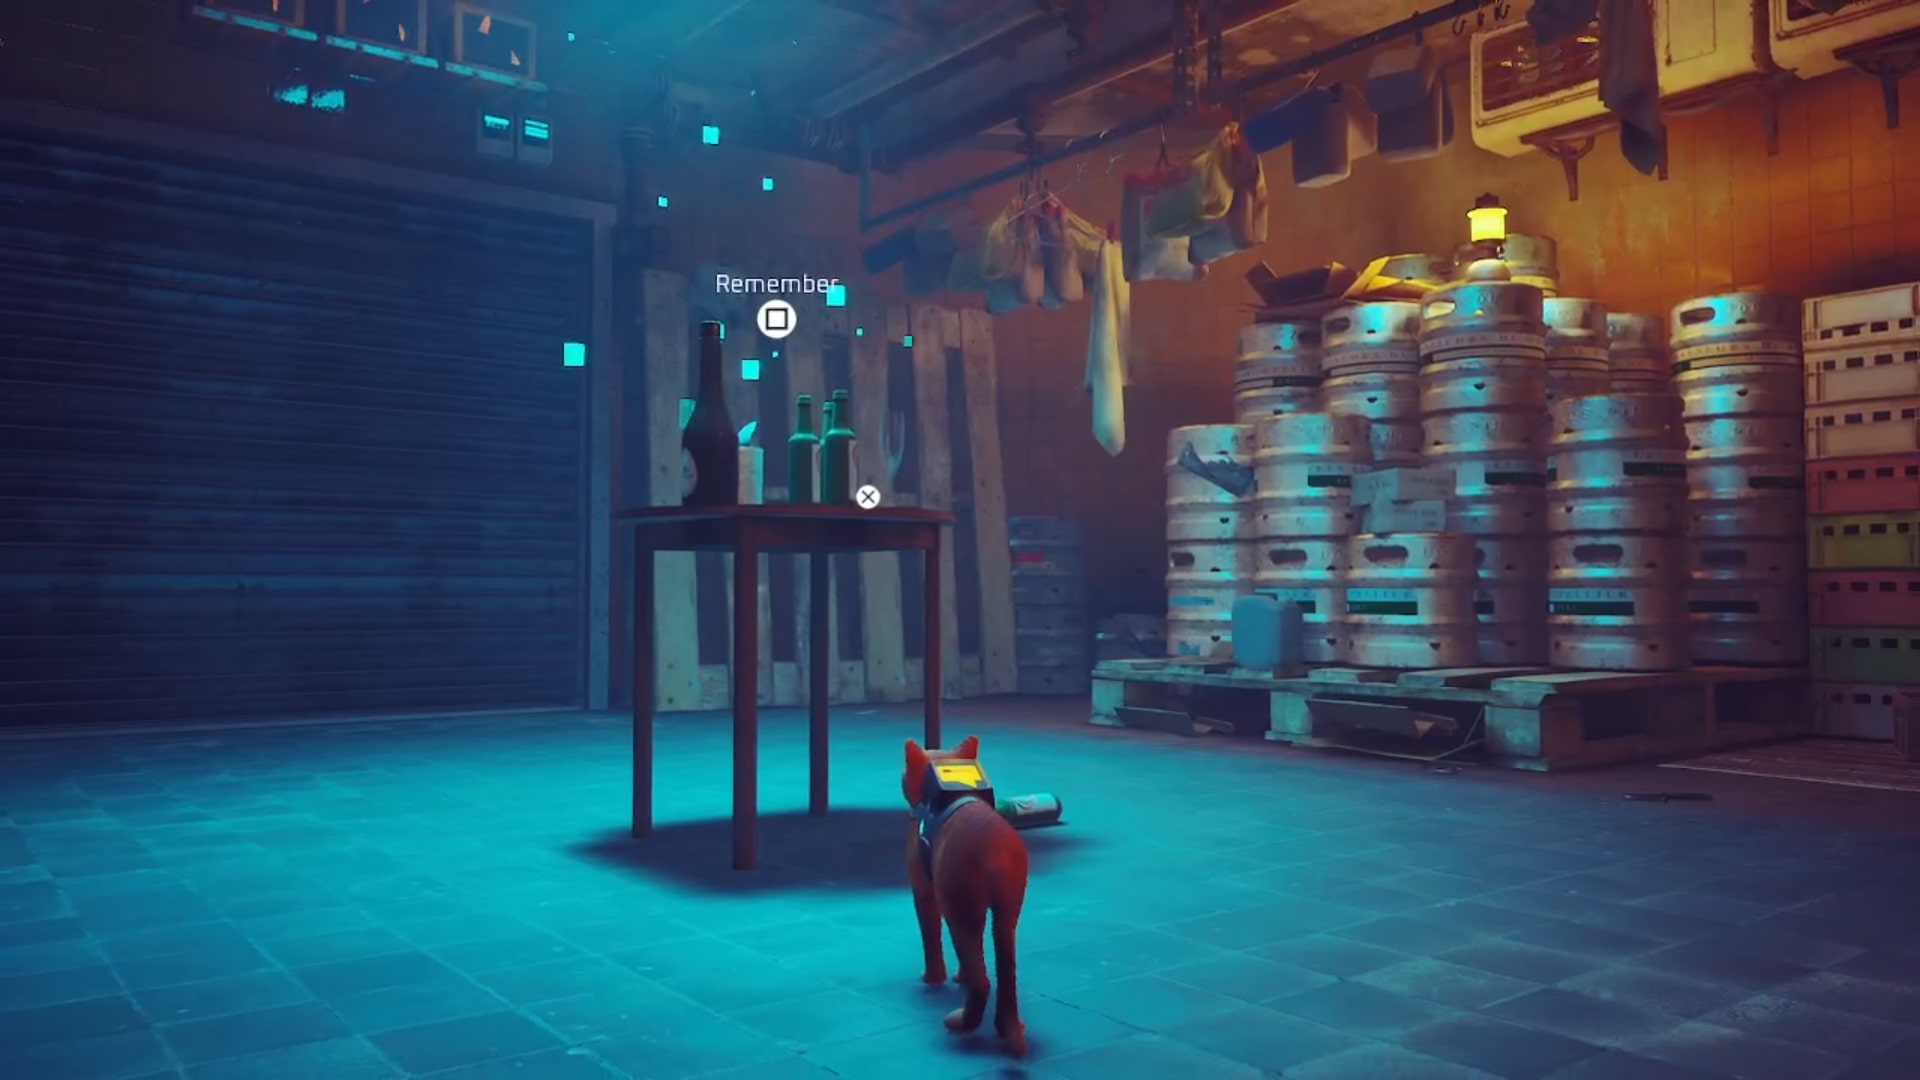
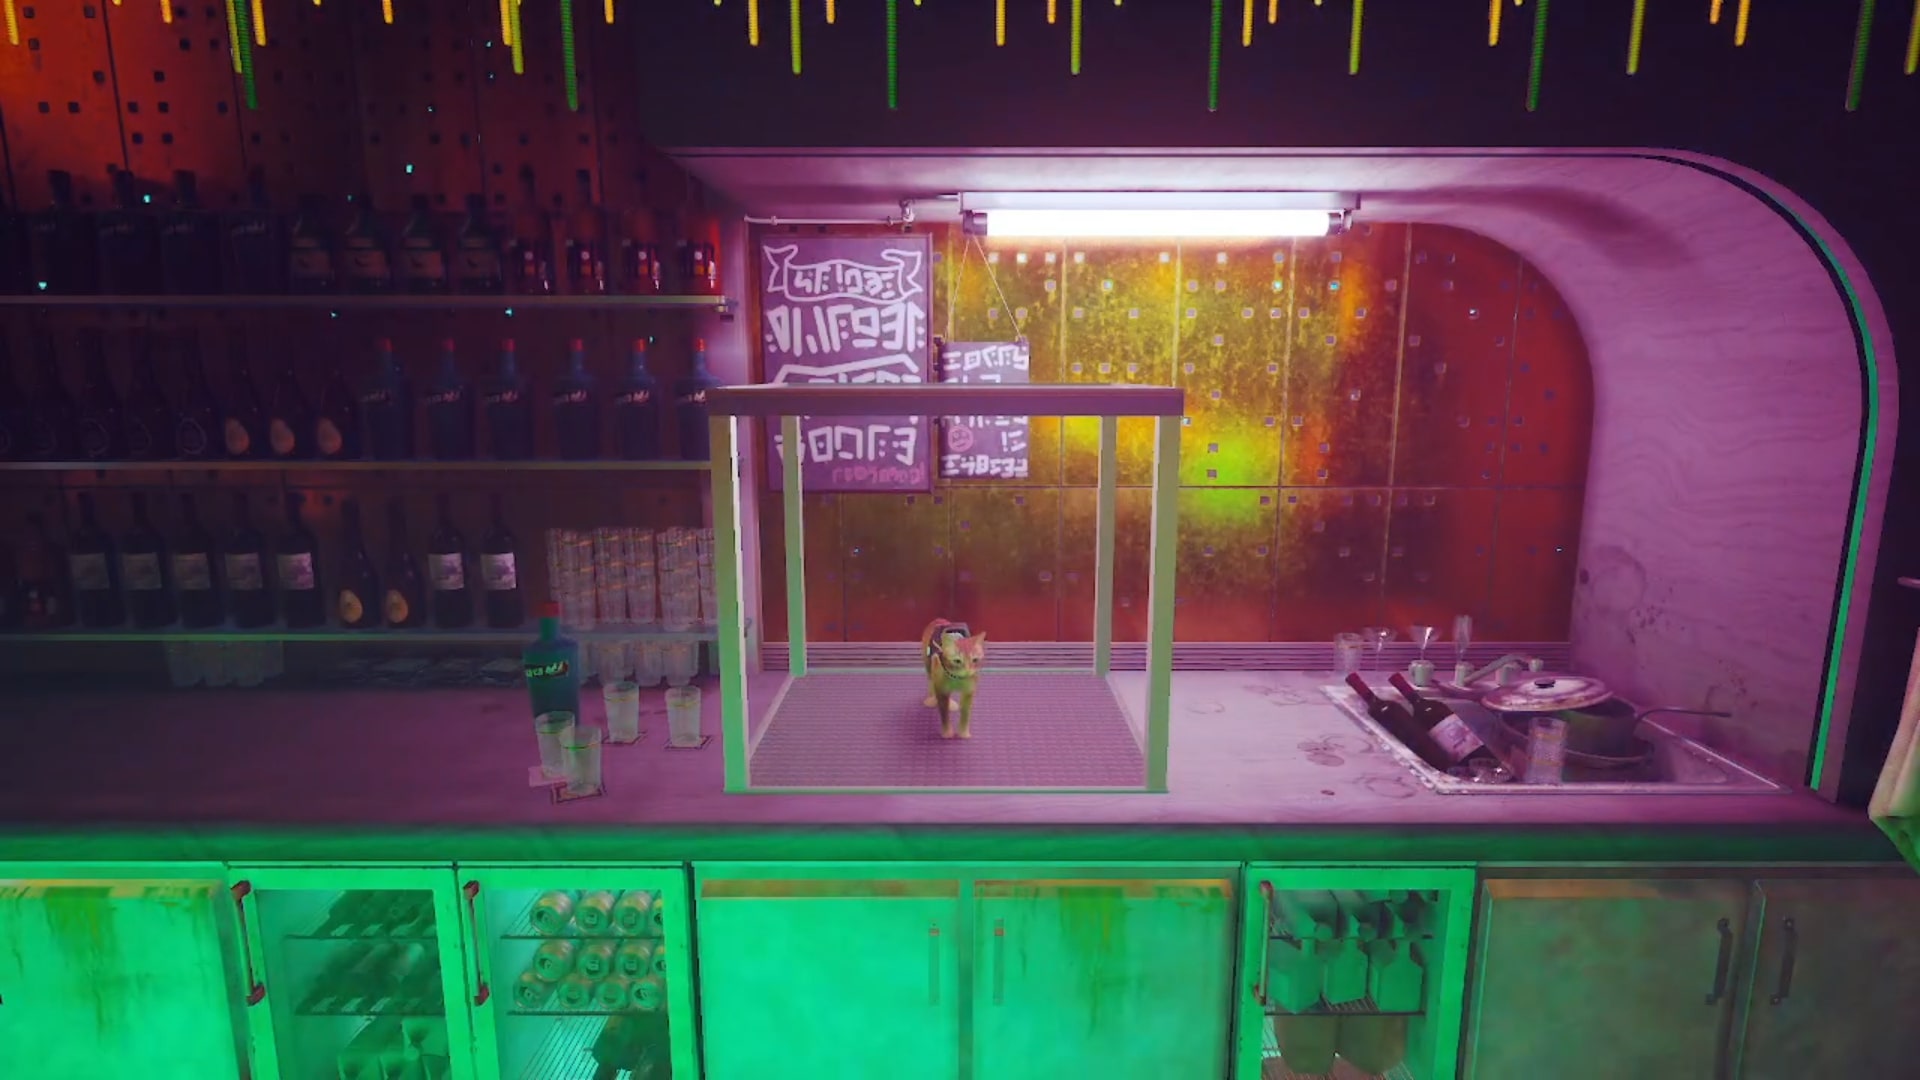
Once you’ve entered the nightclub by climbing through the upstairs window around the back, head to the bar and use the dumbwaiter to access the cellar. The collection of alcohol is sitting on the table in the centre of the room.
Jail
There’s one Stray memory in Jail:
Prisoner
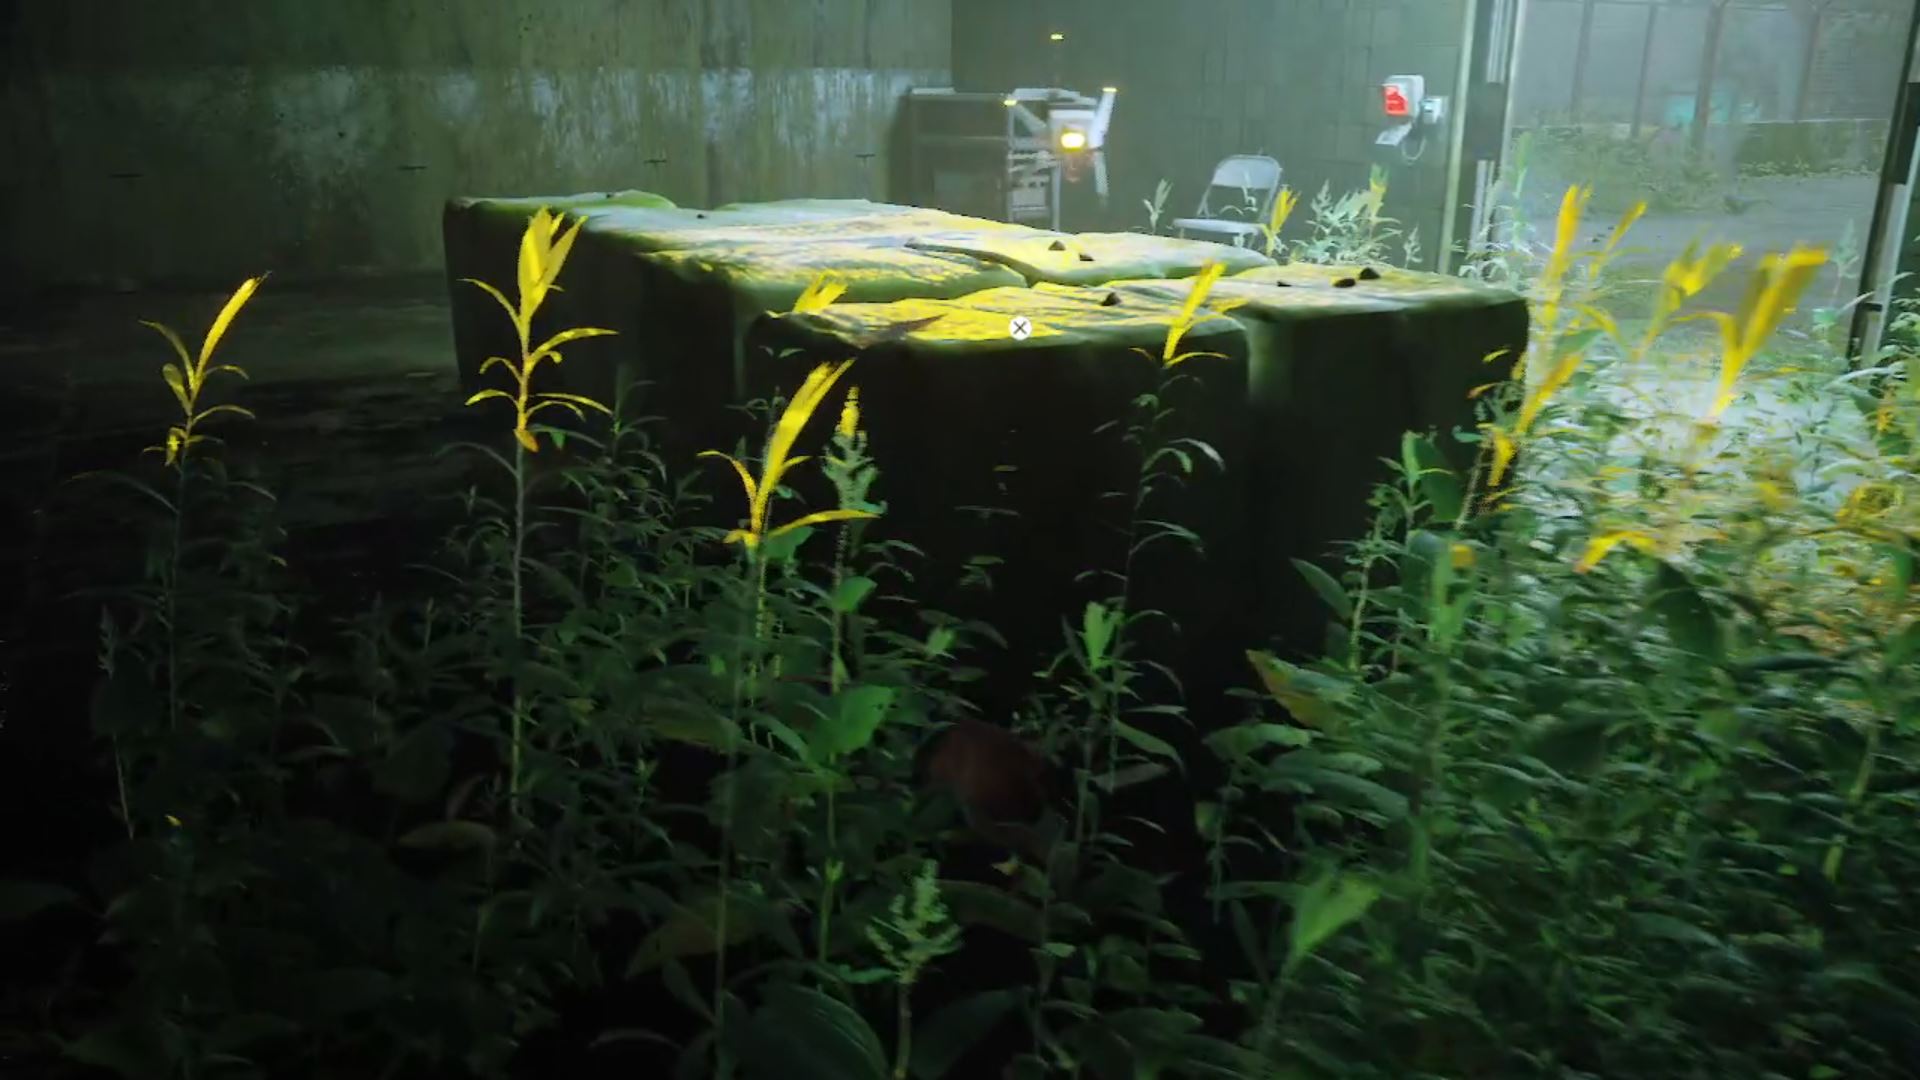
The penultimate Stray memory can be found while you’re escaping from the jail with Clementine – after you’ve rescued B-12, of course. Before you can retrieve it, you must trick the sentinel standing guard to enter the nearby cell by attracting its attention and leading it inside. Dodge around it by using the boxes as cover, then hack the door before it can escape. If you’re not quick enough to leave before the door closes, you can still leave the cell by slipping between the bars.
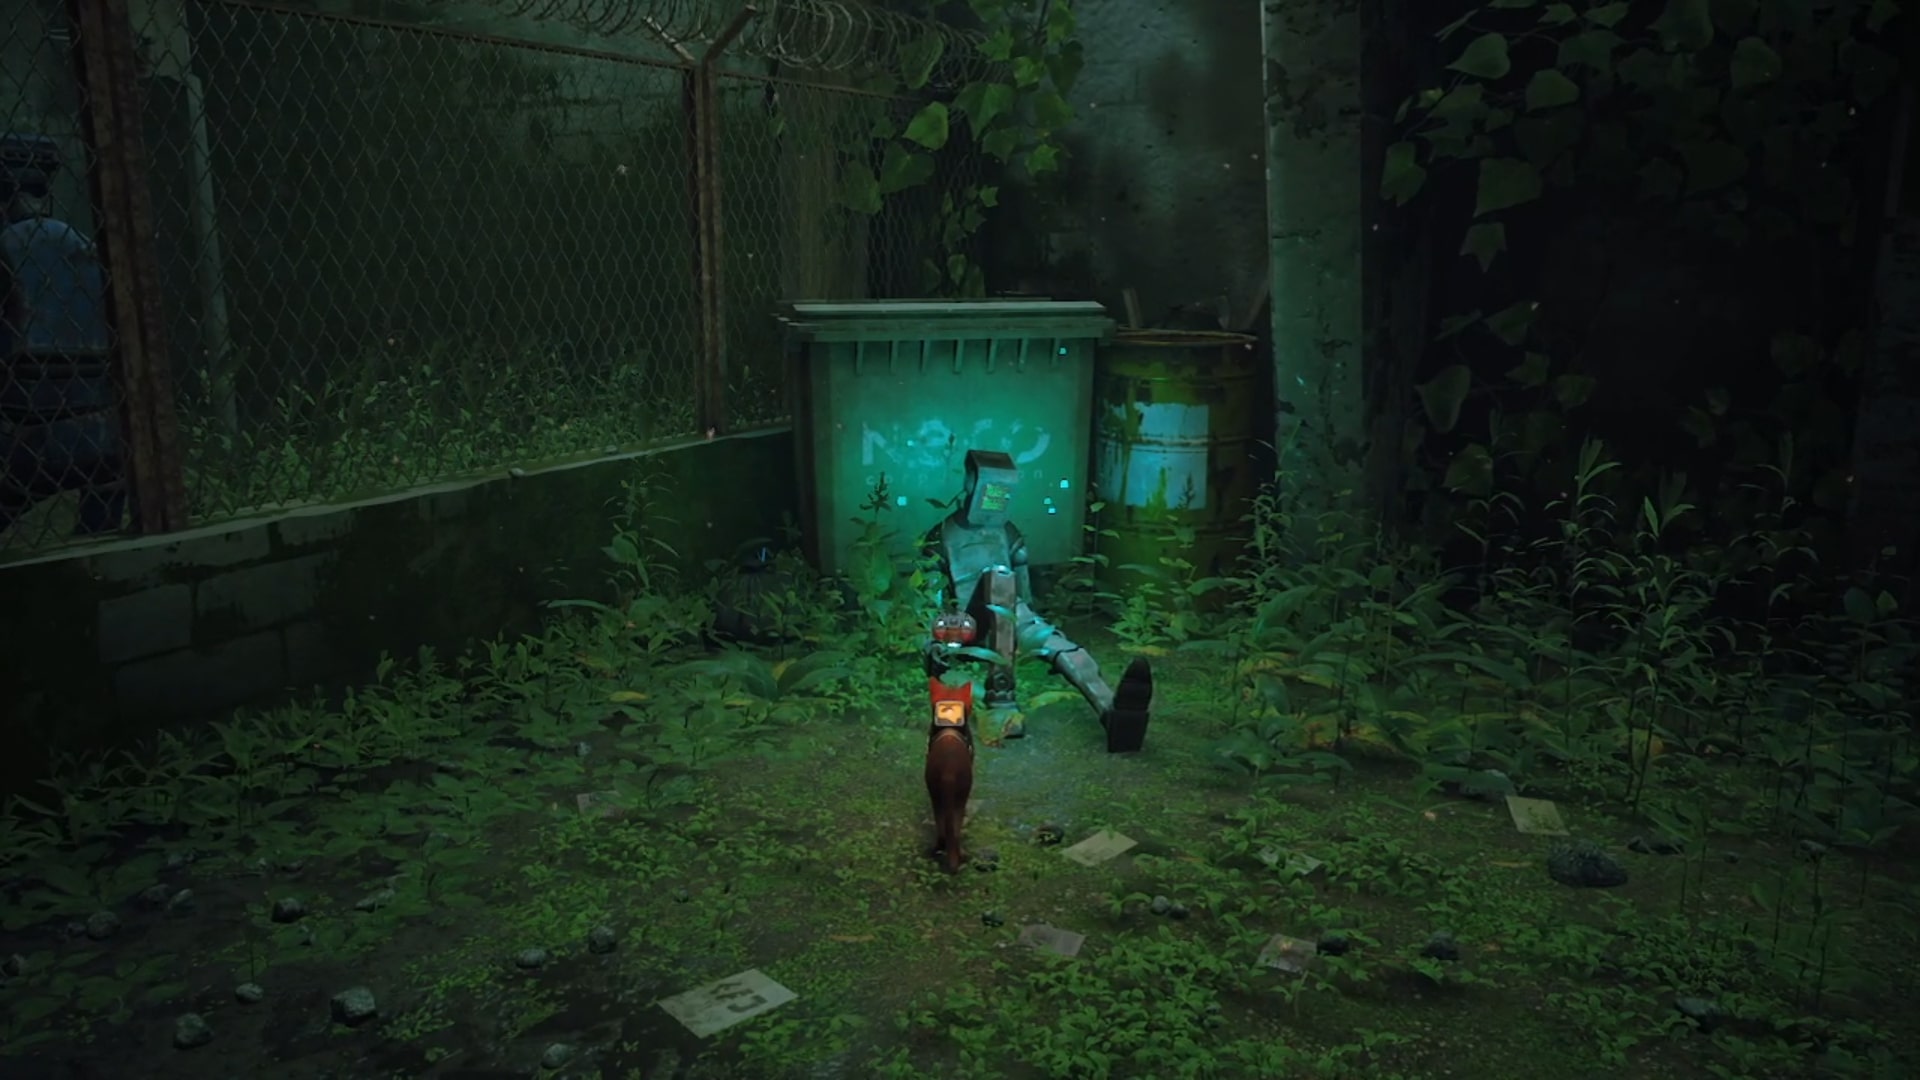
Once the sentinel is trapped, Clementine is free to cross the yard and open the gate it was guarding. Before you head through into the next compound, head to the right to find the remains of a prisoner slumped against a bin.
Control Room
There’s one Stray memory in Control Room:
Control room
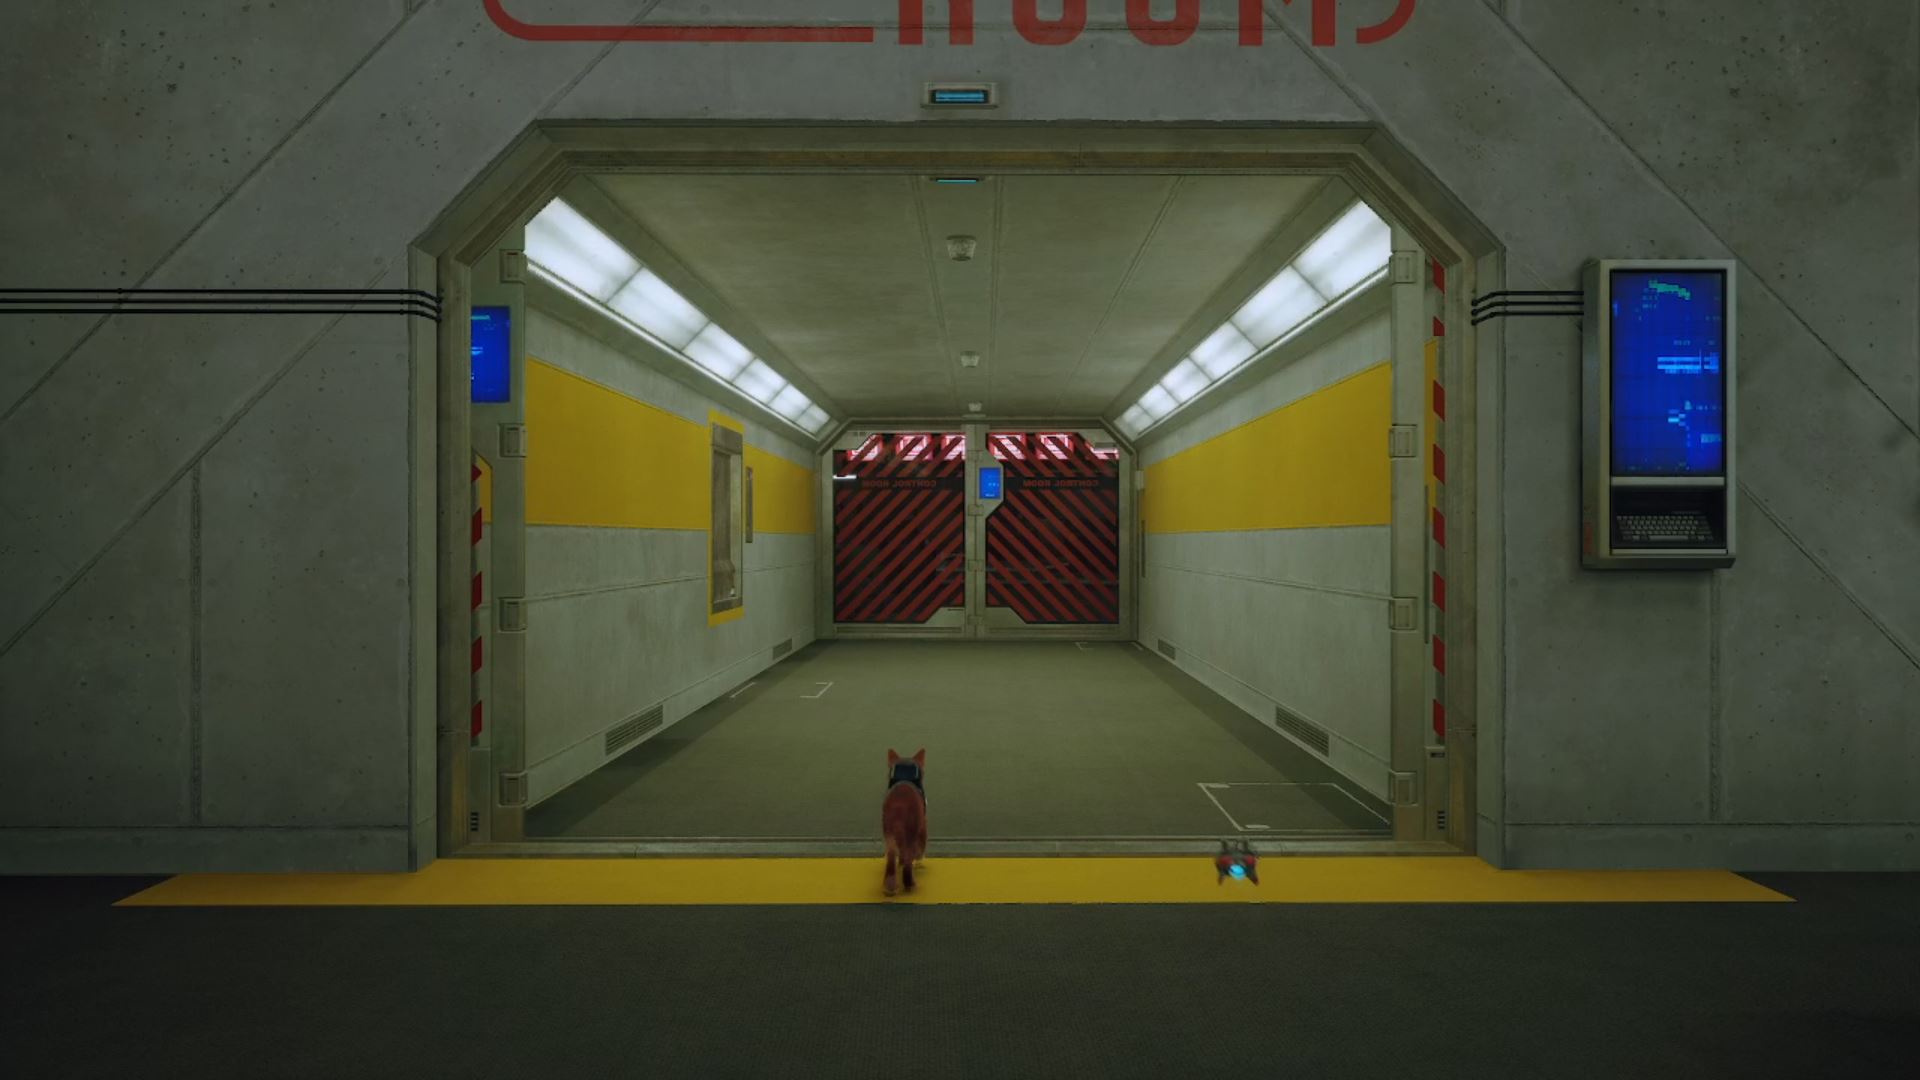
Primary Memory #5: The final Stray memory is recovered during the cutscene immediately after you disable the security panel and enter the control room.
Congratulations, you’ve recovered all 27 Stray memories! For your efforts, you receive the ‘I Remember!’ achievement, as well as a very snazzy pearlescent backpack that you can wear on that save slot in perpetuity. If you’re looking to 100% Stray, have a gander at our guide on how to unlock ‘A Little Chatty’ and a few other Stray achievements. Alternatively, check out our Stray review to see if we enjoyed our journey across the Walled City.
