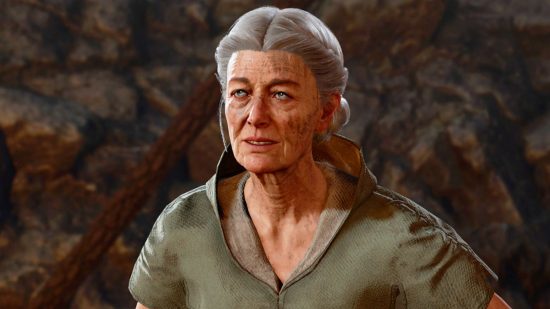
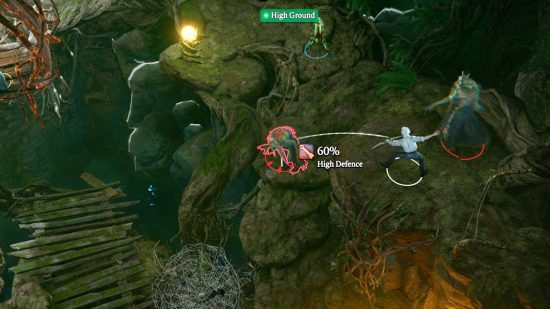
Want to beat Auntie Ethel in Baldur’s Gate 3? You might meet Auntie Ethel during your adventures early on during the first act. However, she’s far more dangerous than you’d initially think despite her elderly appearance. That said, we definitely do not recommend avoiding her during your playthrough because she’s linked to fun, and important, quests.
You can make sure you aren’t missing out on any important Baldur’s Gate 3 missions by checking out our quest guide for an ever-expanding list of all the errands you can take on, both big and small. Unless you really want a challenge where you plan on playing as a lone wolf, we recommend reading up on the best companions to help you take on Auntie Ethel and more. With that out of the way, read on to find all there is to know about Faerun’s dangerous old lady.
How to save Mayrina in Baldur’s Gate 3
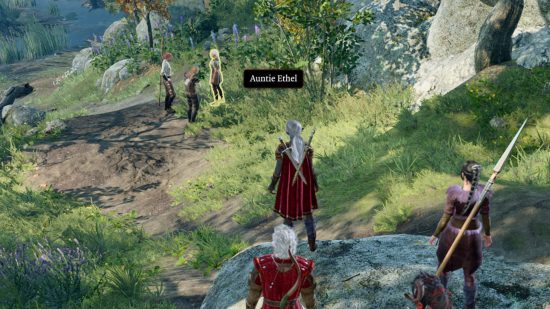
You’ll likely first spot Auntie Ethel in the Tiefling Hideout part of Druid Grove, near the merchant Dammon in her little apothecary tent. She offers to remove the mind-flayer tadpole in your skull. However, she insists you visit her at her home to help provide a proper cure, marking the location on your map.
You will meet her again to the south of the Blighted Village waypoint speaking with two brothers. Don’t worry if you missed her in Druid Grove, you have the opportunity to encounter her at this location for the first time.
How to complete Auntie Ethel’s quests
Auntie Ethel is part of a quest chain that pops into your journal once you’ve spoken with her and the two brothers, Demir and Johl, south of the Blighted Village. This initial quest is called ‘Save Mayrina’. Demir and Johl insist that Auntie Ethel is in fact a hag monster and not a kindly old woman at all. No matter how you handle the conversation, Auntie Ethel vanishes. We recommend continuing on only if you are level 4 or above as this area is too difficult for low leveled players.
Upon entering the Sunlit Wetlands, you’ll be tasked with passing an investigation check with an extremely high difficulty. Don’t worry if you fail this, as it removes the enchantment over the area to reveal that the Sunlit Wetlands are in fact the stinking Putrid Bog. Auntie Ethel has kindly placed poisoned apples for adventurers to feast on, and the sheep roaming the area are in fact enchanted goblin-like Redcaps. If you interact with any of the sheep, you can also lift the enchantment over the area. Be warned, doing so may trigger a fight with the Redcaps.
Navigate to the Riverside Teahouse to the southwest. Note that nearby you can find Gandrel, a monster hunter that takes part in Astarion’s companion quest. Within the Riverside Teahouse, begin talking with Auntie Ethel and a distressed Mayrina. You have two options here:
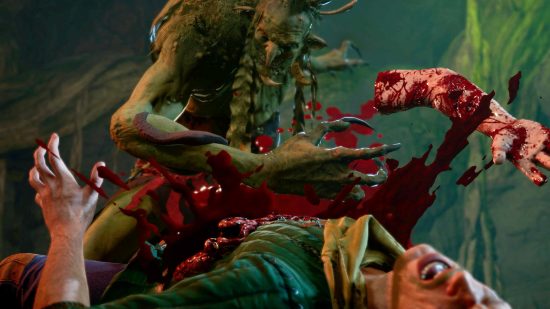
- Pursue rescuing Mayrina, triggering a fight in which Auntie Ethel transforms into her hag form and quickly disappears with the girl. Depending on the strength of your party, you may be able to kill Auntie Ethel here.
- Ask Auntie Ethel to remove the tadpole in your head. We won’t spoil why, but she’s unable to do so – and you lose an eye in the process.
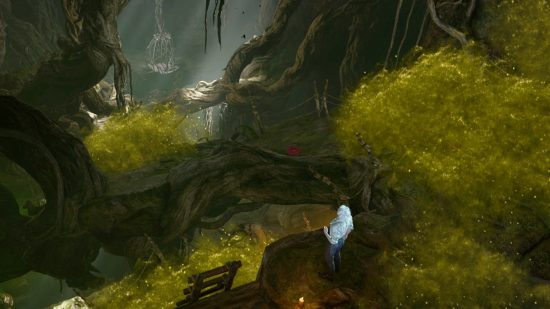
To pursue Auntie Ethel, turn off her fireplace by clicking on it. Behind the fireplace is a wooden staircase leading down into the Overgrown Tunnel. Be warned that you’re unable to fast-travel or long rest in this dungeon, so make sure you’re prepared.
There are many victims of Auntie Ethel within the Entrance Gallery. Wearing the Whispering Mask found on a nearby table triggers a fight with your companions as Auntie Ethel takes control of you. We don’t recommend it.
To continue on, click on the massive wooden door with an engraved face. If you successfully navigate this dialogue, it reveals to you that you can just walk through the door, it’s only an illusion. To do so, hold down the left mouse button rather than click to move.
Beyond this area is a tough fight against four doomed adventurers wearing Whispering Masks. Both the Mask of Terror, which can inflict Frightened on your party, and the Mask of Servitude, which can heal, should be your primary targets. Once the battle’s won, move to the waterfall at the rear of the chamber. You have to jump across to reach the next area, which is filled with noxious fumes and flowers that explode if stepped on.
Discovering the vents that emit poison requires a successful perception check. If you fail the check, you either have to ignite the fumes with a fire spell (Astarion and Shadowheart both have Fire Bolt) and rush through before the gas comes back, or run through and take some damage. If you pass the check, right-clicking an item in your inventory you don’t need, clicking throw, and aiming it at the vent will block it up.
At the bottom of this trap-filled area is the Ancient Abode. If you move to the left, you’ll trigger a boss fight with Auntie Ethel. However, you can move silently to the right and enter her workshop and loot it. You can find the powerful Staff of Crones here. Otherwise, prepare for a fight.
How to beat the Hag to save Mayrina
This fight is not an easy one no matter what difficulty mode you’re on. Auntie Ethel ignites the cage Mayrina is trapped in, then summons several illusions of herself. You must put out the fire in Mayrina’s cage to save her, we used an ice arrow, but a spell such as Create Water works, too.
The illusions cast powerful spells like Hold Person. Even if you find the real Auntie Ethel, you should deal with the illusions first. Luckily, they vanish in a single hit. Use a spell like Magic Missile to hit multiple targets at once, then focus on attacking her. She may summon more illusions if the fight goes on long enough.
At one point, Auntie Ethel teleports Mayrina out of the cage and swap places with her. Here, you must attack Mayrina, but don’t worry, it’s not really her. Attacking Mayrina reveals Auntie Ethel once again. Once defeated, she drops Corellon’s Grace, a quarterstaff great for unarmored characters, and a Tarnished Charm, which makes it easier to make saving throws against dying.
Mayrina has some choice words for a rescue she did not want. Within the workshop, you’ll find a small wand called Bitter Divorce and a magic mushroom circle that teleports you out of Auntie Ethel’s lair.
You can also circle back to the Entrance Gallery and talk to some of Ethel’s former captives. Outside, you’ll once again find Mayrina and can choose to resurrect her half-rotted husband with Bitter Divorce. If you give her the wand, she hints that you may meet again later in Baldur’s Gate.
And with that, Auntie Ethel’s questline draws to a close. For more on Baldur’s Gate 3, check out what we thought about the game in our review, and don’t neglect reading up on the best builds for classes such as the shapeshifting Druid and the speedy Monk.
