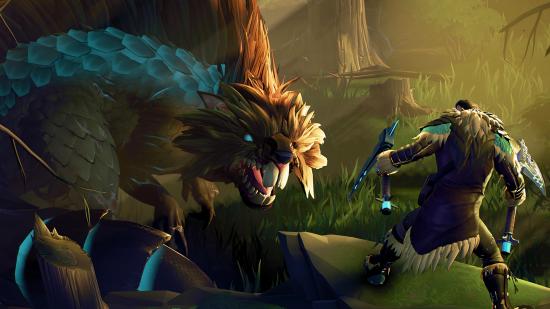
Dauntless, the co-op monster hunting RPG, is now available for everyone on the Epic Store and through Phoenix Lab’s own client. You can explore the Shattered Isles and slay some behemoths right now without spending a dime. The game is currently in a solid state, too, as all the core features are present, there’s plenty of activities to do, and a new season pass comes every season. With that in mind, we reckon there’s never been a better time to start playing.
However, not everything you can do in it is as clear as can be. Dauntless is very much a game about experimenting and exploring systems, and that can feel obtuse for new players. If you’re finding that it’s not obvious what the difference between the five different weapons are, what the different colour damage numbers mean, or what tactics you should be using in combat, then we’ve got some advice for you. We’ve put together some handy tips to help make your first hunts successful.
So sharpen your blades, pack your health potions, and jump aboard an airship; it’s time to set off to the Shattered Isles, hunt down some beautiful creatures, and turn their corpses into huge swords and fancy clothing.
Read the behemoth’s body language
Behemoths, the huge creatures that you fight in Dauntless, have huge health pools, and each fight is a lengthy experience. Don’t expect to be able to string together a few combos and bring the battle to a close; you’re going to have to deal with multiple stages. As such, staying alive and healthy is vital. You can stay on your feet for longer if you study your enemy closely.
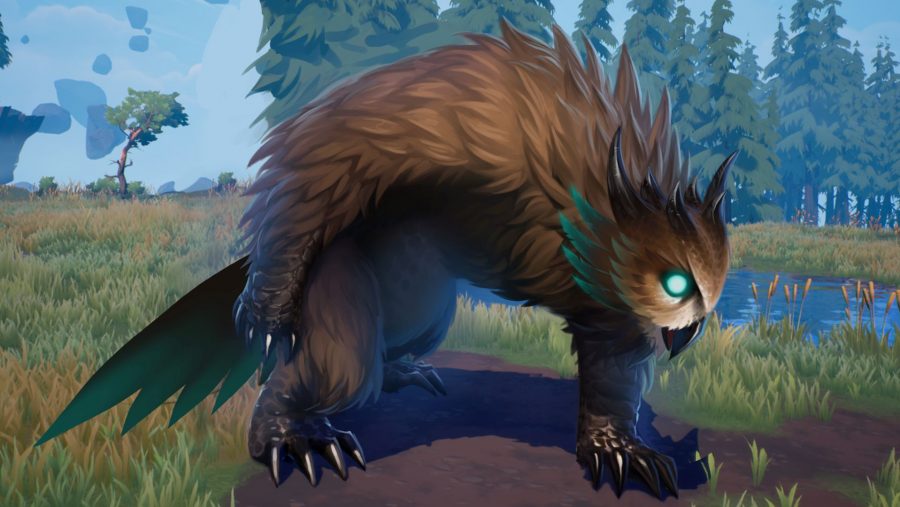
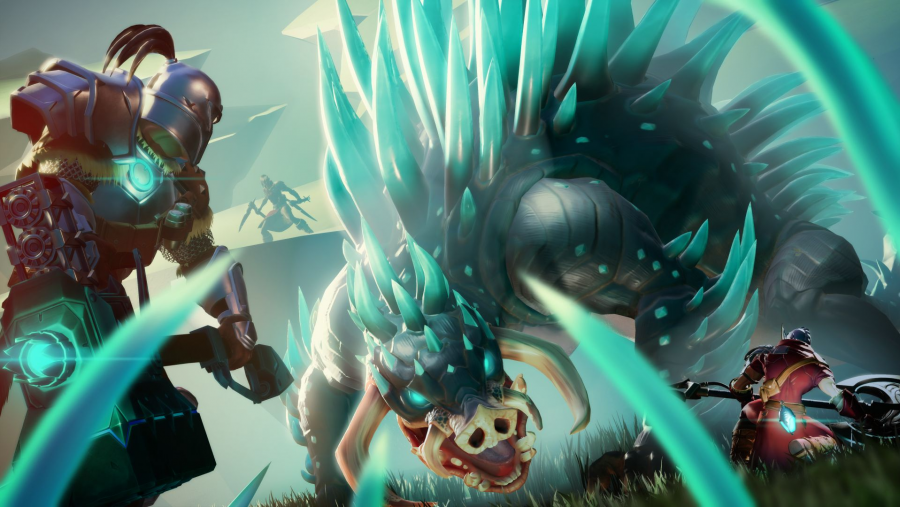
Every behemoth can attack in a variety of ways and all have distinct tells. A Charrogg, for instance, will arch its back before unleashing a flamethrower-like attack from all four of its shoulders. The owl-like Shrike will rear backwards and spread its wings wide as it prepares to launch a tornado. Often these attacks will be quickly followed by other moves, meaning the challenge is understanding what moves to anticipate, how to dodge them, and when it’s safe to continue your assault. Learn this, and you’ll be a far more effective fighter.
Roll into the enemy
If you’ve played games like Dark Souls, you’ll be aware of the idea of an iframe or invulnerability frame. This is a split second of a character animation in which your hero cannot be harmed. You can trigger these during a dodge roll.
The best way to utilise an iframe is to dodge into rather than away from your foe. So when a behemoth is lashing out at you, roll towards and through their attack. This will move you out of harm’s way and ensure you stay as healthy as possible. Timing is crucial, so it will take practice to perfect this skill, but being able to use iframe dodges means that you stay closer to your enemy and can instantly follow up a roll with an attack.
UNDERSTAND DAMAGE COLOURS
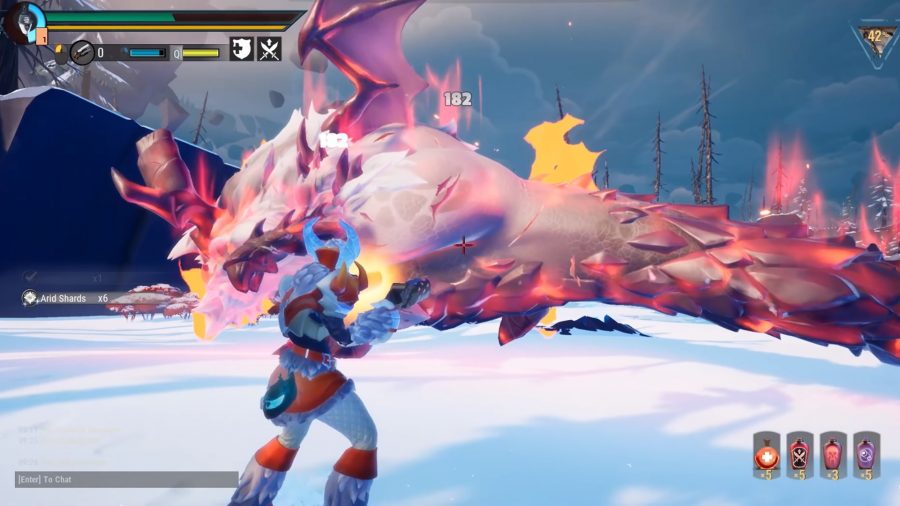
When attacking a behemoth, traditional RPG-style damage numbers will appear over your target. There’s more to killing a behemoth than just reducing their health to zero, though. Depending on where you attack your foe and the weapon you are using, the damage numbers displayed will be one of four different colours: green, yellow, blue, or red.
Green numbers represent raw or normal damage, and simply contribute to lowering the overall health points of the behemoth.
Yellow numbers identify part damage, or damage being dealt to a breakable limb such as a leg or tail. If you deal enough part damage, the targeted part will break and drop a loot orb. In the case of the tail, you’ll also see the limb physically detach from the creature. Continuing to attack a specific part after it has broken will not contribute any further part damage, so it is best to rotate your focus from limb to limb. Later in your career you’ll also want to seek out loot dropped from specific parts; for example you’ll want want to aim for a Shrike’s head if you’re hoping to craft a piece of equipment that requires head loot.
More Dauntless goodies:
Dauntless cells guide
How to get Dauntless Godhand Exotic
Dauntless Exotic weapons
Blue numbers are for stagger damage. Repeated blows to a behemoth’s head will cause them to stagger and collapse, opening a long window for your team to unleash uninterrupted attacks. You’ll need to use a blunt weapon to deal stagger damage, or interrupt a behemoth while they’re doing a particular attack that causes them to become unstable.
Red numbers represent wound damage. Inflicting enough wound damage to a part causes a debuff to be applied to the behemoth, allowing your team to deal increased overall damage. Wounds are applied via a weapon that can do piercing damage.
Understanding the difference between these damage types is not strictly crucial to playing Dauntless. Provided you’re able to dodge attacks and follow up with your own, simply repeatedly bludgeoning a behemoth will eventually bring it to its knees. However, if you’re looking for a more tactical experience, you’ll want to make the most of different damage types.
Cut off the tail
Several behemoths use their tail as a weapon. You’ll soon learn how to read the tell and avoid the attack, but you can go one step further: hack it off. Simply aim your attacks at the tail-end of the behemoth and eventually the appendage will be severed from the beast. Use cutting weapons that deal part damage to make this happen; a blunt hammer won’t be able to slice it off. While removing the tail won’t completely disarm and render a behemoth impotent, it does removes one move from their skill set, while also making their back-end safer to attack.
Be warned, though: many behemoths will use new skills when robbed of their tail, so it’s worth learning which monsters are more dangerous with or without their tails.
Find a weapon that suits your style
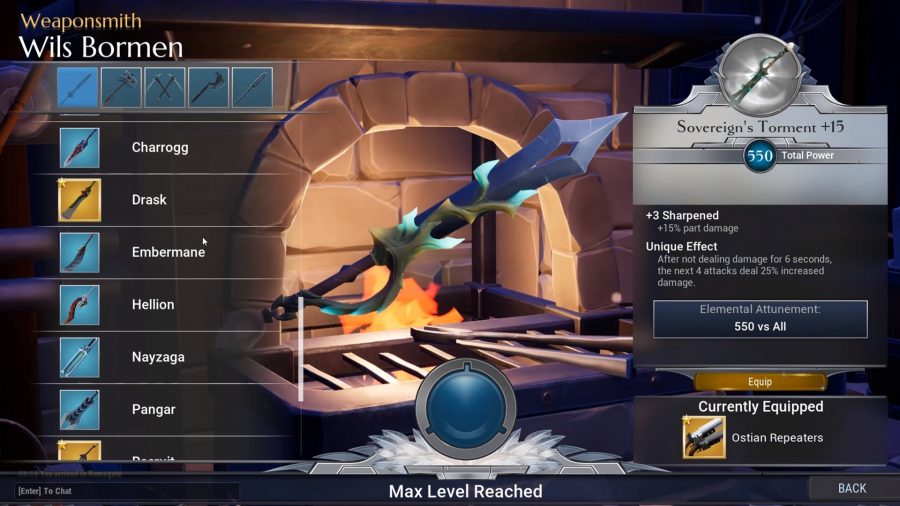
Dauntless currently features five different weapon types: swords, chain blades, hammers, axes, and war pikes. While it’ll come of no surprise to learn that each weapon type is used in a different manner, they also entirely change how many of your core functions work. This means your equipped weapon is essentially your class, so you’ll need to choose your equipment wisely.
Swords are a decent all-rounder. They inflict cutting damage, and so are useful for damaging behemoth parts. Swords can also be used to unleash an elemental blast; a close-range magic eruption that makes for a useful combo finisher. The blast enhances you via a short buff to your attack speed and power, so it’s worth using during a moment when you can fit in a few extra strikes afterwards.
Your special gauge is split into five segments, and elemental blast requires just one of these. Regular attacks will build the segments more quickly than heavy strikes, so consider what attacks you’re using if attempting to build your meter. If you build all five segments of the gauge without using elemental blast, you can use them all up to trigger an overdrive, which provides the same attack speed and damage buff the single segment attack offers, but for a longer duration. Overdrive also fires an elemental projectile from your sword, allowing you a little ranged damage potential.
Chain blades operate very differently. Not only are they much faster weapons that can be swung around for longer-range attacks, but your special is all about positioning. If you’re far away from your target, your special will throw out your blades like a grappling hook and pull you in close. If you’re already nose-to-nose with a behemoth, the same special will instead allow you to leap backwards. This system offers quick closers for when the coast is clear, and a swift escape for when things get nasty.
In addition to that swiftness, the chain blades also allow you to teleport short distances when using the dodge button, instead of rolling out the way like other weapon classes.
If you’re looking for a slower, heavier attack, the hammer is a great choice. Its swings are standard war hammer fare, but the important quirk of this weapon is the cannon built into the shaft. Use your heavy attack button to fire this, but make sure you’re in close because it’s basically got no range. The cannon can only be fired a few times before needing a reload, which is started by using your special button (don’t worry, you don’t need to build a gauge like with the sword or chain blades). The reload uses an active reload process identical to that seen in Gears of War; tap the button again during a highlighted section of a moving bar and you’ll reload quicker. Mess it up, and the action will jam and take longer than usual.

The hammer also has the ability to function as an escape tool. Simply sprint and fire the cannon twice in quick succession to leap aboard it and zoom a few metres away from (or even towards) any danger.
The axe provides heavy attacks that are slightly less cumbersome than the hammer, but require an eye for timing. The axe can be swung horizontally or vertically, and can be charged up by holding the attack button before swinging. This means you’ll often be vulnerable to attack, but striking with a charged attack will help build your special gauge. Fill the meter and you can activate a buff that increases your attack damage. Fill the meter again before the buff expires and you can stack the bonuses it provides, up to three times. As such, it’s important to build your meter to level three as soon as possible to ensure you’re dealing your maximum damage potential.
Finally, the war pike is one of the most nuanced weapons available from the weaponsmith. It’s base attacks are simple and easy to use, and there are just two combos available. Light attacks deal quick piercing damage that can inflict wounds, although you’ll be rooted to the spot, while the heavier attacks rapidly build your special meter. Your special allows you to fire a projectile which deals stunning damage, allowing you to ‘boop’ (stun) a behemoth.
Building your meter is a little complicated, because if you take any damage your meter is depleted. You need to build your meter to gain a projectile, but you can ‘bank’ that energy whenever you feel like it. So, for example, if you’re finding it tough to fill the meter to completion, you can bank just half of it to generate a weaker projectile.
All weapons have a variety of combos, and these can be displayed by pressing Tab. Learning how to string together attacks and how you should use them against specific behemoths is the long-haul aim of Dauntless’ combat.
Stay alive using heal rifts
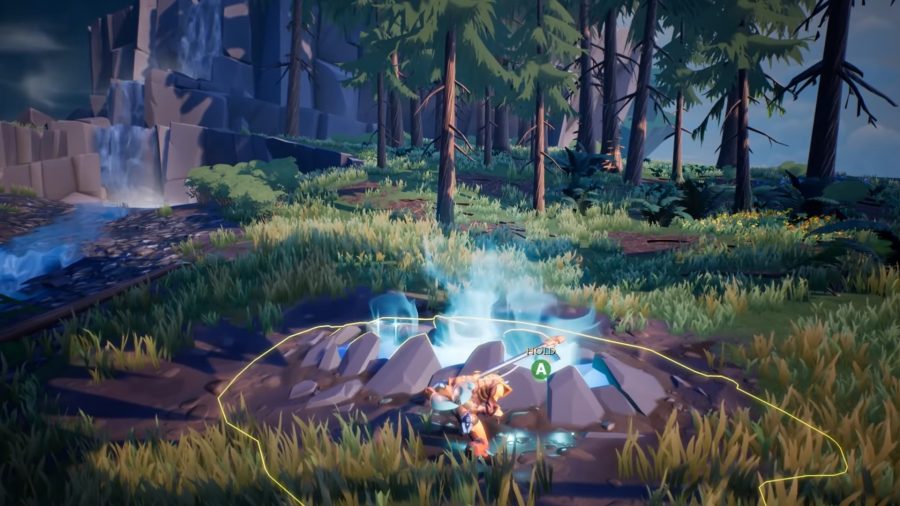
The behemoths you fight may look as if they can wander all over the island arenas. But the locations they make their last stand at all have one common feature: a crack in the earth shining with blue light. The game does nothing to explain that this is actually a healing rift; if you’ve run out of potions, using this ruptured earth will replenish a significant portion of your health.
The rifts are not bottomless, however, and can only be used a handful of times. The light from the fissure decreases with each use, so you can easily judge how many heals are left in it. It’s best using these as a last resort, and keep in mind that other players will need them, too. Please don’t be a heal hog.
Fire your flares
When you land on an island your first task is to find the behemoth itself. While the areas aren’t huge, it will likely take you a couple of minutes to find your target. The best method is for your team to spread out instantly and cover ground quickly. Should you find the behemoth, tap the 4 key or down on the d-pad to throw a flare into the sky. This will alert your teammates so they can regroup and start the fight.
There’s no map in Dauntless, so if your teammates are far away the flare is literally the only way they can see where you are. Because of this, it’s worth constantly throwing up flares so your buddies can be sure they’re heading in the right direction.
Track down crafting materials
Killing behemoths is your main method of gathering the materials you need to craft new gear, but the world also contains plenty of resources. During your short minutes of exploring before you start carving chunks out of a monster, make sure you pick up everything you can see.
Resources are most easily found by looking for a gather icon that appears over specific world assets. The icon only shows when you’re close enough, but you’ll soon learn to recognise which items provide components. Rocks with lines on them, for example, will provide iron ore, while the bright red mushrooms that grow on tree trunks can be harvested for use in potions.
Things like aether wisps and turtlegrass can be mixed together at the town to create potions. Ideally you don’t want to be in a position where you have to farm for these items, so picking up every one you see during those first couple of minutes of a hunt should mean you’ve always got healthy stock of the ingredients required to brew up a potion.
Brew Bulwark Tonic
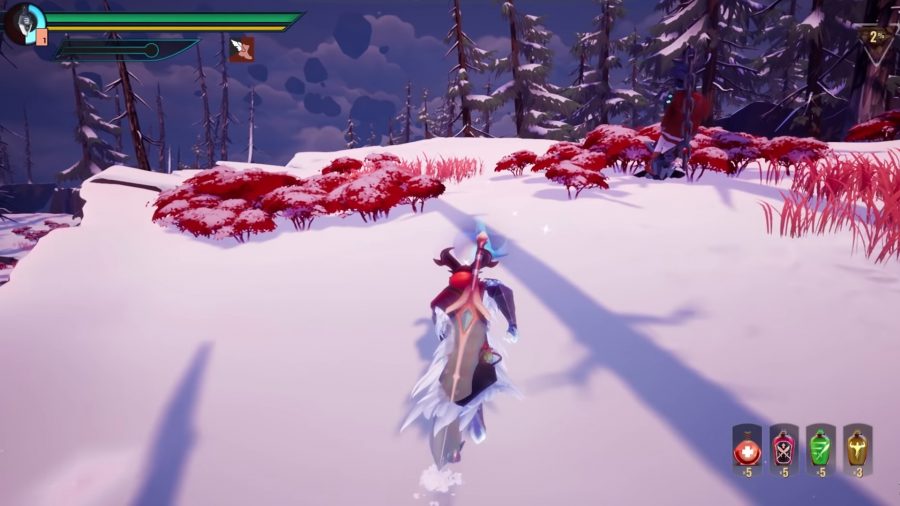
When gathering materials, be on the lookout for Ironthistle. This white plant allows you to craft Bulwark Tonic, a potion that reduces damage taken by 45% for the next three hits. You can carry three tonics into battle, meaning you can take significantly reduced damage for nine attacks. That is a fantastic buff, especially in the most difficult of fights.
If you’re quick on your feel and have mastered dodging, drinking Bulwark Tonic may mean that the only hits you ever take in a fight are only inflicting half as much damage as they normally would.
Do daily quests
Tapping J while in Ramsgate will open your journal, where you can track your current quests. While the storyline will offer you specific hunts, the daily quests are limited time objectives that provide better rewards. There are two to complete each day, plus a longer-term weekly challenge that you have seven days to complete.
Completing daily quests are important as not only do they provide extra rewards, but they help build XP. Levelling up provides you with a Core, the Dauntless equivalent of a loot box. These contain rewards such as new emotes, dyes, and other customisation tidbits. Your weekly quest also rewards a Gold Core, providing some of Dauntless’s best bits.
More Dauntless guides:
Dauntless Behemoths: Beginners guide
Dauntless Deathmarks guide
Dauntless Peerless Arcstone guide
And there you have it, some swift Dauntless tips on weapons, behemoths, and crafting. Now all you need to do is head to Ramsgate, saddle up, and venture out and hunt some behemoths for yourself.
