Want to know how to beat the Destiny 2 Desperate Measures mission and reveal the ending of the Lightfall campaign? The game’s finale mission is an all-out brawl, so if you’re having a hard time, you’re not alone. We’ve put together a guide to get you through it because, as they say, desperate times call for… well, you know. We’ll set out exactly what the mission involves and how to beat each step.
The goods news is that Desperate Measures is the eighth and final mission on the Destiny 2 Lightfall mission list, so you’re nearly there. It’s among the most challenging missions in Destiny 2‘s newest expansion, so don’t be surprised if it takes a bit of trial and error to get right. Just a quick warning that there are endgame spoilers for the free PC game ahead.
Destiny 2 Desperate Measures mission walkthrough
The Destiny 2 Desperate Measures mission was made for players to leverage the Strand subclass and grapple. So, you may face extra challenges if you attempt to embrace it as any other subclass. However, it’s entirely possible to complete with the subclass of your choosing.
The mission will take you at least half an hour to complete, and that’s if you can manage it without repeatedly dying, as the Calus battle can be pretty daunting. The recommended power level for this mission is the Destiny 2 soft cap of 1750, regardless of whether you’re playing through the normal or the Legendary campaign. So, ensure you’ve been infusing and levelling your gear to take this fight at an adequate power level. The game will cap your power for this mission just as it does throughout the Lightfall campaign, so don’t worry about maximizing your power past a certain level.
Destiny 2 Desperate Measures mission steps
To help guide you through the mission, we’ve broken down the Desperate Measures mission into its essential steps.
- Head to Irkalla Complex.
- Barrier.
- Continue toward Irkalla Complex.
- Destroy AA guns.
- Arrive at Irkalla Complex.
- Secure the turrets.
- Defeat the tanks.
- Defend the vault entrance.
- Head to the Veil.
- Defeat Calus.
Desperate Measures mission breakdown
Here are some step-by-step tips for completing the Desperate Measures mission.
Head to Irkalla Complex
Hop on your Sparrow and make your way through the streets of Neomuna toward your destination. Simples.
Barrier
Defeat the enemies blocking the barrier. In this case, your best bet is a powerful machine gun, rocket launcher, or grenade launcher.
Continue toward Irkalla Complex
Continue to head toward Irkalla Complex. As you near it, you’ll have the option to drop a raid banner, and you’ll need to empower your Guardian with Strand as instructed. This is important as you head to the next step.
Destroy AA guns
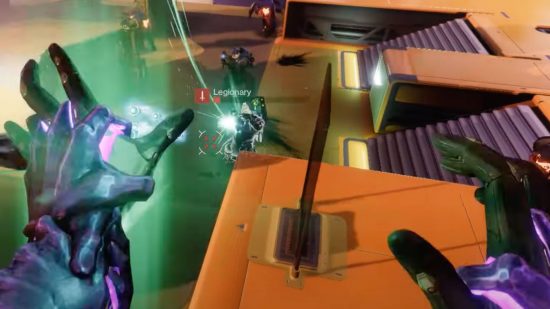
The goal here is to destroy the anti-air guns. Here, you’ll see Cabal Threshers flying in the airspace. Use your Destiny 2 Strand subclass grapple to affix yourself to one of them, which will take you into a combat area. This fight may be tricky, but do your best to survive because respawning is restricted. Upon arriving on the platform, you will see some shielded machinery. Defeating the Shadow Guards and enemies will cause the shields to come down, allowing you to destroy the machinery. You’ll then make your way to a higher platform and repeat the process with those pieces, though you’ll also face a Tormenter and have to deactivate the barrier with a button press.
Secure the turrets
Continue with the mission and then secure the turrets by defeating enemies.
Defeat the tanks
Use the “untested Ishtar weapon” to defeat the Goliath tanks.
Defend the vault entrance
Defend the vault entrance against enemy attackers, including more tanks. Staying at a high vantage point, leveraging the unnamed Ishtar relic, and using your Strand grapple can help you deal damage while avoiding taking it from the onslaught of enemies. Note that you will have NPC allies to help you later in this battle. This can seem like a brutally long fight, including a final phase where you’ll find Tormenter enemies called the Imprint of Nezarec, so be prepared.
Head to the Veil
Go downward, descending deep as possible to reach the Veil.
Defeat Calus
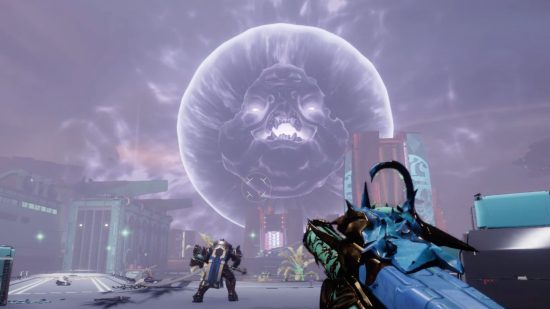
The fight against Emperor Calus is its own beast, so check out our Destiny 2 Lightfall Calus boss fight guide for tips on how to win the battle against the disgraced Cabal leader.
That wraps up our Desperate Measures mission guide. Once completed, you can start the Destiny 2 Unfinished Business quest and earn the Deterministic Chaos Void exotic machine gun, one of the new Destiny 2 Lightfall exotics. Be sure to check out our Destiny 2 season 20 guide to learn what else is new in the popular multiplayer game‘s latest expansion, too.


