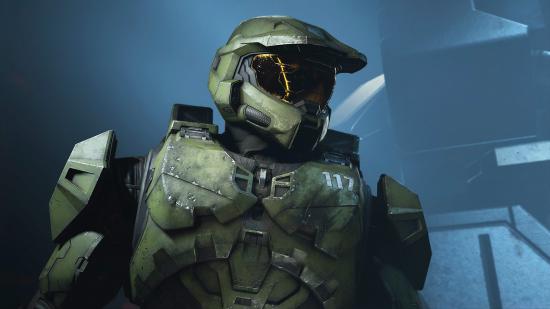
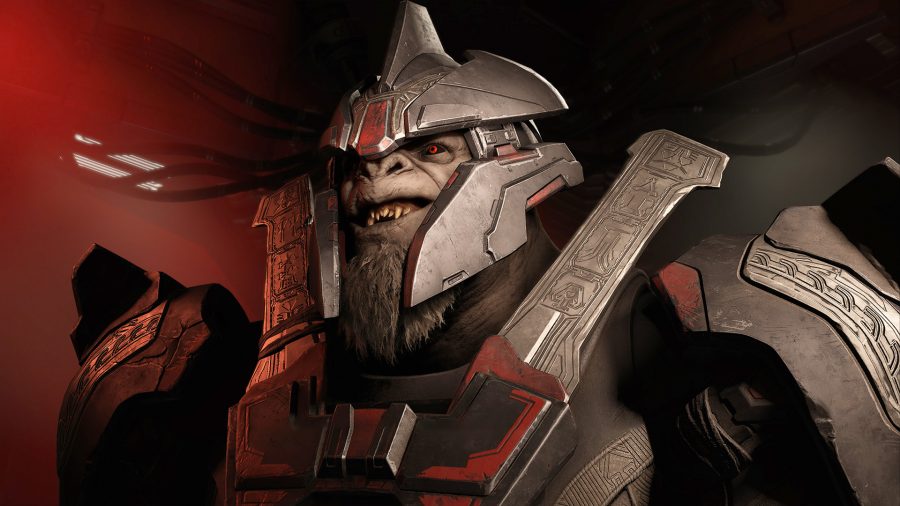
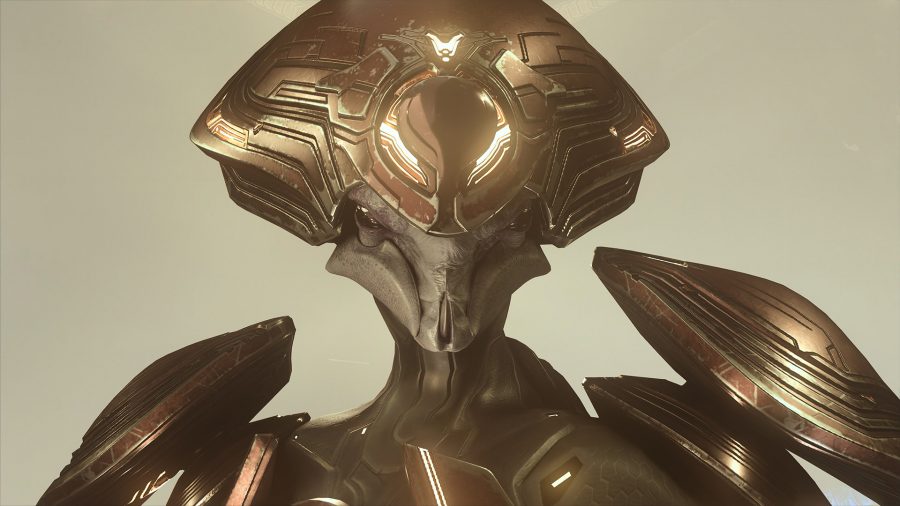
Want to know about every boss in Halo Infinite? Zeta Halo is full of powerful enemies who desperately want to take down Master Chief – fortunately, there are plenty of weapons and explosive tanks to stop any foe in their tracks. If you thought the grunt enemies in Halo Infinite were tough, these destructive bosses should give you a run for your money.
Halo Infinite’s campaign forces you to fight against a set number of bosses, however, there are high value targets spread across the map which you can seek out at any time. These mini-boss targets are side missions and don’t progress the story, but you can unlock unique weapon variants to spawn at any of your bases.
Unsurprisingly, this guide contains major spoilers for Halo Infinite. If you’re using this guide to work out how long you have left in the game, you may want to read our how long is Halo Infinite guide which breaks down the length of the campaign. Here’s every Halo Infinite boss and what you need to defeat them.
The Halo Infinite bosses are:
- Tremonius
- Chak ‘Lok
- Bassus
- Adjutant Resolution
- Tovarus and Hyperius
- Adjutant Resolution
- Jega ‘Rdomnai
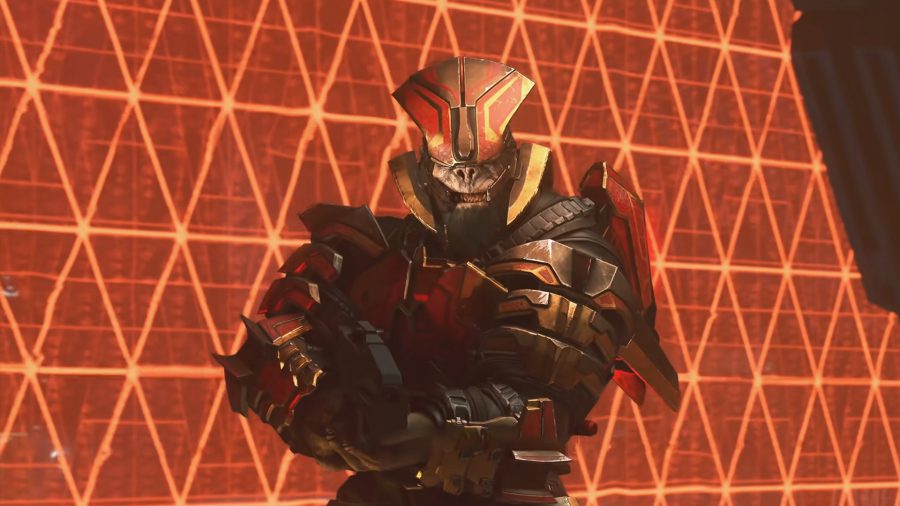
- Escharum
- The Harbinger
Tremonius
Mission: Foundation
Tremonius is the first boss in Halo Infinite, and he’s a bit of a pushover. The first thing you should do is eliminate the grunts surrounding Tremonius, that way you can focus entirely on him. This boss fight is very similar to fighting a regular Banished grunt, except Tremonius has a shield bar in addition to his regular health bar.
You should be able to land shots using any weapon, as Tremonius doesn’t dodge your attacks unless you throw grenades at his feet. Try to land headshots to deal the most amount of damage possible to end this fight quickly.
Chak ‘Lok
Mission: The Tower
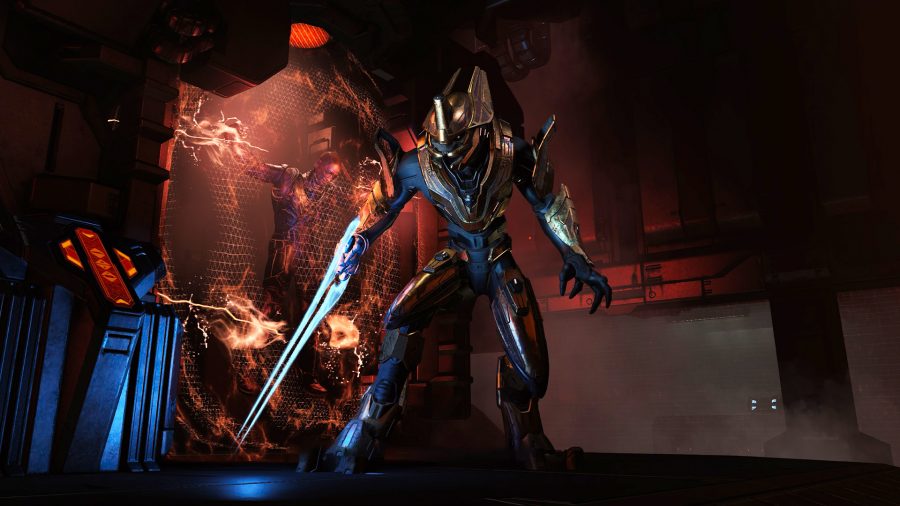
Chak ‘Lok may seem menacing with his invisibility power and energy sword, but you can simplify this boss fight by dropping your brand new Threat Sensor. This suit ability reveals exactly where Chak ‘Lok is lurking, though you may struggle to spot him as this fight takes place in the dark. On the harder difficulty modes, it’s definitely worth spending a few spartan cores to upgrade the Threat Sensor. Using just three spartan cores, you can increase the Threat Sensor’s radius and unlock a second charge to have two sensors out at once.
Try to keep your distance from Chak ‘Lok as his energy sword can tear into your shield health if you aren’t careful. Remember to utilise your Grappleshot whenever he gets too close. Though Chak ‘Lok does have a weapon, he prefers to get close to you to deal heavy amounts of damage. Use this to your advantage by dropping your Threat Sensor near explosive tanks, this way you always have lots of damage on hand whenever he rears his head. Once his shields are down, aim for the head using the Mangler on the floor to end this fight quickly.
Bassus
Mission: Excavation Site
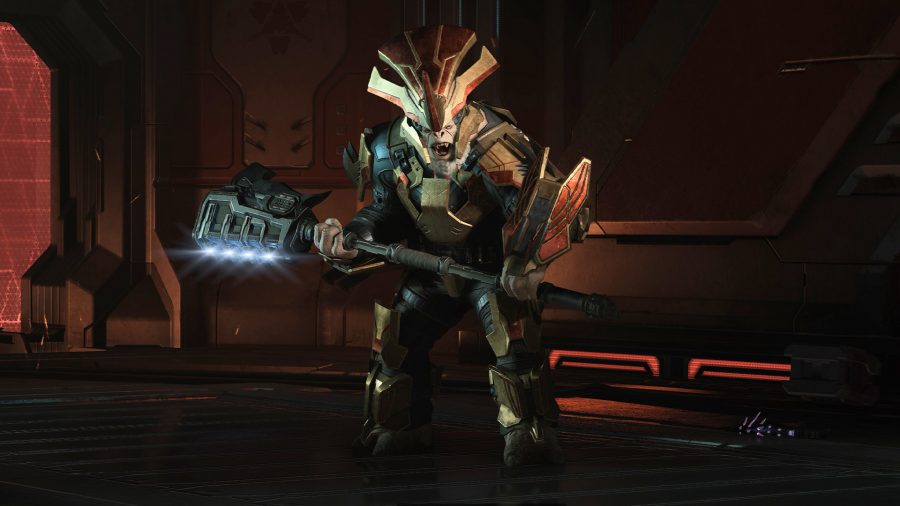
The fight against Bassus can be tricky depending on what weapons you have in your arsenal. Bassus is equipped with a giant hammer, and he hits very hard if you give him an opportunity to strike. If you’ve come to the fight with limited ammo, head to the door on the right just as you start the battle. You should come across yellow explosive tanks – grab one of them and get ready to throw it as soon as he starts to charge towards you.
Once you’ve used all of the available explosive tanks on the lower part of the ship, head back up to the top and walk to the furthest door on the right. There should be three more explosive tanks to throw at Bassus – blast him with these barrels to deplete his health bar.
Adjutant Resolution
Mission: Spire
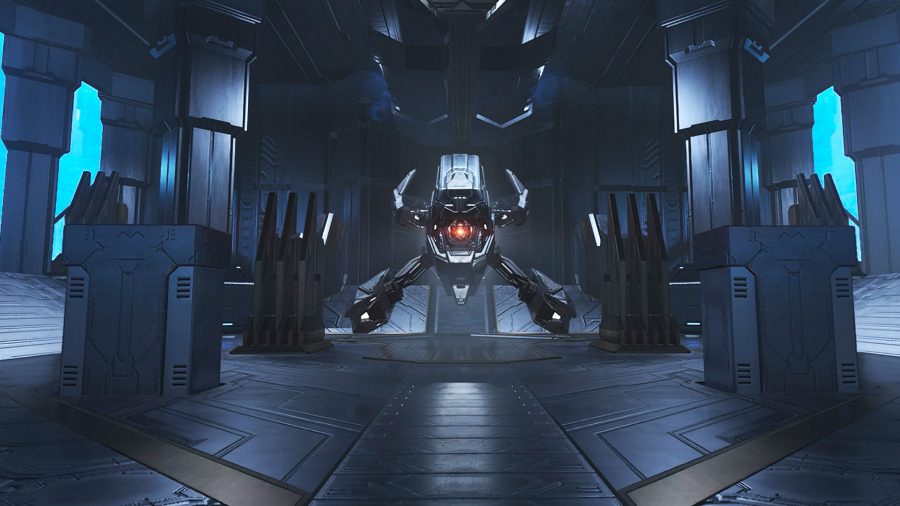
You’ve betrayed the robot’s trust in the Spire, and now it must protect itself. The Adjutant Resolution is a robot with four distinct weak points – target each corner to temporarily stun the boss. This is the best time to throw your grenades as the robot can’t dodge your attacks in this stunned state.
Don’t worry about running out of ammo, there are plenty of weapons in the area capable of breaking each weak spot. This boss has a predictable attack pattern – as long as you stay close to a wall, you should be able to dodge out of the way of Adjutant Resolution’s beam attack.
Tovarus and Hyperius
Mission: Pelican Down
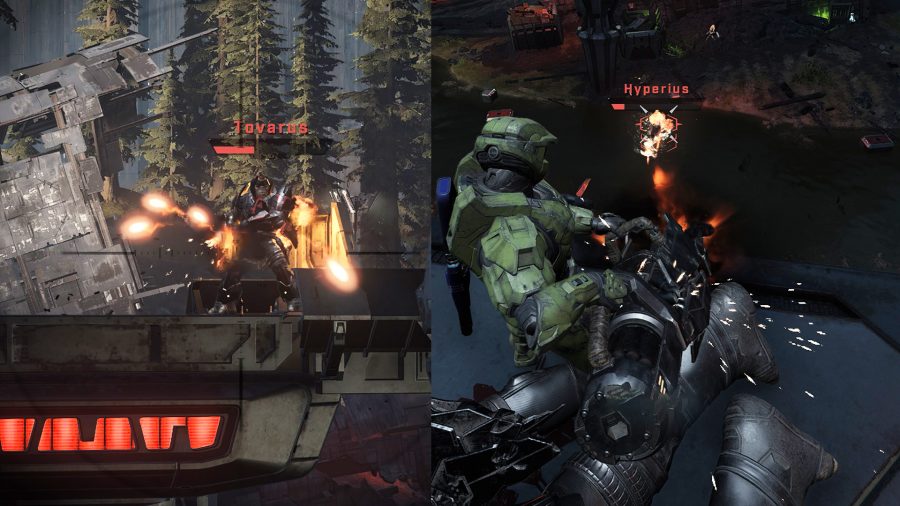
Unlike every other boss battle so far, Tovarus and Hyperius are the only ones that don’t have a dedicated cutscene. This fight takes place outside in the open world, forcing you to deal with lots of grunts at the same time. Tovarus fights from the broken bridge in the middle of the area, while Hyperius fights from a vehicle as he sticks to the ground floor.
We recommend taking down Tovarus first using the rocket launcher found in the destroyed ship opposite the bridge. The rocket launcher should deal enough damage to remove Tovarus’s shield – from this point, try to land shots using the battle rifle. If you try to fight from anywhere other than the destroyed ship, you could get attacked by stray grunts.
Once you take down Tovarus, make your way to his corpse on the broken bridge. Tovarus’s weapon is the powerful Scrap Cannon – pick up this two-handed weapon to easily dispatch Hyperius as you rain down rockets on him from above.
Adjutant Resolution
Mission: The Command Spire
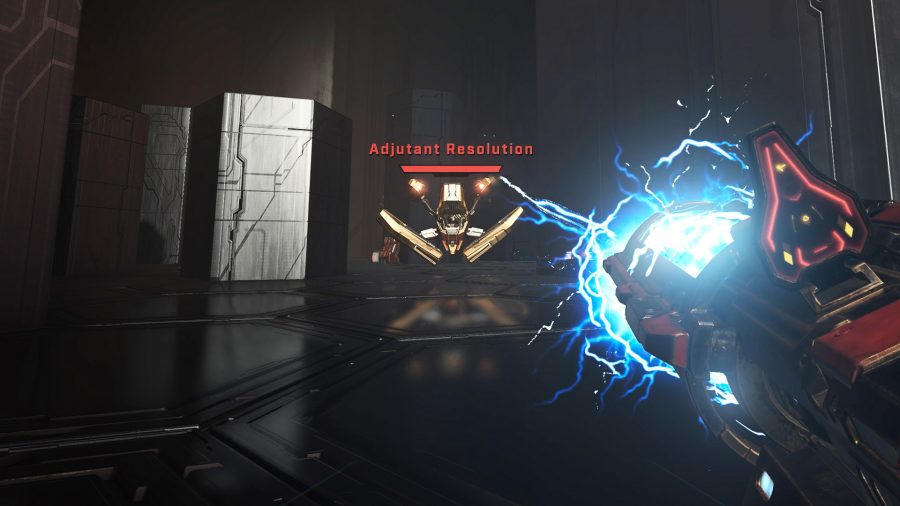
Yes, you read that correctly, the Adjutant Resolution is back for a second time. This fight is nearly identical to the first one, except the walls aren’t as flat this time around. Adjutant Resolution’s beam attack is harder to dodge because of the strange walls, but it’s still a simple fight overall. This boss fight features drone enemies which can be a nuisance, however, they drop the Sentinel Beam which is perfect for defeating the Adjutant Resolution.
Jega ‘Rdomnai
Mission: House of Reckoning
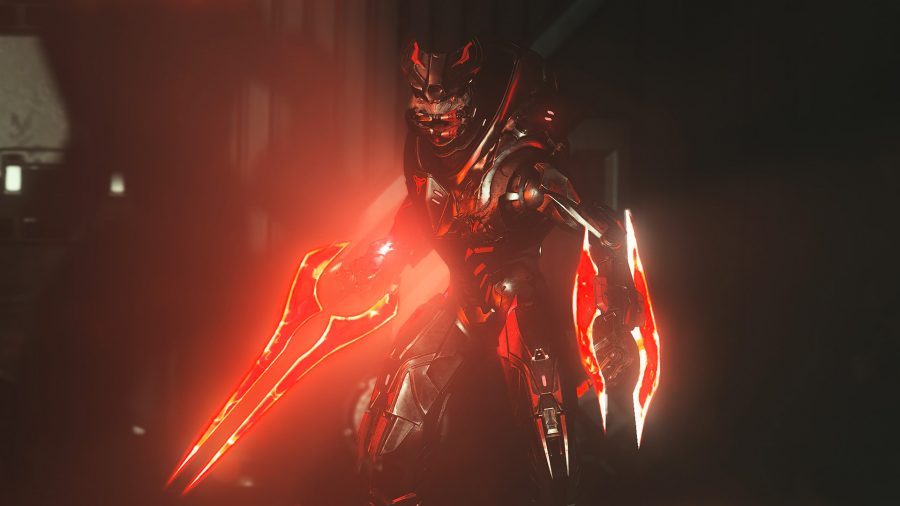
Remember the Chak ‘Lok fight? The only difference is that Jega ‘Rdomnai wields two Energy Swords. The game plan is exactly the same as the Chak ‘Lok battle, except this is easier as Jega ‘Rdomnai doesn’t have any weapons. This means you can keep your distance and don’t have to worry about bullets. The only thing to watch out for is Jega ‘Rdomnai’s close ranged attacks – if he slashes you, you’re only one attack away from dying.
Escharum
Mission: House of Reckoning
It’s time for the big fight against Escharum, the leader of the Banished. To make matters worse, the Pilot is trapped inside a machine that hurts him if the Escharum takes damage. There are relay cores in each corner of the room – the Weapon unlocks access to each core whenever Escharum’s health drops below a certain point.
This is the hardest boss fight in the game as Escharum’s unique shield system forces the battle to break down into four sections. Fortunately, the game creates a checkpoint whenever you successfully destroy a relay core and forces the boss into creating a new shield. Escharum is extremely dangerous up close, and you need to enter the tunnel area on the outside of the battlefield to pick up explosive tanks. As soon as you grab an explosive tank, use your Grappleshot to get into open space and launch it towards Escharum.
The weapons in the area aren’t great, but there are ammo refill points within the tunnels to keep your guns topped up at all times. Once you destroy all four relay cores, keep firing at Escharum until he finally falls.
The Harbinger
Mission: Silent Auditorium
The final boss fight is against the Harbinger, though you spend more time fighting against grunts as they swarm the area. While the Harbinger is inside the shielded dome, your attacks won’t be able to damage her. The Weapon takes down the shield, giving you an opportunity to damage the Harbinger. Just as you’re about to kill her, the Harbinger escapes and deploys the shield a second time.
Defeat the second wave of enemies to drop the shield again. The Harbinger is extremely vulnerable during this time, and yet again she manages to escape at the last second, deploying the shield for a third and final time. Defeat the third wave of enemies to remove the shield – this is your chance to deal a fatal blow to the Harbinger.
That’s everything you need to defeat the main bosses in Halo Infinite. Now that you’ve finished the game, it’s time to find all of the Halo Infinite collectibles. Check out our Halo Infinite skull locations guide to alter the way you play the campaign. If you want to customise your character in multiplayer, read our Halo Infinite multiplayer skins guide to find all the armour parts in the campaign.
