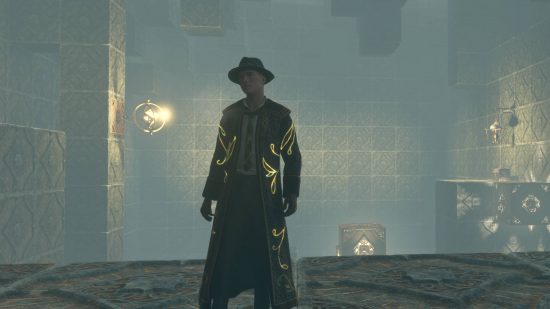
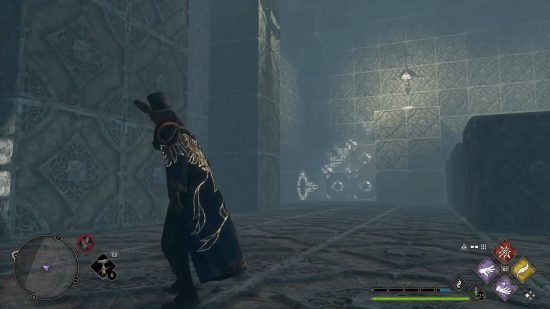
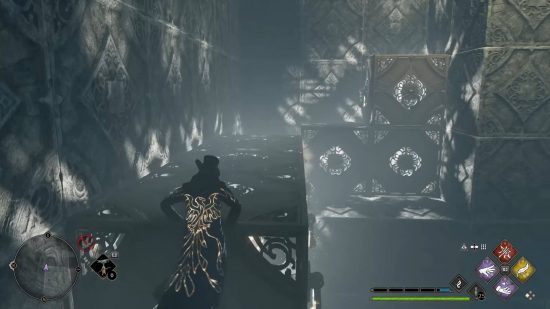
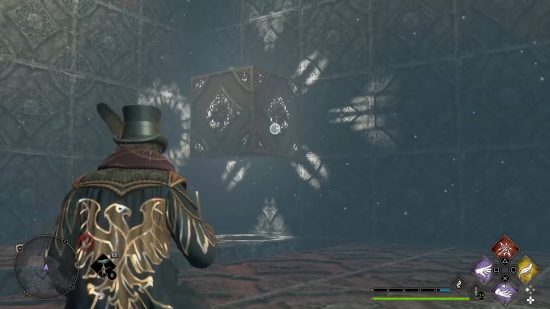
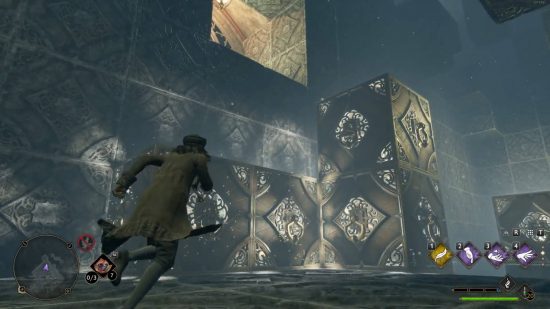
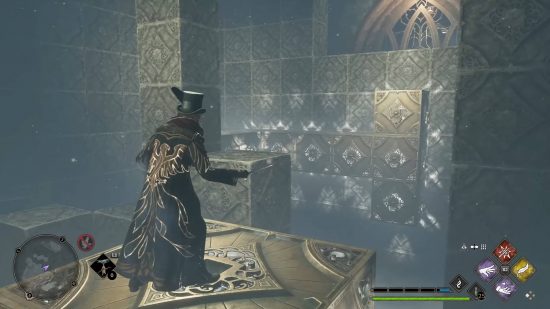
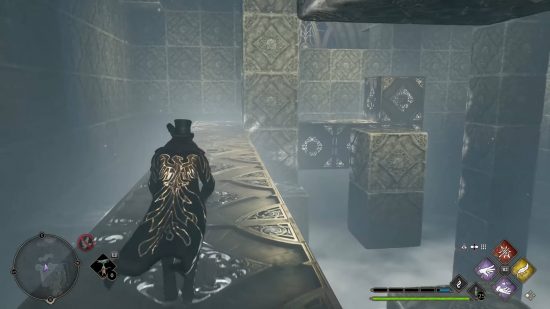
Hogwarts Legacy Depulso Puzzle Room 1 and 2 are hidden on the school campus. This is not to be confused with the puzzles you will complete during the Hall of Herodiana side quest but work in the same way. Finishing these challenges requires you to master manipulating blocks in order to reach treasure chests filled with valuable gear.
Since these buttons only appear once you have finished the Hogwarts Legacy Hall of Herodiana side quest, it’s required that you finish that quest first to give you an idea of how to manoeuvre the blocks across the room, how using reset blocks helps solve the puzzles, and how combining blocks works. Your first job will be to find each of the two rooms in the open-world game, but once you do, you need to work your way through these rooms with the help of two vital Hogwarts Legacy spells: Accio and Depulso. Here are all of the solutions to the two optional Hogwarts Legacy Depulso Puzzle Rooms.
Hogwarts Legacy Depulso Puzzle Room 1
Location
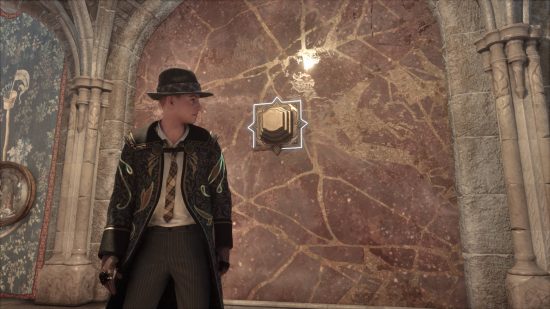
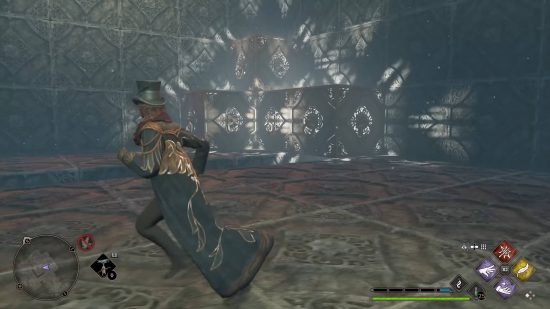
To enter the Depulso Puzzle Room 1, head downstairs from the Potions classroom Floo Flame location and head through the locked door at the end of the corridor. Not far into the next room, you’ll see a big button similar to the one you used to reveal the Hall of Herodiana quest location. Push it with Depulso and head inside.
Chest #1
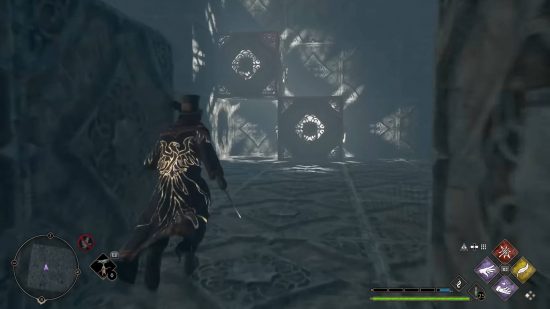
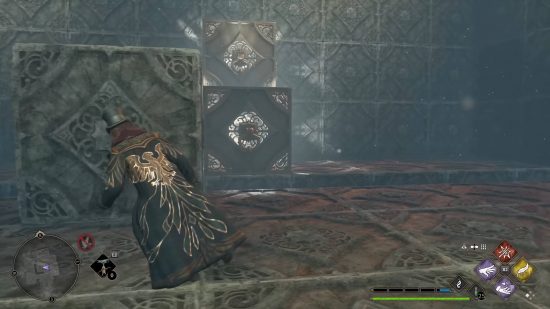
Getting the first chest requires you to jump from the top of the platform onto the floor. Use Accio on the block on the right-hand wall so that it goes behind you. After this, go to the left side of the two movable blocks in the middle and Depulso them so that they move to the wall where the previous block you moved used to be. Climbing these two blocks will lead you to the first chest.
Chest #2
Jump back down and use the basic spell on the reset button across the room from the first chest. Then, targeting the same block on the right side of the room, cast Accio so that it moves across the room, under the reset button, and then Accio to move it to the back of the room. Next, head to its right-hand side and Depulso it to the back-left corner from where you entered the room, then cast Accio to bring it forward. You should now have a single block that’s two spaces above a set of two.
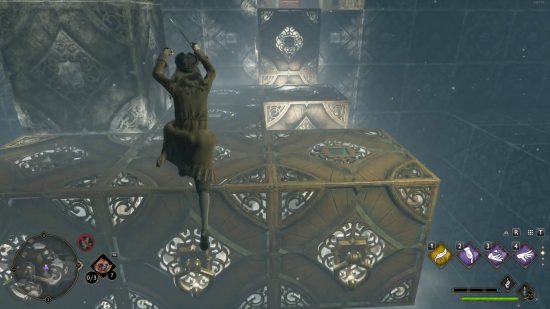
Head to the floating block you can move in the middle of the room and cast Accio or Depulso to move it under the reset button. Next, move it to the back of the room with Accio, then to the bottom left corner with Depulso. Grab the two blocks from the bottom of the makeshift staircase you’re making with Accio, then send the L-shaped structure back to under the highest block you moved into place beforehand. Finally, turn around and send the block by the back wall to the back-left corner with Depulso and complete the staircase with Accio, which you can climb to get the second chest.
Chest #3
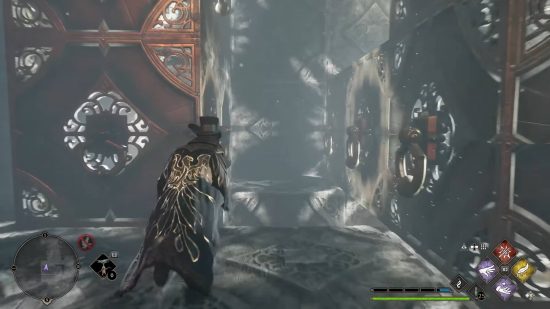
From the floating block in the middle of the room, cast Accio to bring it underneath the reset button, then cast Depulso to send it to the wall ahead. A cheeky block is hiding near the left-hand wall, so head around it and cast Accio to send it towards the front wall, then Accio to move it under the previous block. Next, go to the block in the middle of the room that’s on the ground and Depulso it to the left-hand wall. From there, cast Accio twice to connect it to the other blocks, forming a reverse L shape.
Go to the block at the back of the room and Depulso it next to the other two blocks. Cast Accio to combine the three blocks together so that the single block is still against the back wall, then cast Accio to send it to the back right wall. Cast Accio again to send the three blocks to near the first chest, then again to bring them to the middle of the room. Next, use Depulso to send the three blocks to the front wall, Depulso it so it’s against the ledge where the third chest is, and then cast Accio to bring it back towards the edge. Finally, using Depulso once more creates a makeshift bridge you can cross. Climb up the reverse L shape to retrieve your prize. Finally, to escape the room, head to the back left wall to find a newly formed set of stairs to the top and claim your collectible prize.
Hogwarts Legacy Puzzle Room 2
Location
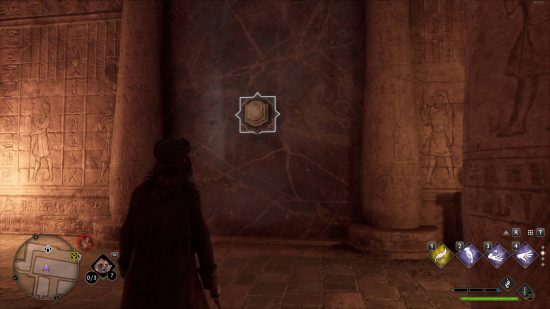
From the Transfiguration Courtyard Floo Flame, go through the doors to the northwest and head into the History of Magic classroom at the end of the corridor. Unlock the level 1 locked door with Alohomora. Then at the end of the storage room with the Egyptian pillars near the Sphinx, there’s another button to press. Push it to enter this new set of puzzles.
Chest #1
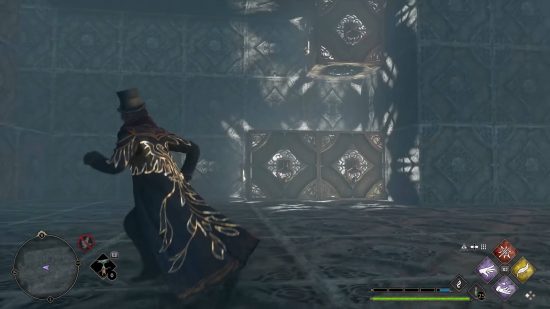
Jump down to the left side from the ledge and use Accio to drag the massive T from the back to the front of the room. Cast Accio on the single block behind you to bring it to the back of the room. Jump across the gap to your right and head around the platform. Use Accio to summon the two blocks on the far right of the room towards the centre.
Cast Accio to put the two blocks at the back of the room, then head to the right side of the two blocks to cast Depulso on the single block to put it in the corner. Cast Depulso one more time on the two block and combine these three blocks into an L shape. Cast Accio to drag it towards the middle of the room while still hugging the left wall. Climb this structure to grab the first chest.
Puzzle #1
A doorway to the start of the room will appear behind you before the entire room shifts. Staying on top of the ledge, cast Accio on the T-block structure to send it to the right from where you’re standing. Jump down and look to the right. Cast Accio on the block on the ground to send it to the other side of the room, then Accio on the floating block above it to make it hug the wall to its right before sending it to the opposite side of the room with a final Accio. Leap across the gap to the middle and move around to cast Depulso on the two blocks on the ground to combine the three blocks to a reverse L shape.
Grab the two blocks from the first puzzle on the opposite wall with Accio, then cast Accio a second time to drag them to the wall behind you. Cast Depulso to send the two blocks to combine the stack of three. With your new five-block structure, cast Accio to bring it towards the back wall, hugging the wall ahead of you, and then Accio again to get it towards you. Turn your attention to the T-shaped structure and cast Accio on its left side to send it flying to the opposite wall. Cast Accio one more time to combine the T-shape with your five-block structure. Head through the middle of the block structure to find a space to begin your ascent. Head through the doors to the next puzzle.
Chest #2
From the start of the room, cast Depulso on the column of two blocks (it’s actually three but one’s underneath the floor) to send it to the pillar ahead, bring the big block to the right towards you with Accio, then use Accio to send the column of three to the opposite wall. Put the other block you moved back where it is with Depulso. Cast Accio on the row of four blocks to bring it to the wall behind you, then Accio again to get it caught on the protruding block. Climb on top and behind it to cast Depulso to open the way to the second chest.
Chest #3
Reset the puzzle, then push the column of two towards the pillar, showing all three blocks. Cast Accio on the cluster on the far right of the room to move them towards the other side of the chasm, then cast Accio on the cluster at the far wall to the left. Cast a series of Accios and Depulsos on the column of three to move it around the back right corner of the room. Cast Accio to grab the cluster to the left and pin it against the column. Now send the row of four blocks to the left side of the room, then to the back left wall. Finally, cast Accio to join the back right blocks with the back left blocks, and cast Accio to make the staircase to the final chest.
Puzzle #2
From the start of the room, jump down and head to the left. Use Accio to drag the blocks at the back towards you, then cast Accio again to move them to the right before using Depulso to send them back to the wall. Turn to the right, climb the blocks, and use Accio on the blocks near the right-hand pillar to bring them to the other pillar near you. Cast Depulso on the two blocks to the left to make them hit the pillar at the back left of the room, then cast Accio to send the column of blocks flying to the right side. Cast Depulso on those same blocks to make them go to the corner. Jump to the nearby blocks you moved earlier to cast Accio on the block of three to send them to your left.
Cast Depulso on the newly-formed block to send it to the left. Jump off the structure and face the set of four blocks. Cast Depulso to fling them to the wall behind them, then Depulso again to connect with the other blocks. We’re close to the end now as you just need to cast Accio to bring the entire structure towards the pillar. You can climb up it to reach a chest, drop down, then again to bring it towards the right to set it up for the exit. Climb the newly-formed bridge-like structure before casting Depulso on any connected block to send the entire bridge to the back wall. You should now be able to clamber up and escape with another collectible as your prize.
With that, you should have solved all of the Hogwarts Legacy Depulso puzzle rooms. Any other Depulso buttons you find on campus leads to more treasure but no further brainteasers. It’s likely that if you’re searching for more things to do, you’re coming to the end of your journey through the RPG game. If so, we have a list of the best PC games if you want something entirely different or some suggestions for Hogwarts Legacy mods to download to freshen up the game.
The creator of the Harry Potter series, JK Rowling, has made a number of transphobic remarks on social media in recent years. Warner Bros. has the licence to make games based on Harry Potter. While the details of that deal aren’t publicly known, and WB Games says “J.K. Rowling is not directly involved in the creation of the game”, it is likely that, as the creator and owner of the Harry Potter IP, she will earn royalties from its sales. If you’d like to learn more about transgender equality or lend your support, here are two important charities we encourage you to check out: the National Center for Transgender Equality in the US, and Mermaids in the UK.
