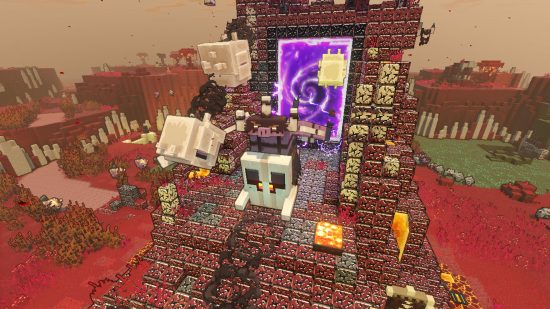
Want to build in Minecraft Legends enemy bases? During Piglin invasions in Minecraft Legends, the best course of action is to build defenses to keep the enemy hordes at bay. While many of these structures are also quite handy when it comes to removing Piglin bases, things aren’t quite as simple when it comes to your own offensive options.
All Piglin bases are built on Netherrack and, unfortunately, attempting to build anything on this tainted, red ground will greet you with a message stating that this is impossible in the RTS game. Thankfully, this is something you can get around as long as you take care of a couple of steps before attempting to do so. You’ll definitely want to wake up the Minecraft Legends First minions if you’re taking on Piglin bases.
How to build in enemy bases
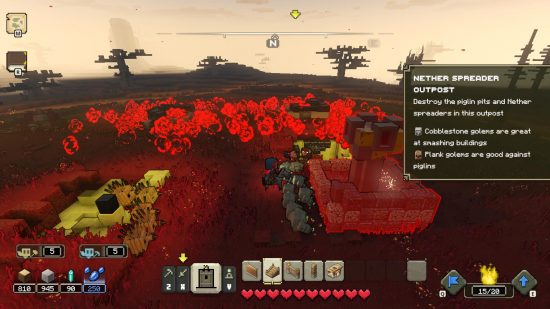
First off, you’ll need to purchase the Cure Netherrack improvement and place it near your Well base. Second, when you find yourself in a Piglin base, you’ll want to look out for Netherrack spreaders. These little structures have a mechanism that rises up and slams the ground, scattering red dust and knocking away any interlopers. There are two kinds of these, though, as they come in small and large varieties. You will want to specifically target the smaller ones, as the larger ones won’t give you what you need to place structures of your own.
Simply destroy one of the small Netherrack spreaders like the one shown above. Once you do, there will be a crater in the ground surrounded by some green tiles, indicating that it’s safe to build there. Destroying a large spreader will only leave rubble, which can’t be built open. After destroying a small spreader, press the Z key to bring up your mining options. Select the one that unlocks after you’ve placed the Cure Netherrack building at your Well and you’ll be able to direct your allays to turn the red Netherrack green in an area, provided you direct them toward a green tile.
The initially available green tiles won’t provide sufficient space on which to build entire structures, so you’ll need to make do with just using an allay. But once this is done, you’ll be able to build whatever you wish, provided that enough Netherrack has been cured to accommodate you. The amount that can be cured at once isn’t particularly high, so you’ll likely need to repeat this process multiple times. It’s worth mentioning that any of your buildings will be easily susceptible to enemy projectiles, so you’ll need to defend whatever you build.
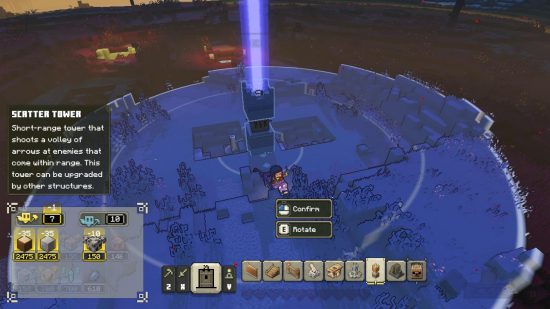
You have multiple options for this. Placing a scatter tower can eliminate many of these projectiles and placing some walls around the area can slow any melee attackers that move in to destroy your structures by hand. You can fight back by placing arrow towers of your own or trapping the premises utilizing an ice trap or whatever else you prefer. But with all of this in mind, you’ll be able to slowly gain footholds even in larger Piglin bases provided you’ve taken adequate measures to protect your emplacements.
Building in enemy bases in Minecraft Legends may not be the simplest thing in the game, but you’ll be able to use this information to go a long way toward evening the odds in your favour. Just remember to take out those small Netherrack spreaders and defend from enemy attacks and you’ll be in a much better position than is afforded by simply attempting to storm a base with your army in tow.
That’s all you need to know in regard to building in enemy bases in Minecraft Legends, so mind your resources and reclaim the lands from the bipedal swine once and for all. Give our best Minecraft Legends upgrades guide a read to discover what you need to crush the Piglins. Don’t forget to read our Minecraft Legends biomes guide to find out where to find every resource like Prismarine and Gold.


