What are the best Borderlands 3 builds? With four different Vault Hunters to choose from, each with their own diverse skill trees to specialise in, not to mention over one billion Borderlands 3 weapons and hundreds (possibly thousands?) of class mods, it’s not easy to put together a good Borderlands 3 build. And while the builds we’re listing below aren’t optimised to within an inch of their life, they’re still very effective.
It doesn’t matter if you’re planning to play as Zane, Fl4k, Amara, or Moze as we’ve put together solid Borderlands 3 builds for all of them. Of course there is so much RNG to contend with when it comes to hoovering up new guns and class mods, so the main focus of these Borderlands 3 builds is the skill tree and general rules to follow, such as playing style and weapon preferences.
If you just want to put together your own Borderlands 3 builds then we have guides for all the Borderlands 3 classes, including the Amara skill tree, Fl4k skill tree, Moze skill tree, and Zane skill tree.
Here are the best Borderlands 3 builds:
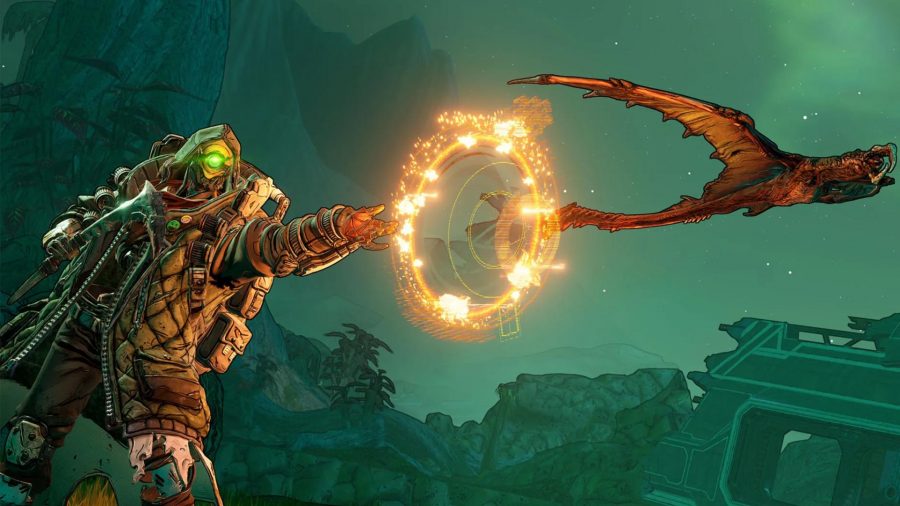
Fl4k fade away
Action skills and augments
- Fade Away
- Jabber Sidekick
- Until You Are Dead
- Not my Circus
Skill points
- 3/3 Persistence Hunter
- 5/5 Self-Repairing System
- 5/5 Furious Attack
- 5/5 Overclocked
- 3/3 Turn Tail And Run
- 5/5 Hidden Machine
- 3/3 The Fast And The Furious
- 1/1 The Power Inside
- 3/3 Leave No Trace
- 5/5 Second Intention
- 5/5 Ambush Predator
- 5/5 Two F4ng
The basic idea of this Borderlands 3 build for Fl4k is to move fast, always be healing, and to have a number of damage modifiers active at all times. Maxed out Persistence Hunter combines beautifully with the Fade Away action skill, letting you regen health and zip around the map for nearly half a minute with each use. The Jabber Sidekick also gives you a solid movement speed buff, letting you really put distance between yourself and enemies when you need to heal up., especially with Self-Repairing System maxed out.
Onto damage, you’ll want all five skill points in Furious Attack so you can build a max stack that’s handy against bosses. Pair this with Overclocked to give you a higher base rate of fire and you should be able to get the maximum stack off on an enemy rather easily. These two skills feed each constantly. Turn Tail And Run is also handy as it’ll give you a huge survivability boost when moving, and also buff your weapon damage and fire rate when standing still. The synergy with Fade Away is the real treat here though, as you can use Fade Away toi rapidly regenerate, stacking its buffs with the other skills listed here, then when you stop moving you can lay into a tough enemy and bring them down even faster.
Hidden Machine seems like it won’t be helpful for solo players, but if you also grab the Not My Circus active skill augment then you can effectively guarantee the taunt and activate the Hidden Machine skill. Genius. Finally, you’ll want to spend the last of your points of any damage, rate of rife, or crit damage modifiers you can, such as Ambush Predator, Second Intention, and Leave No Trace. These skills are all there to making stacks more efficient, faster to trigger, and generally grant you that snowball effect.
FL4K Sniper Build
Action Skills and Augments
- Rakk Attack!
- Spiderant Centurion
- Flock ‘N Load
- Rakkcelerate
Skill Points
- 5/5 Interplanetary Stalker
- 3/3 Leave No Trace
- 1/5 Second Intention
- 3/3 Head Count
- 5/5 Ambush Predator
- 5/5 Two F4ng
- 3/3 The Most Dangerous Game
- 5/5 Grim Harvest
- 1/1 Galactic Shadow
- 1/1 Megavore
- 3/3 Persistence Hunter
- 5/5 Furious Attack
- 5/5 Overclocked
- 3/3 Turn Tail and Run
This Borderlands 3 build, as the name suggests, focuses on getting the most out of FL4K’s deadly sniper. The idea is to maximise damage output and fire rate, while ensuring your pet is powerful enough to take care of any enemies that invade your personal space. The build centres mainly on the Hunter skill tree but also dips into the Master and Stalker trees for some welcome additions. For example, a maxed out Furious Attack offers a damage increase after each shot and this pairs perfectly with a maxed out Overclocked to increase FL4K’s fire rate. Turn Tail and Run further increases damage when standing still, which is advisable for ensuring good aim with the sniper, and regenerates health when moving, adding some survivability to the build.
Moving onto the Hunter tree, this is where you want to spend the majority of your skill points. On the first tier you want to put points into all the skills in the top row, Interplanetary Stalker, Leave No Trace, and Second Intention as they will all help with your damage output and fire rate. You then want to max out Ambush Predator and Two F4ng as well as Head Count, which gives you a chance to reduce your Action Skill cooldown after each critical skill. After this, The Most Dangerous Game and Grim Harvest both pair well to increase FL4K’s overall damage, while Galactic Shadow and Megavore focus on your critical attacks.
In the Master skill tree, you just want to max out the Persistence Hunter skill as this compliments the other skill trees and further increases your damage. These skills are all chosen as they stack well with each other and make for an effective, yet fun FL4K build.
FL4K Gamma Burst Build
Action Skills and Augments
- Gamma Burst
- Great Horned Skag
- Empathic Rage
- Burst Aid
Skill Points
- 3/3 Persistence Hunter
- 2/5 Ferocity
- 5/5 Who Rescued Who?
- 5/5 Frenzy
- 1/1 Psycho Head On A Stick
- 5/5 Barbaric Yawp
- 1/1 Mutated Defenses
- 3/3 Pack Tactics
- 1/1 Shared Spirit
- 5/5 Furious Attack
- 1/5 Overclocked
- 5/5 Interplanetary Stalker
- 3/3 Leave No Trace
- 2/5 Second Intention
- 5/5 Hunter’s Eye
- 1/3 Head Count
- 3/3 Big Game
- 3/3 The Most Dangerous Game
- 1/1 Galactic Shadow
- 2/5 Grim Harvest
- 1/1 Megavore
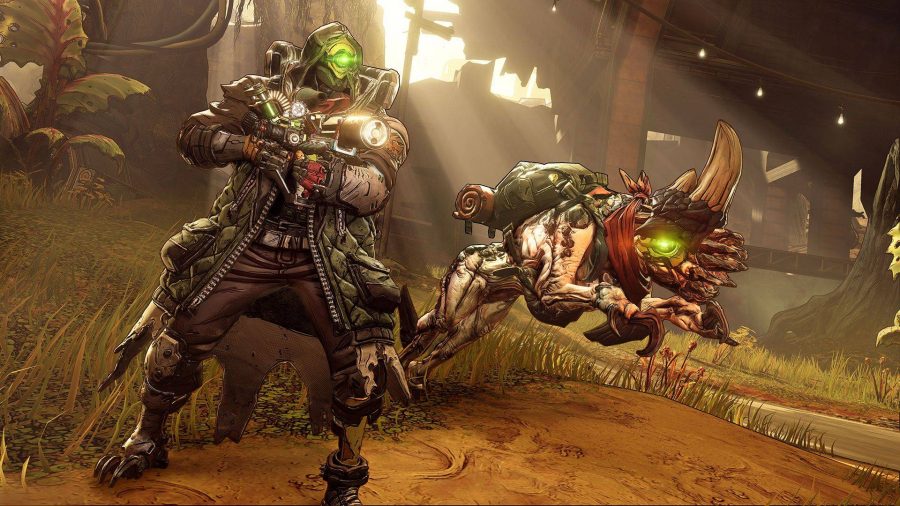
This build is great for solo play as it focuses heavily on survivability and high damage output, because the quicker you kill your opponents, the more chance you have of surviving. It also ensures your pet Skag is strong enough to help you out when you’re in trouble. You need to spend most of your points in the Master and Hunter skill trees but there are a couple of skills to invest in within the Stalker tree. A maxed out Furious Attack gives you a damage increase after each shot and Overclocked helps that along by slightly increasing FL4K’s fire rate.
Moving onto the Hunter tree, you want to start by maxing out Interplanetary Stalker and Leave No Trace and put a couple of points into Second Intention to increase your reload speed. In the second tier, you want to just put one point into Headcount but max out Hunter’s Eye to give you a bunch of boosts against various enemies. After this, you can move straight to the fourth tier and max out both The Most Dangerous Game, which increases your damage even further, and Big Game, which boosts all your Hunter skills. Finally, Galactic Shadow and Grim Harvest will increase both your overall gun damage and your critical hit damage, while Megavore will allow you to get a critical hit on any body part.
In the Master tree, as always, you want to start by maxing out Persistence Hunter to gain more of that sweet sweet gun damage. Also in tier one, you want a couple of points in Ferocity to increase your pet’s damage too. Who Rescued Who? and Frenzy should then both be maxed out to further help out your loyal Skag. In tier three, Psycho Head On A Stick will capitalise on this by giving your pet increased speed and damage after each enemy FL4K kills. You then want to get Mutated Defenses and Barbaric Yawp to increase your Skag’s effectiveness and survivability. Lastly, Pack Tactics and Shared Spirit will stack with the previous two skills to further enhance your pet’s usefulness.
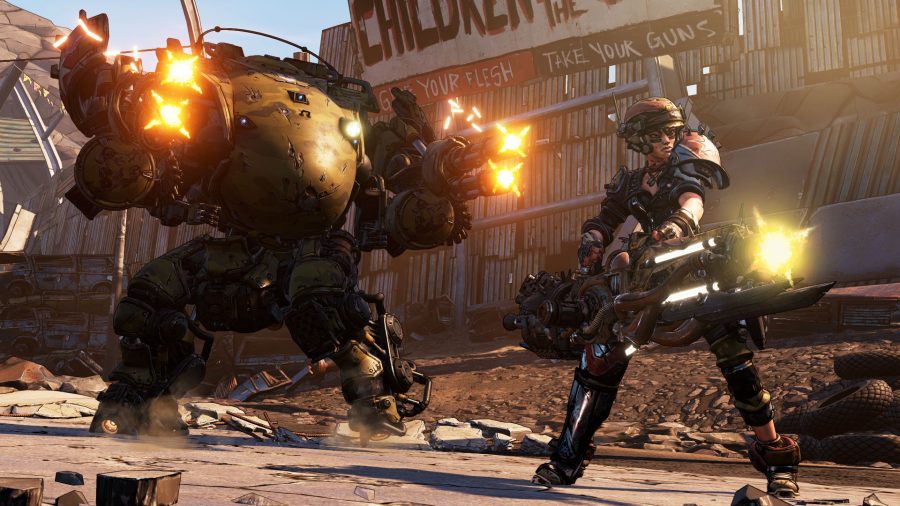
Moze infinite everything
Action skills and augments
- Vanquisher Rocket Pod
- Target Softening
Skill points
- 5/5 Cloud of Lead
- 3/3 Stoke the Embers
- 1/1 Redistribution
- 5/5 Scrappy
- 5/5 Scorching RPM’s
- 5/5 The Iron Bank
- 1/1 Specialist Bear
- 1/1 Some for the Road
- 1/1 Forge
- 5/5 Fire in the Skag Den
- 3/3 Means of Destruction
- 5/5 Stainless Steel Bear
- 3/3 Pull the Holy Pin
- 1/1 Auto Bear
- 4/5 Vampyr
- 5/5 Explosive Punctuation
- 1/1 Short Fuse
- 4/5 Armored Infantry
- 1/1 Security Bear
This build is superb for solo players as it’s geared around constantly topping up health and ammo for yourself and feeds off dealing damage.
You’ll need some full-auto weapons to make this build sing, as the full-auto weapons will constantly regenerate ammo so long as you’re hitting something. For a similar reason it’s also vital you have a class mod like Sapper, which will give life steal and other buffs the longer you hold the trigger down. Together these should be keeping your health and ammo in a healthy place while you’re dishing out damage.
Splash damage is the other core pillar of this build and between Fire in the Skag Den and Means of Destruction you should find yourself drowning in spare bullets and dealing a little extra damage, too. This pairs well with Iron Bear and you can improve it even more with a rocket launcher or cluster grenades in your inventory. And while you’re working on buffing your grenades consider popping some points into Vampyr so you’re gaining health from those ‘nades.
Moze boss buster
Action skills and augments
- Railgun
- Capacitive Armature
- Minigun
- Let Off Some Steam
Skill points
- 1/1 Security Bear
- 5/5 Armored Infantry
- 3/3 Thin Red Line
- 5/5 Vladof Ingenuity
- 1/1 Experimental Munitions
- 1/1 Full Can Of Whoop-Ass
- 3/3 Behind The Iron Curtain
- 3/3 Desperate Measures
- 3/5 Phalanx Doctrine
- 1/1 Force Feedback
- 1/1 Tenacious Defense
- 1/1 Dakka Bear
- 4/5 Cloud Of Lead
- 5/5 Scrappy
- 1/1 Rushin’ Offensive
- 5/5 Scorching RPM’s
- 3/3 Deadlines
- 2/5 Grizzled
This build is incredibly simple, sure, but it won’t let you down. Almost all of the skills in this build feed directly into shields and tanking abilities, and a special focus on taking down bosses.
Starting out in the Railgun skill tree you’ll want to grab Security Bear for the bubble shield and then plow all your points into Armored Infantry, which gives you damage reduction and more gun damage when your shields are active – easy, simple synergy. Get Thin Red Line and Vladof Infantry for even better shields and then grab Full Can Of Whoop-Ass, which will instantly regen your shields when you enter Iron Bear – very clutch. Grab the the single point skill tree, then get all three points for both Behind The Iron Curtain (for feaster shield recharges) and Desperate Measures (for a simple gun damage buff). This grants access to Phalanx Doctrine (level this up three times) and Force Feedback. Force Feedback is especially great for PC players who can hit headshots as it will start recharging shields whenever you land a crit. Phalanx Doctrine, meanwhile, provides some decent buff stacks for shield and gun damage.
After all of these you need to grab the only point in Tenacious Defense, which instantly rewards a portion of shield and buffs gun damage for a short period after your shields deplete. It is phenomenal for getting out of tricky situations.
In the Minigun tree you want to grab Dakka Bear for a cheap but powerful piece of equipment. Then put four into Cloud of Lead, which provides some elemental and damage buffs. In the next tier down you’ll want to drop some points into Scrappy, which will just generally make you more mobile. One more tier away, we suggest Rushin’ Offensive so you can shoot and sprint at the same time, then max out Scorching RPM’s for two very handy buffs to crit damage and fire rate. In the final skill tree, you simply want to invest in Deadlines for better Iron Bear economy, then pour any remaining points into Grizzled for more action skill usage.
Moze Splash Damage
ACTION SKILLS AND AUGMENTS
- Vanquisher Rocket Pad
- Hammertown Protocol
SKILL POINTS
- 5/5 Fire in the Skag Den
- 3/3 Means of Destruction
- 5/5 Torgue Cross-Promotion
- 3/3 Pull the Holy Pin
- 5/5 Vampyr
- 3/3 Why Can’t I Carry All These Grenades?
- 1/1 To The Last
- 1/1 Short Fuse
- 5/5 Armored Infantry
- 5/5 Selfless Vengeance
- 5/5 Drowning in Brass
- 1/1 Experimental Munitions
- 1/ 3 Desperate Measures
If you’re looking for a Moze build that focuses on crowd control rather than boss tanking then you ought to give this one a whirl. The main thing we’re building around here is having a bountiful amount of grenades to sling at foes. Sure, all those particle effects and ‘splosions may cause your pal’s PC to crash, but what does it matter if everything is dead?
The jury is still out on what weapons complement this build, but you should keep an eye out for any Borderlands 3 anointed gear that buffs Moze’s action skills. The main thing you’ll want to look out for is grenades with plenty of explosions – like MIRV and mortar type grenades. Storm Front is an especially good legendary grenade mod for this build.
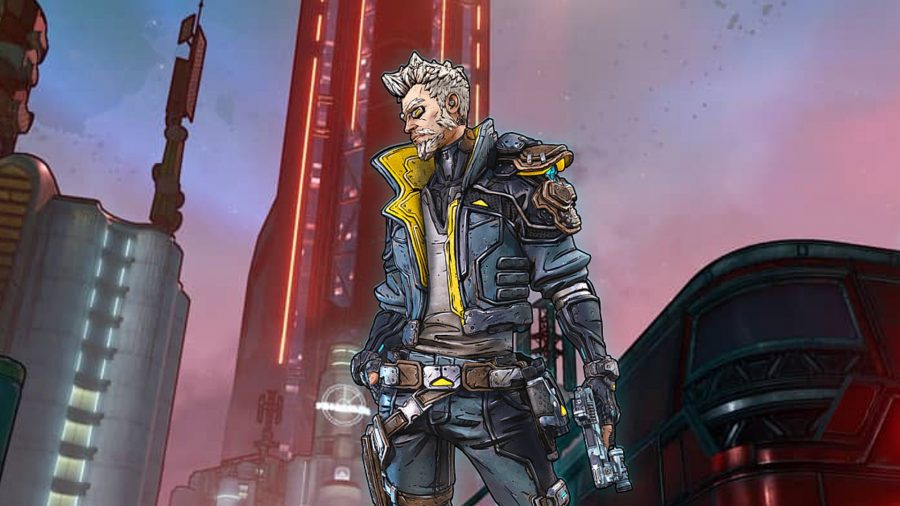
Zane digi-clone
Action skills and augments
- Digi-Clone
- Schadenfreude
- Which One’s Real?
- Barrier
- Charged Relay
- Nanites Or Some Shite
Skill points
- 5/5 Synchronicity
- 3/3 Praemunitus
- 1/5 Borrowed Time
- 5/5 Donnybrook
- 1/1 Quick Breather
- 3/3 Pocket Full Of Grenades
- 1/1 Old-U
- 3/3 Supersonic Man
- 1/1 Boom. Enhance.
- 2/3 Trick Of The Light
- 1/1 Double Barrel
- 1/5 Adrenaline
- 2/3 Hearty Stock
- 2/5 Ready For Action
- 5/5 Brain Freeze
- 3/3 Stiff Upper Lip
- 1/3 Rise To The Occasion
- 1/1 Confident Competence
- 1/1 Really Expensive Jacket
- 4/5 Best Served Cold
- 1/1 Futility Belt
- 1/1 Calm, Cool, Collected
This Borderlands 3 build is all about constantly dropping your action skill and letting your clone do most of the hard work for you, which is pretty neat.
As the build is based on using your two action skills you’ll want to invest heavily in Synchronicity for a 20% buff to gun damage for each active skill in use. Donnybrook is vital, too as it increases the survivability of the Digi-Clone with a health regen buff. Bring along more Digi-Clone buffs through Praemunitus and buff yourself while you’re at it with Quick Breather, which will start recharging your shield whenever you drop Digi-Clone. You’ll need to put another point in somewhere to access the next Double Agent skill tier, so pop one into Borrowed Time, is handy for keeping your skills active for longer.
Next up you need to max out Pocket Full Of Grenades, Old-U, and Supersonic Man. These will buff your movement speed, load you up with grenades, and give you a last-ditch means of revival. All of this should slot into place once you grab Boom. Enhance. – this makes it so your Digi-Clone consumes grenades when activated, and in return gets up to +60% gun damage, +243% max health, +15% fire rate, +93% reload speed, and +75% Digi-Clone duration. This is what the build is all about, and it’s also why you don’t pick Fractal Frags or Duct Tape Mod.
As you’re buffing the clone so heavily, you’ll want to mod the Digi-Clone action skill with Schadenfreude and Which One’s Real? so that you’re clone is taunting regularly and any damage it takes is restoring your shields.
The Under Cover skill tree is much less important at the first tier, but you need Brain Freeze maxed out, so distribute points as you see fit – this is key to the build as freezing enemies makes this build much more effective. Confident Competence is also handy for keeping your shields topped up. You want to reach the Futility Belt so you don’t have to deal with elemental damage, then pour four points into Best Served Cold for some powerful cryo effects. Where these skills come in handy is when you put a solitary point into Calm, Cool, Collected, which has a host of benefits, but there’s one we’re really interested in: If Zane’s health is already full, his action skill cooldowns and durations are immediately reset. As the clone will already be keeping our health and shields in good condition, this means whenever you manage to freeze an enemy your clone’s duration is reset.
Zane Grenadier Clone
Action Skills and Augments
- Digi-Clone
- Binary System
- Schadenfreude
- Bad Dose
- Static Field
- SNTNL
Skill Points
- 5/5 Synchronicity
- 5/5 Borrowed Time
- 5/5 Duct Tape Mod
- 1/1 Fractural Frags
- 5/5 Donnybrook
- 1/1 Quick Breather
- 1/1 Old-U
- 3/3 Supersonic Man
- 3/3 Trick of the Light
- 1/1 Boom. Enhance.
- 1/1 Double Barrel
- 5/5 Violent Speed
- 5/5 Violent Momentum
- 1/1 Drone Delivery
- 1/1 Death Follows Close
This Borderlands 3 build is mainly about busting out high amounts of damage, so it works just fine for both mob and boss encounters. You’ll have to give up your grenade for this build, but it’s worth it to gain access to the Hitman skill-tree. This gives us access to the drone who, thanks to perks above, can deal damage to foes while helping our teammates in the process. Thanks to Drone Delivery, for example, there’s a chance your drone will drop a free grenade.
This build offers great flexibility with your Digi-Clone. Thanks to passives like Binary System, Zane will drop a Cryo Nova whenever he swaps places with his clone – handy for a quick get away. Don’t think Zane has been left in the lurch, though, as talents like Violent Speed and Violent Momentum allow Zane to move faster and deal more damage as he goes.
Amara shockra
Action skills and augments
- Shockra
- Soul Sap
- Deliverance
Skill points
- 5/5 Do Harm
- 5/5 Violent Tapestry
- 5/5 Restless
- 1/1 Ascendant
- 3/3 From Rest
- 3/3 Wrath
- 3/3 Remnant
- 3/3 Awakening
- 1/1 Avatar
- 5/5 Anima
- 5/5 Tempest
- 5/5 Wildfire3/3 Indiscriminate
- 1/1 Deep Well
Rush is the core of this Borderlands 3 build, so you want to max out the Do Harm skill in the Mystical Assault tree is the first stop as it actually gives you Rush… every kill gives you a Rush stack, and this effect will increase your action skill damage, and more stats as we build around it. Violent Tapestry is the next skill to max out, and again is about granting your build plenty of Rush, this time applying a status effect will grant you Rush stacks. As your action skill will consume all Rush you need to be using it as often as possible, which is why maxing out Restless for a hefty 25% cooldown rate reduction is important. Ascendant and Soul Sap work well together, giving you roughly 50% life steal every 30 seconds or so. Another augment to look out for is Deliverance, as it will add a heap of homing elemental projectiles that will apply status effects – this feeds back into Violent Tapestry so your Rush stacks regain rapidly.
The next crucial skill to pick up is Remnant, as it creates a ricochet effect where every kill is feeding more kills and helping you chain Rush stacks and action skill uses. Similarly, you should grab Avatar, which lets you activate your action skill once during cooldown, per cooldown. This equates to an action skill usage pretty much every ten seconds. As a little bonus, if your action skill nets you a kill then half of your Rush stack is returned. Top it all off with three points in Awakening, which buffs the effectiveness of Rush stacks.
Head to the Fist of the Elements skill tree, which rounds this build out a bit more. Take Anime and Tempest to their maximums as both of these provide huge buffs to elemental damage and status effects, both of which this build relies heavily on – these also makes the action skill more powerful. In case you’re missing the point of this build, invest heavily in Wildfire next, as it has an increased chance of spreading a status effect to nearby enemies, continuing the endless chain of buffs and status effect – the max chance is 40%, so using it with Deliverance your Rush stacks will pretty much never run low. Keep the ricochet theme going with Indiscriminate, which is the last vital part of this build. Indiscriminate lets your bullets ricochet, so if you’ve got an elemental effect on your bullets then even more stacks and buffs.
Amara Electric Brawler
Action Skills and Augments
- Phase Slam
- Revelation
Skill Points
- 3/3 Personal Space
- 5/5 Root to Rise
- 3/3 Samsara
- 5/5 Helping Hand(s)
- 1/1 Find Your Center
- 3/3 Mindfulness
- 5/5 One with Nature
- 5/5 Job Cross
- 1/1 Guardian Angel
- 1/1 Blitz
- 5/5 Anima
- 5/5 Tempest
- 1/1 Illuminated Fist
This Borderlands 3 build is about one thing: forcing Psychos to catch those hands. This is a great class build for dealing with hordes of squishy enemies, though you’ll likely want to think twice about going toe-to-toe with one of the game’s bosses. This build does struggle against bosses, so you may want to respec for more weapon damage if you’re struggling. Alternatively, try and keep your distance and play it safe.
In full flow, you’ll run into an enemy and melee them to activate the Blitz perk, giving you 100% extra melee damage. After this, you’ll want to use Phase Slam and catch three enemies at least so you’ll proc three stacks of the Samora buff. That’ll increase your gun damage and health regeneration. In this state, shotguns, and other close quarters firearms prove especially handy in keeping the damage train rolling.
And there you have it, four Borderlands 3 builds to give you a rough idea of how to invest your skill points when you’re starting out. If you’ve finished your build and want to redeem Golden Keys using Borderlands 3 Shift codes, you could find some rare and legendary weapons in Borderlands 3.
