Want to know more about the best Elden Ring quests? Like any good RPG game, Elden Ring is filled with quests, but there’s no in-game journal to keep track of all your conversations with NPCs. Unless you keep track of every NPC you interact with, there’s a chance you’re going to miss out on lengthy quest lines featuring interesting stories and high-quality rewards.
There are a lot of key items on the map like Golden Seeds and cookbooks which can be collected at any point, however, some of the best quests are only active for a short period of time. You have to be careful not to skip through important parts in each quest chain accidentally. For example, if you start a quest and end up fighting against one of the Elden Ring bosses without completing a step in the chain, you may automatically fail the quest in one of the best PC games.
To make matters worse, you can accidentally destroy an entire quest line without realising if you manage to kill an NPC. Most NPCs usually aren’t aggressive right away, but they can look threatening. In Elden Ring where everything is ready to kill you, we completely understand if you fight first and ask questions later. Here’s everything you need to know about quests in Elden Ring, including what the best rewards are, how to seek forgiveness, and more – but be warned, there are Elden Ring quest spoilers ahead.
Elden Ring Quests
The best Elden Ring quests are:
- Roderkia’s quest
- Patches’ quest
- Nepheli’s quest
- Sellen’s quest
- Ranni’s quest
- Fia’s quest
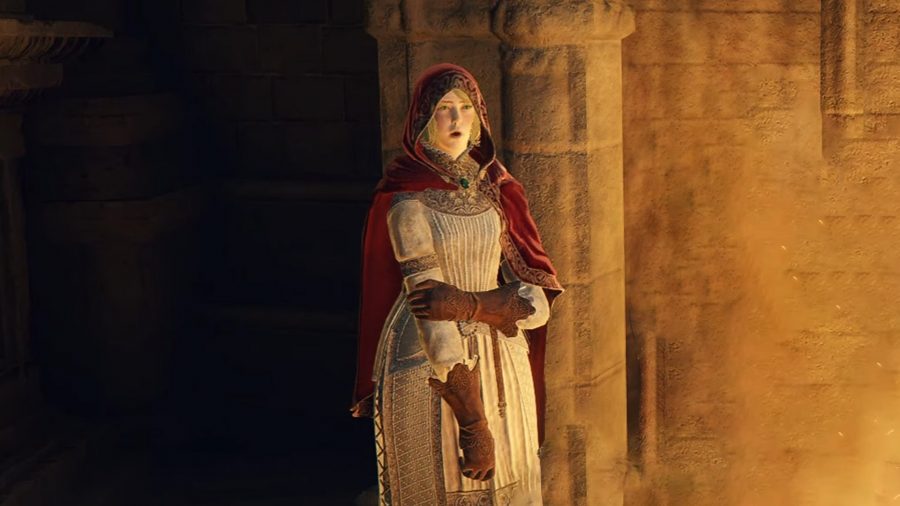
Elden Ring Roderika quest
Here are the rewards for completing Roderika’s quest in Elden Ring:
- Golden Seed
- Sitting Sideways gesture
- Spirit Jellyfish Ashes
- Crimson Hood
Roderika is one of the first NPCs you’re likely to encounter in Limgrave – she can be found at Stormhill Shack lying beside a painting. If you speak to her multiple times, she rewards you with the Sitting Sideways gesture and the Spirit Jellyfish Ashes. Roderika asks you to deliver a message to the chrysalids at Stormveil Castle. When you get to the castle, the Chrysalids’ Memento can be found on top of a pile of corpses.
Hand this item to Roderika before you fight Margit the Fell Omen; you won’t have a chance to do so if she leaves the Stormhill Shack. Visit Roderika at the Roundtable to receive a Golden Seed. Speak to Smithing Master Hewg about Roderika’s gift to trigger her new role as an apprentice Spirit Tuner. Finally, you can acquire her Crimson Hood once her quest line ends by heading back to the Stormhill Shack.
Elden Ring Patches quest
Here are the rewards for completing Patches’ quest in Elden Ring:
- Golden Rune [1] x2
- Grovel For Mercy gesture
- Crouch gesture
- A merchant
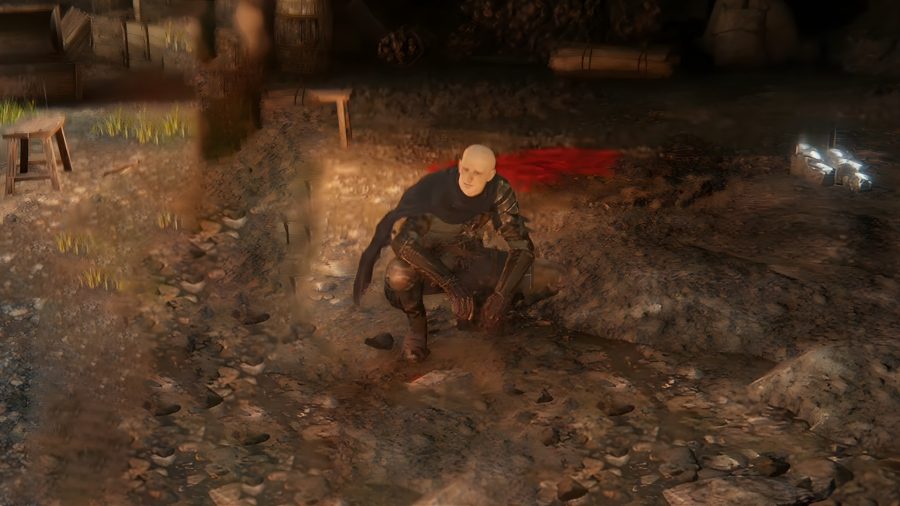
Make your way to the Murkwater Cave – be prepared to fight Bloody Finger Nerijus to enter the cave. Once you’re inside, you should find a chest completely uncontested. Open it to claim Cloth Garb and Cloth Trousers, prompting Patches to fight you for stealing his ‘treasure’. When Patches loses three-quarters of his health, he begs for forgiveness. You have the option to kill him, but you should keep him alive to receive the Grovel For Mercy gesture and a Golden Rune [1].
Leave the area and return to Patches – he explains why he’s decided to leave the mercenary lifestyle behind to become a merchant instead. Spend 2,000 Runes at his store, then leave and return once again. Talk to Patches once again and he’ll reward you with a chest; be warned that this chest is a teleporter that drops you in the middle of a forest in Limgrave. You should be able to fast travel out of the area without alerting any of the giant bears nearby.
When you return to Patches, he insists that he doesn’t know the first thing about how the teleporter ended up in the chest. As you progress through the world, Patches moves from the Murkwater Cave all the way to the Scenic Isle Site of Grace, to the northwest of Laskyar Ruins. Continue to explore the map to see Patches move to Volcano Manor. Remember, each time Patches moves, his inventory expands to include better items.
After beating Rykard, Patches will move to the Shaded Castle and ask you to deliver the Dancer’s Castonettes to Tanith, who is now lying next to Rykard’s corpse. Patches will leave the area after you try to do this, so return to Murkwater Cave, where you’ll fight him once more. Defeat him to get the Crouch gesture. You can then leave the area and come back to find that he has reopened his shop.
Elden Ring Nepheli quest
Here are the rewards for completing Nepheli Loux’s quest in Elden Ring:
- Arsenal Charm
- Ancient Dragon Smithing Stone x1
While the Arsenal Charm is one of the best Elden Ring talismans, the main reason you want to complete this quest is to grab an Ancient Dragon Smithing Stone. These materials are vital for upgrading equipment to its maximum level. This quest is tricky to finish as there are several ways you can fail. The three key things to remember are that Nepheli must survive every boss fight she joins, you should not give Nepheli the Seluvis’ potion, and you shouldn’t defeat Maliketh, the Black Blade in the Crumbling Farum Azula until you complete this questline. Any of these will prematurely end this quest.
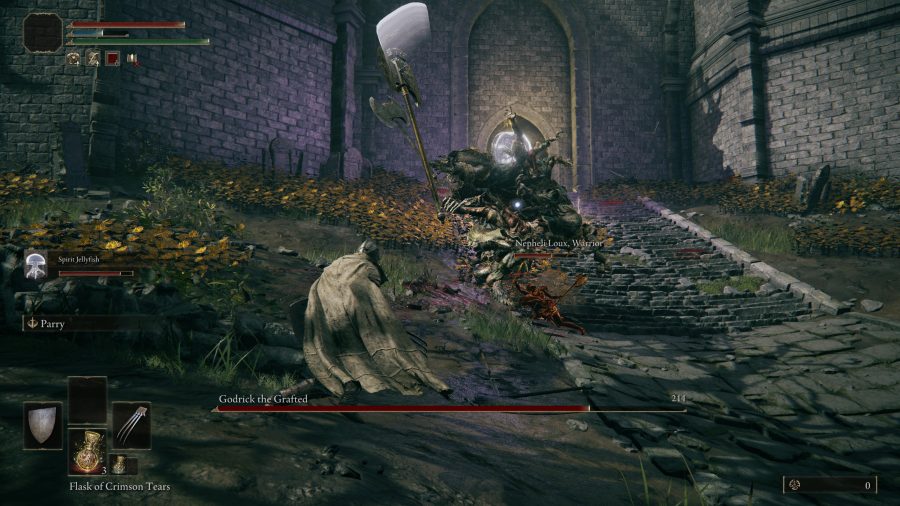
You first meet Nepheli in Stormveil Castle, close to the Secluded Cell Site of Grace. After speaking with her, you should use the summon sign outside Godrick the Grafted’s boss arena. Should she survive the encounter, she’ll hand over the Arsenal Charm when you next see her at the Roundtable Hold.
You can catch up to Nepheli by heading to the Village of the Albinaurics in Liurnia of the Lakes. Team up with her again by using the summon point close to the Omenkiller boss area. If she survives this boss fight, you will next find her sitting on the floor in the basement of Roundtable Hold. You can leave her for a short time, but make sure to progress through Roderika’s and Kenneth Haight’s questlines and defeat Morgott, the Omen King.
Your next objective is to find the Stormhawk King ashes. To find it, use an Imbued Sword key on the teleportation portal next to the message that reads “Precipice of Anticipation” in The Four Belfries, located in the west of Liurnia of the Lakes. This portal takes you to the starting area, where the Grafted Scion kills you at the beginning of the game. First, cross the bridge to the chapel, then climb the stairs and enter through the previously locked doorway to the right. Directly across from the archway into the second floor, you’ll find these ashes at the top of the stairs.
Return to Nepheli in the Roundtable Hold and hand over the Stormhawk King ashes. She’ll soon leave the area. You can find her standing with Kenneth Haight in the Stormveil Throne Room, north of Godrick the Grafted’s boss arena, where they hand over the Ancient Dragon Smithing Stone.
Sellen
Here are the rewards for completing Sellen’s quest in Elden Ring:
- Comet Azur sorcery
- Eccentric set
- Glintstone Crown
- Ancient Dragon Smithing Stone (if you kill Sellen)
- Sellen’s Bell Bearing (if you kill Sellen)
- Shard Spiral sorcery (appears in Sellen’s shop if you kill Jerren)
- Glintstone Kris (if you kill Jerren)
- Azur’s Glintstone set (if you kill Jerren)
- Lusat’s set (if you kill Jerren)
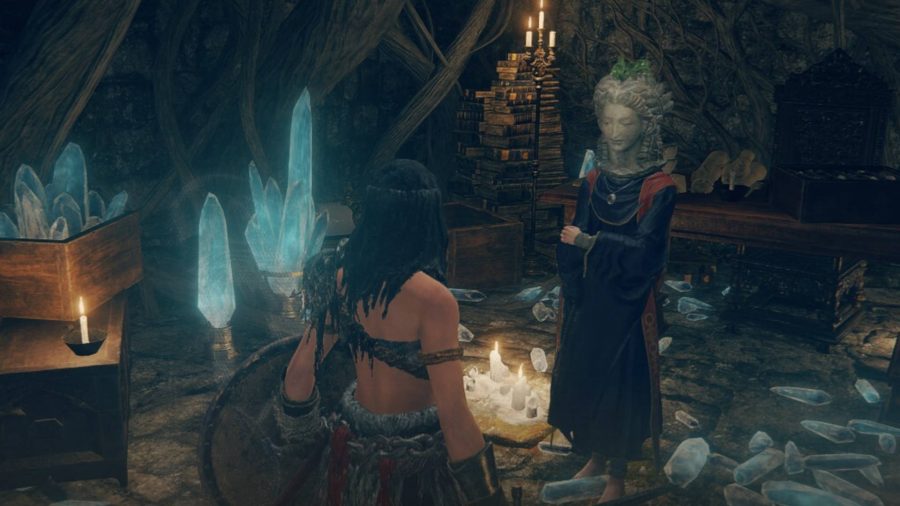
After you beat the Mad Pumpkinhead in the Waypoint Ruins, open the door to find Sorceress Sellen. She’ll offer to teach you magic, so accept her offer to begin this questline. Buying magic spells will give you more dialogue.
Continue playing the game until you reach Mt. Gelmir. Close to the Hermit Village Site of Grace, you’ll find the corpse of Sorcerer Azur. Keep interacting with the corpse until you get the Comet Azur sorcery. Return to Sellen, and she’ll ask you to find Master Lusat, locked behind a magic seal in Sellia Hideaway in Caelid. Luckily for you, Sellen will give you the item to break the seal. Go to Sellia Hideaway and look carefully as you cross the pit towards the area’s boss for a crystal snail.
After breaking the seal, you need to defeat Starscourge Radahn before you can continue the quest. Sellen will reveal that her real body is elsewhere. Head to the Witchbane Ruins in Weeping Peninsula and get Sellen’s Primal Glintstone. After this, talk to Witch-Hunter Jerren in Redmane Castle and exhaust his dialogue to force him to leave the area. He’ll appear in the Witchbane Ruins standing over Sellen’s lifeless body.
Next, head to the ruins between Ranni’s Rise and Renna’s Rise, in the Three Sisters area in Liurnia of the Lakes. First, break the illusionary floor near the pillar, then hit an illusionary wall near a message that reads “Seluvis’s puppet. Do not touch”. The room behind this wall has a doll that looks just like Sellen. Use Sellen’s Primal Glintstone to revive her and regain access to her shop.
You can’t continue this quest until you beat Rennala, Queen of the Full Moon. Upon her defeat, reloading the Grand Library Site of Grace will give you two summon signs: one to fight Witch-Hunter Jerren and one to fight Sorceress Sellen. In addition, the NPC you did not choose to fight will aid you in this battle.
You’ll get the Witch’s Glintstone Crown and Sellen’s Bell Bearing if you choose to fight Sellen and kill her. You will also be able to find Jerren outside of the entrance to the library, where he’ll thank you by giving you an Ancient Dragon Smithing Stone. You can opt to kill Jerren at this point to get the Eccentric armour set.
If you choose to fight Jerren, you’ll also get the Eccentric set. Sellen will be standing in the centre of the room, where she’ll give you the Glintstone Kris and add the Shard Spiral sorcery to her list of available magic in her shop. If you leave this area, provided you have found Master Lusat’s corpse, she’ll move to the side of the room, transformed into a monster. She’ll still sell you sorceries if you speak to her, and you’ll find the Glintstone Crown next to her. After her transformation, you can return to Azur and Lusat’s corpses to find their armour sets. It’s not possible to get these items if you kill Sellen.
Also note that if you choose to side with Sellen, you will not be able to talk to Rennala and access the Elden Ring character respec function until the fight is over and you reload the area. When Sellen’s taken her new form and moved off to the side of the room, Rennala will be back in her usual place in the centre of the room.
Elden Ring Ranni quest
Here are the rewards for completing Ranni’s quest in Elden Ring:
- Dark Moon Greatsword
- Access to an Elden Ring ending
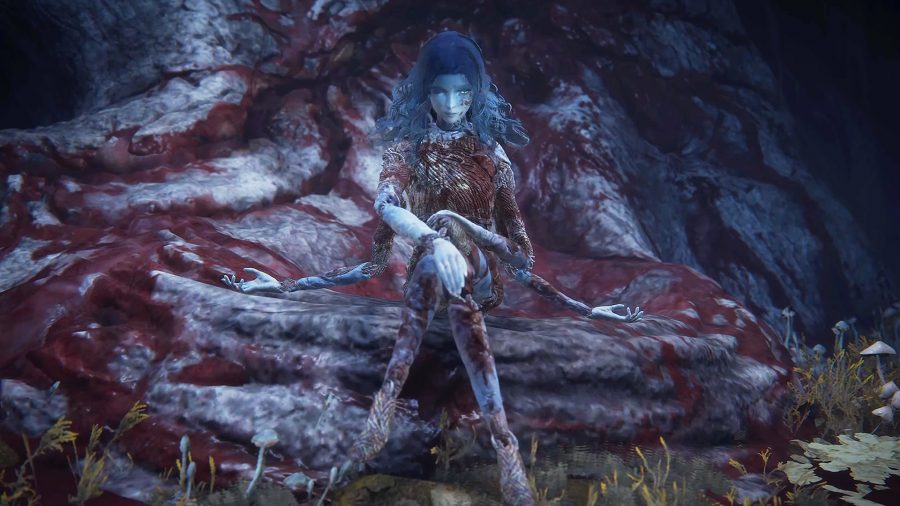
The Dark Moon Greatsword is the best weapon for intelligence-based Elden Ring builds, but unlocking it requires a lot of work. At the beginning of the game, you should run into Renna at the Church of Elleh where she rewards you with a Spirit Calling Bell and Lone Wolf Ashes.
The next time you encounter her is at Ranni’s Rise in Liurnia; this time she refers to herself as Ranni the Witch. Ranni asks you to speak with three spectral beings in the tower: Blaidd, Seluvis, and War Counsellor Iji. Once you have completed this task, Ranni asks you to speak with Blaidd once more at the Siofra River – he believes Seluvis is holding back information.
Chat with Seluvis again and he’ll tell you to speak with Sorceress Sellen in Limgrave. Sellen hands you the Seluvis’s Introduction key item and says you need to defeat Starscourge Radahn. Once you defeat Radahn, a star falls south of Mistwood, opening up a portal containing the Fingerslayer Blade. Don t forget, you can always request help with Elden Ring multiplayer guide.
Take the blade back to Ranni. She gives you the Carian Inverted Statue in return which you can use to access the Divine Tower of Liurnia. Travel to this location to find the Cursemark of Death, a key item which you will need later on. Travel to Renna’s Rise, one of the towers that unlocked after handing over the Fingerslayer Blade.
Go through the waygate to find the Ainsel River Main area where you should find the Miniature Ranni. Bring the doll to the Site of Grace at the river – Ranni appears to tell you her soul is inside the doll, and that you must defeat Baleful Shadow. Make your way to Nokstella, Eternal City where you can battle against the Baleful Shadow of Blaidd. Defeating this boss rewards you with the Discarded Palace Key.
Use your new key to unlock a chest in the Raya Lucaria Grand Library, giving you access to the Dark Moon Ring. Go back to the Lake of Rot in the Ainsel River to find the Grand Cloister. Enter the coffin inside this area to fight against Astel, Naturalborn of the Void, giving you access to the Moonlight Alter. Don’t worry about Glintstone Dragon Adula, you can skip right past the boss to open up the Cathedral of Manus Celes. Look for Ranni’s body inside the hole – a prompt to wear the Dark Moon Ring should appear. Place the ring on Ranni’s finger to free her soul, rewarding you with the Dark Moon Greatsword.
Elden Ring Fia quest
Here are the rewards for completing Fia’s quest in Elden Ring:
- Rogier’s Bell Bearing
- D’s Bell Bearing
- Spellblade’s armour set
- D’s Twinned armour set
- Rogier’s Rapier +8
- Fia’s armour
- Remembrance of the Lichdragon
- Access to a different Elden Ring ending
Fia’s quest chain is intertwined with Ranni’s quest, so we recommend you try to complete both of them at the same time. A new dialogue option appears with Fia once you have reached Altus Plateau, allowing you to talk to her in secret. She wants to return the Weathered Dagger to its rightful owner, you have to find out who the weapon belongs to. Speak to D at the Roundtable and he will take ownership of the dagger.
Fast travel away from the Roundtable and return to reveal Fia standing over D’s corpse. Loot D’s remains to take his armour, along with his bell bearing which you can use to purchase his incantations. Find Rogier at the Roundtable Hold and speak to him multiple times, you may need to reload into the area until Rogier eventually dies. His corpse contains the Spellblade armour set, Rogier’s Rapier +8, and Rogier’s Letter. The letter explains that D has a younger brother who is trapped inside the Eternal City of Nokron.
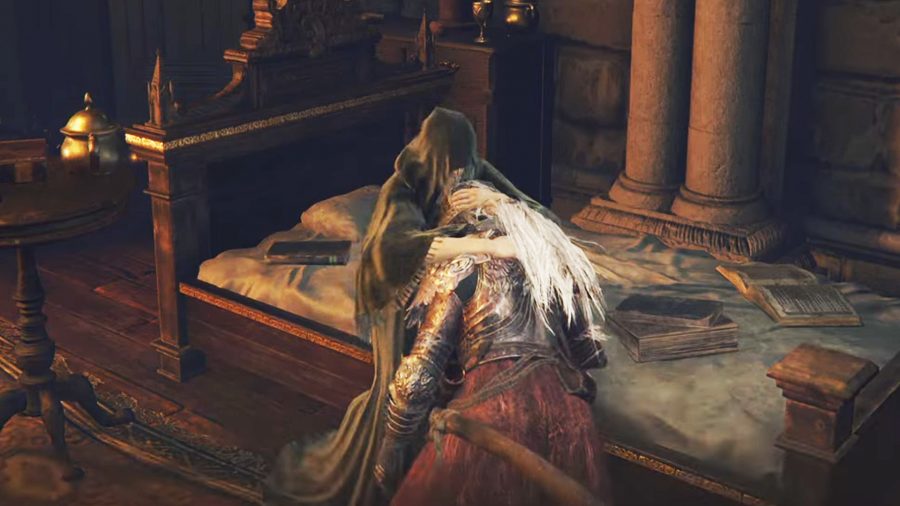
Once you make your way to Nokron for Ranni’s quest, you can find D’s brother trapped in a deep sleep asking for his sibling’s armour. Hand over the Twinned armour set before completing the rest of Ranni’s mission. Make your way through the Deeproot Depths until you run into Fia’s Champions. Defeat these enemies to talk to her – she asks if you want to kill her or if you travelled all this way to be hugged. Tell Fia you want to hug her and after your embrace, she asks you for the Cursemark of Death. This is a key item from Ranni’s quest, so be sure to do that beforehand.
Bring the Cursemark of Death to Fia to put her to sleep, though you may need to reload into the area before she actually falls asleep. The option to touch Fia and enter the Deathbed Dream should appear once she sleeps, giving you access to a boss fight against the Lichdragon Fortissax. Defeating the boss allows you to return to the area, sit at the Site of Grace and go back to Fia. You should find D’s brother near Fia – kill him to gain D’s armour set back.
Elden Ring Missing NPCs
Did you accidentally kill a crucial NPC during your adventures? There’s a way to bring dead NPCs back to life, though it’s going to cost you. If certain NPCs aren’t appearing when they should be, travel to the Church of Vows. Here you atone for your sins at the statue of Lady Rennala – interact with her statue and select the ‘Atone’ option. If you haven’t done anything wrong, a prompt appears with the following message: you don’t need absolution.
If you have damaged or killed any NPCs, they should return to their set locations right away. This process requires you to offer up a Celestial Dew, a consumable item that can be purchased from the Nomadic Merchant at the Ainsel River for 7,500 Runes.
Those are the best quests in Elden Ring, but we also have a more dedicated guide on Elden Ring Millicent quest. Keep an eye on this page as we’re going to update it with more quests as we continue to play the game. In the meantime, give our best Elden Ring weapons guide a read to find out which armaments you should be using. We also have an Elden Ring smithing stones location to get your hands on unlimited crafting materials.
